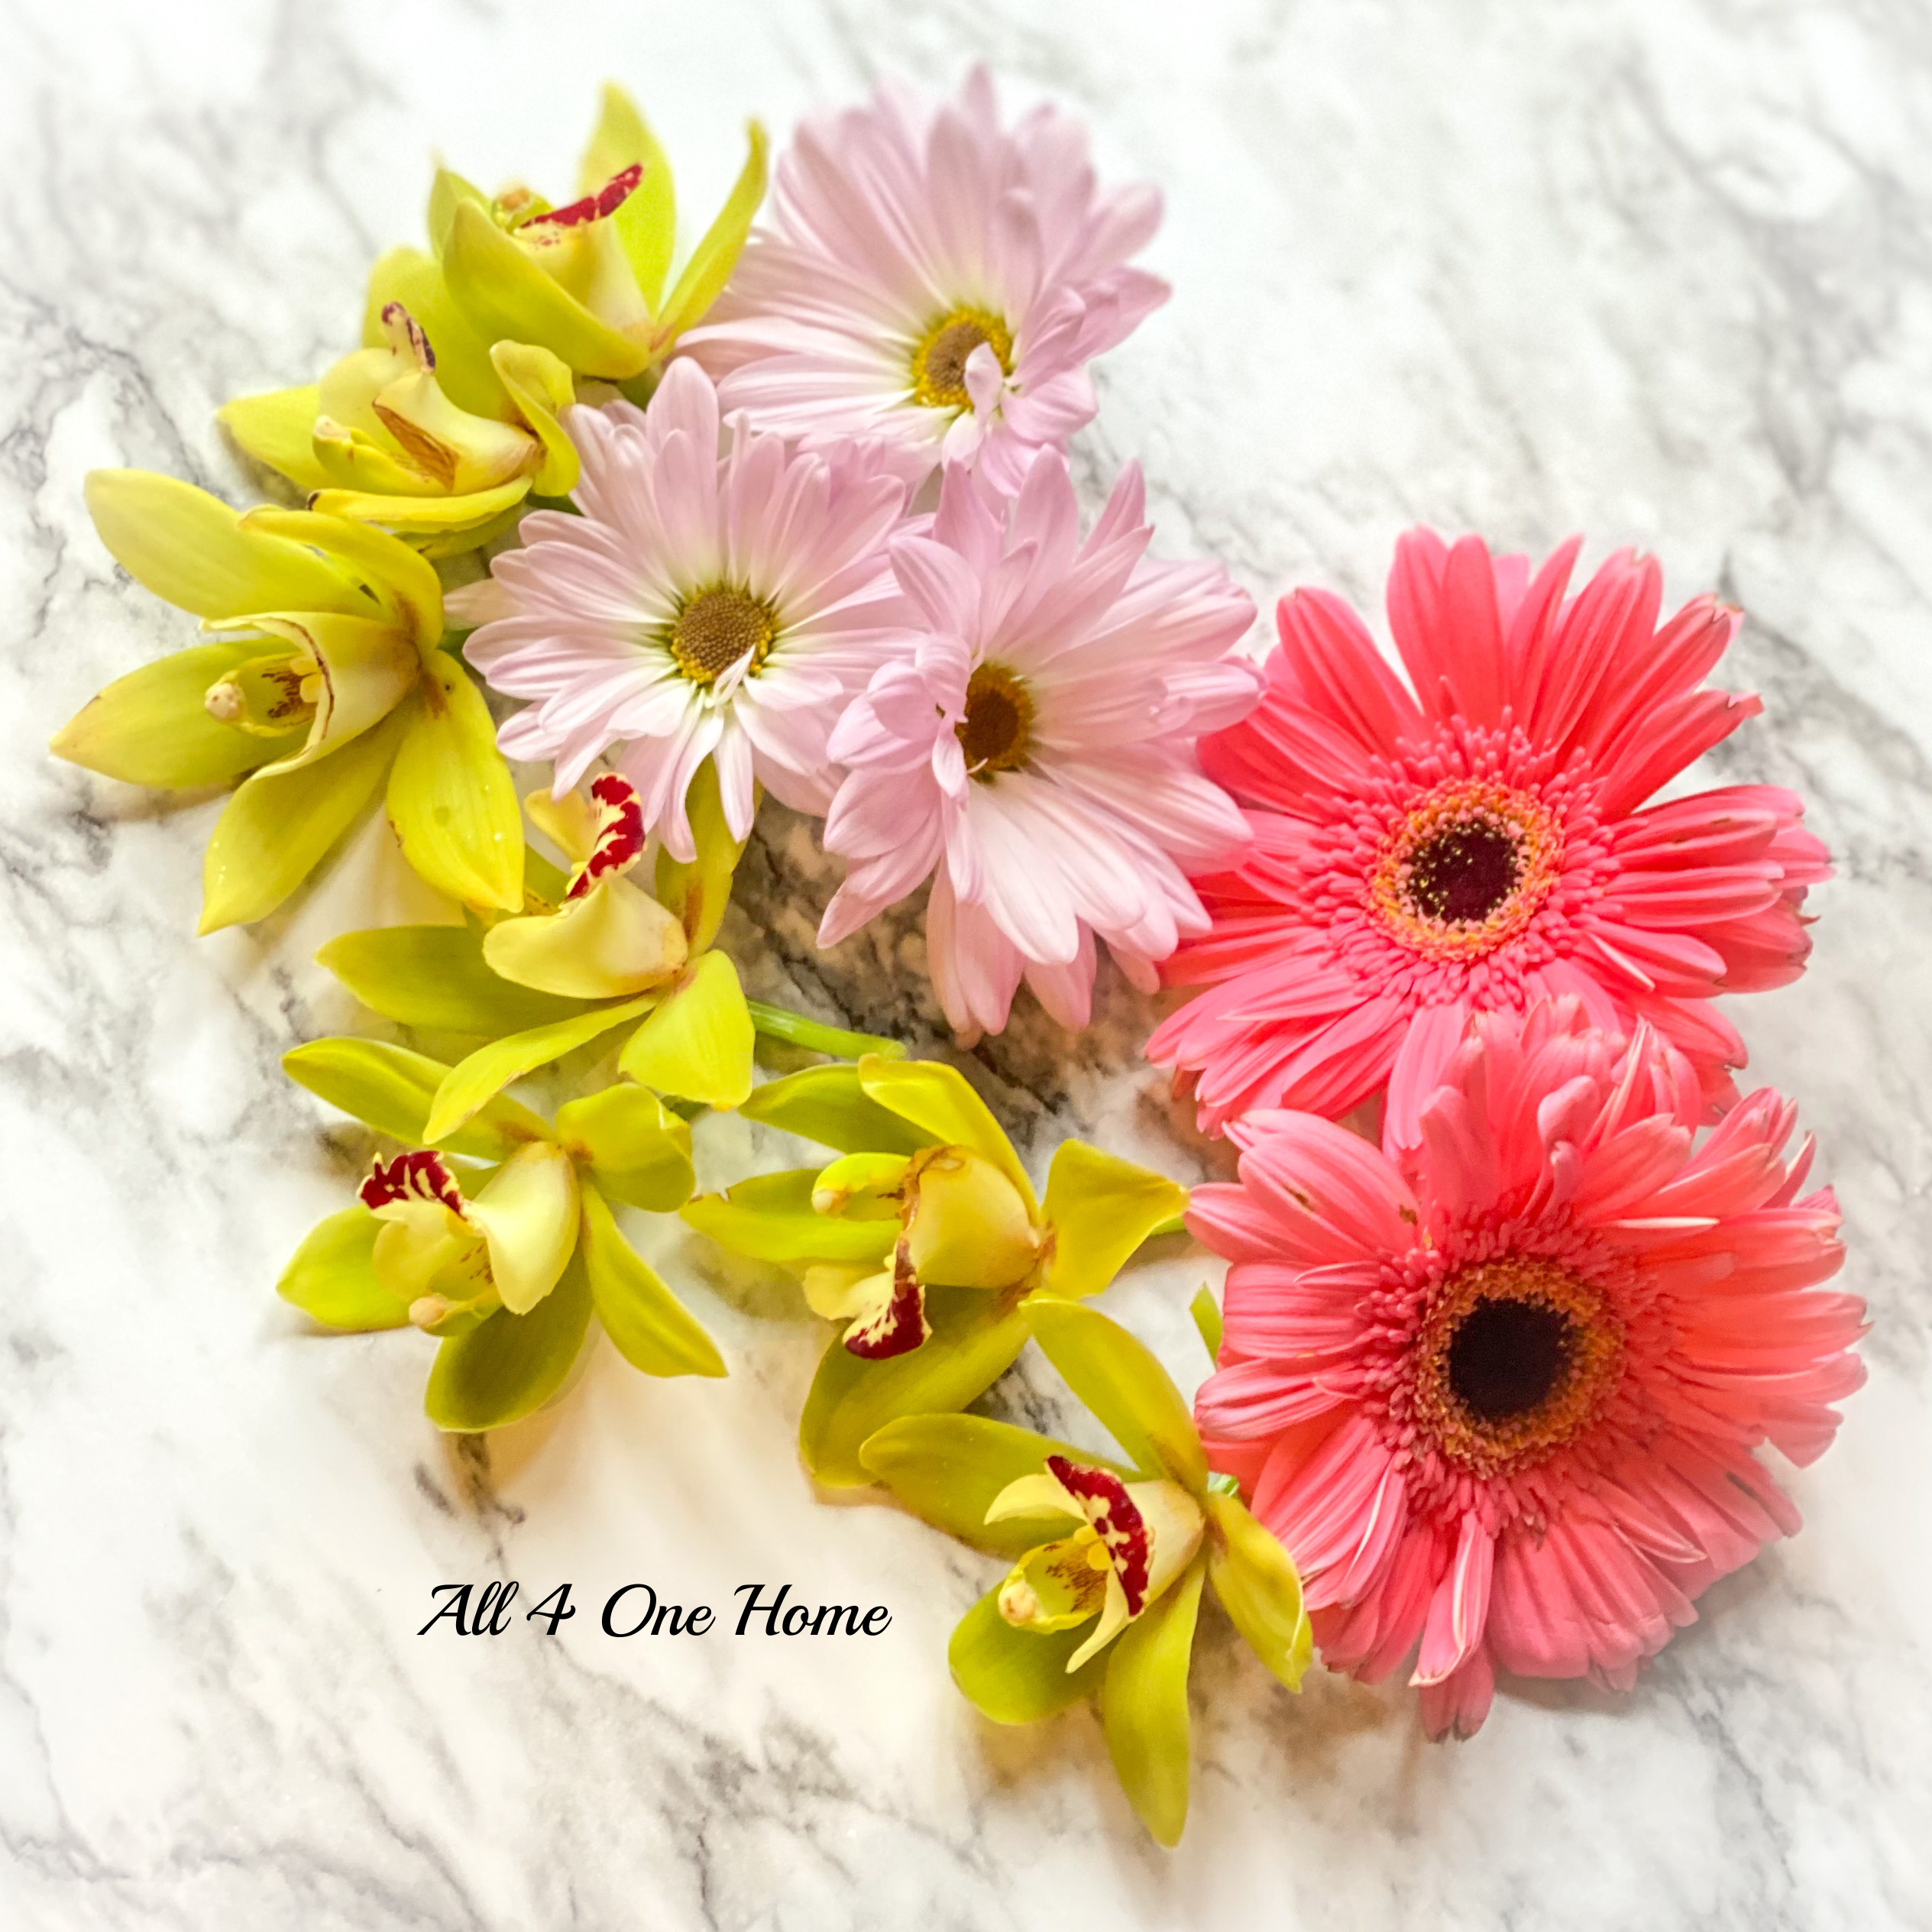
Have you ever received a bouquet of flowers that you just wish you could preserve forever? Perhaps your wedding bouquet, a corsage, or a boutonniere? How about those beautiful flowers that appear in your garden annually and you wish you could enjoy them longer?
A while ago, I came across a craft that I thought was absolutely brilliant and I really wanted to give it a try. I love to preserve flowers by pressing them and making art out of them, but I’ve never tried drying flowers in silica gel crystals before, and I was completely amazed by how simple, fast and beautifully they turned out.
This craft only takes a few minutes to prepare and just a few days to dry.
Now let’s get crafty!
Supplies Needed
Flowers
Scissors or garden pruners
Small cup
Airtight containers
Fine brush
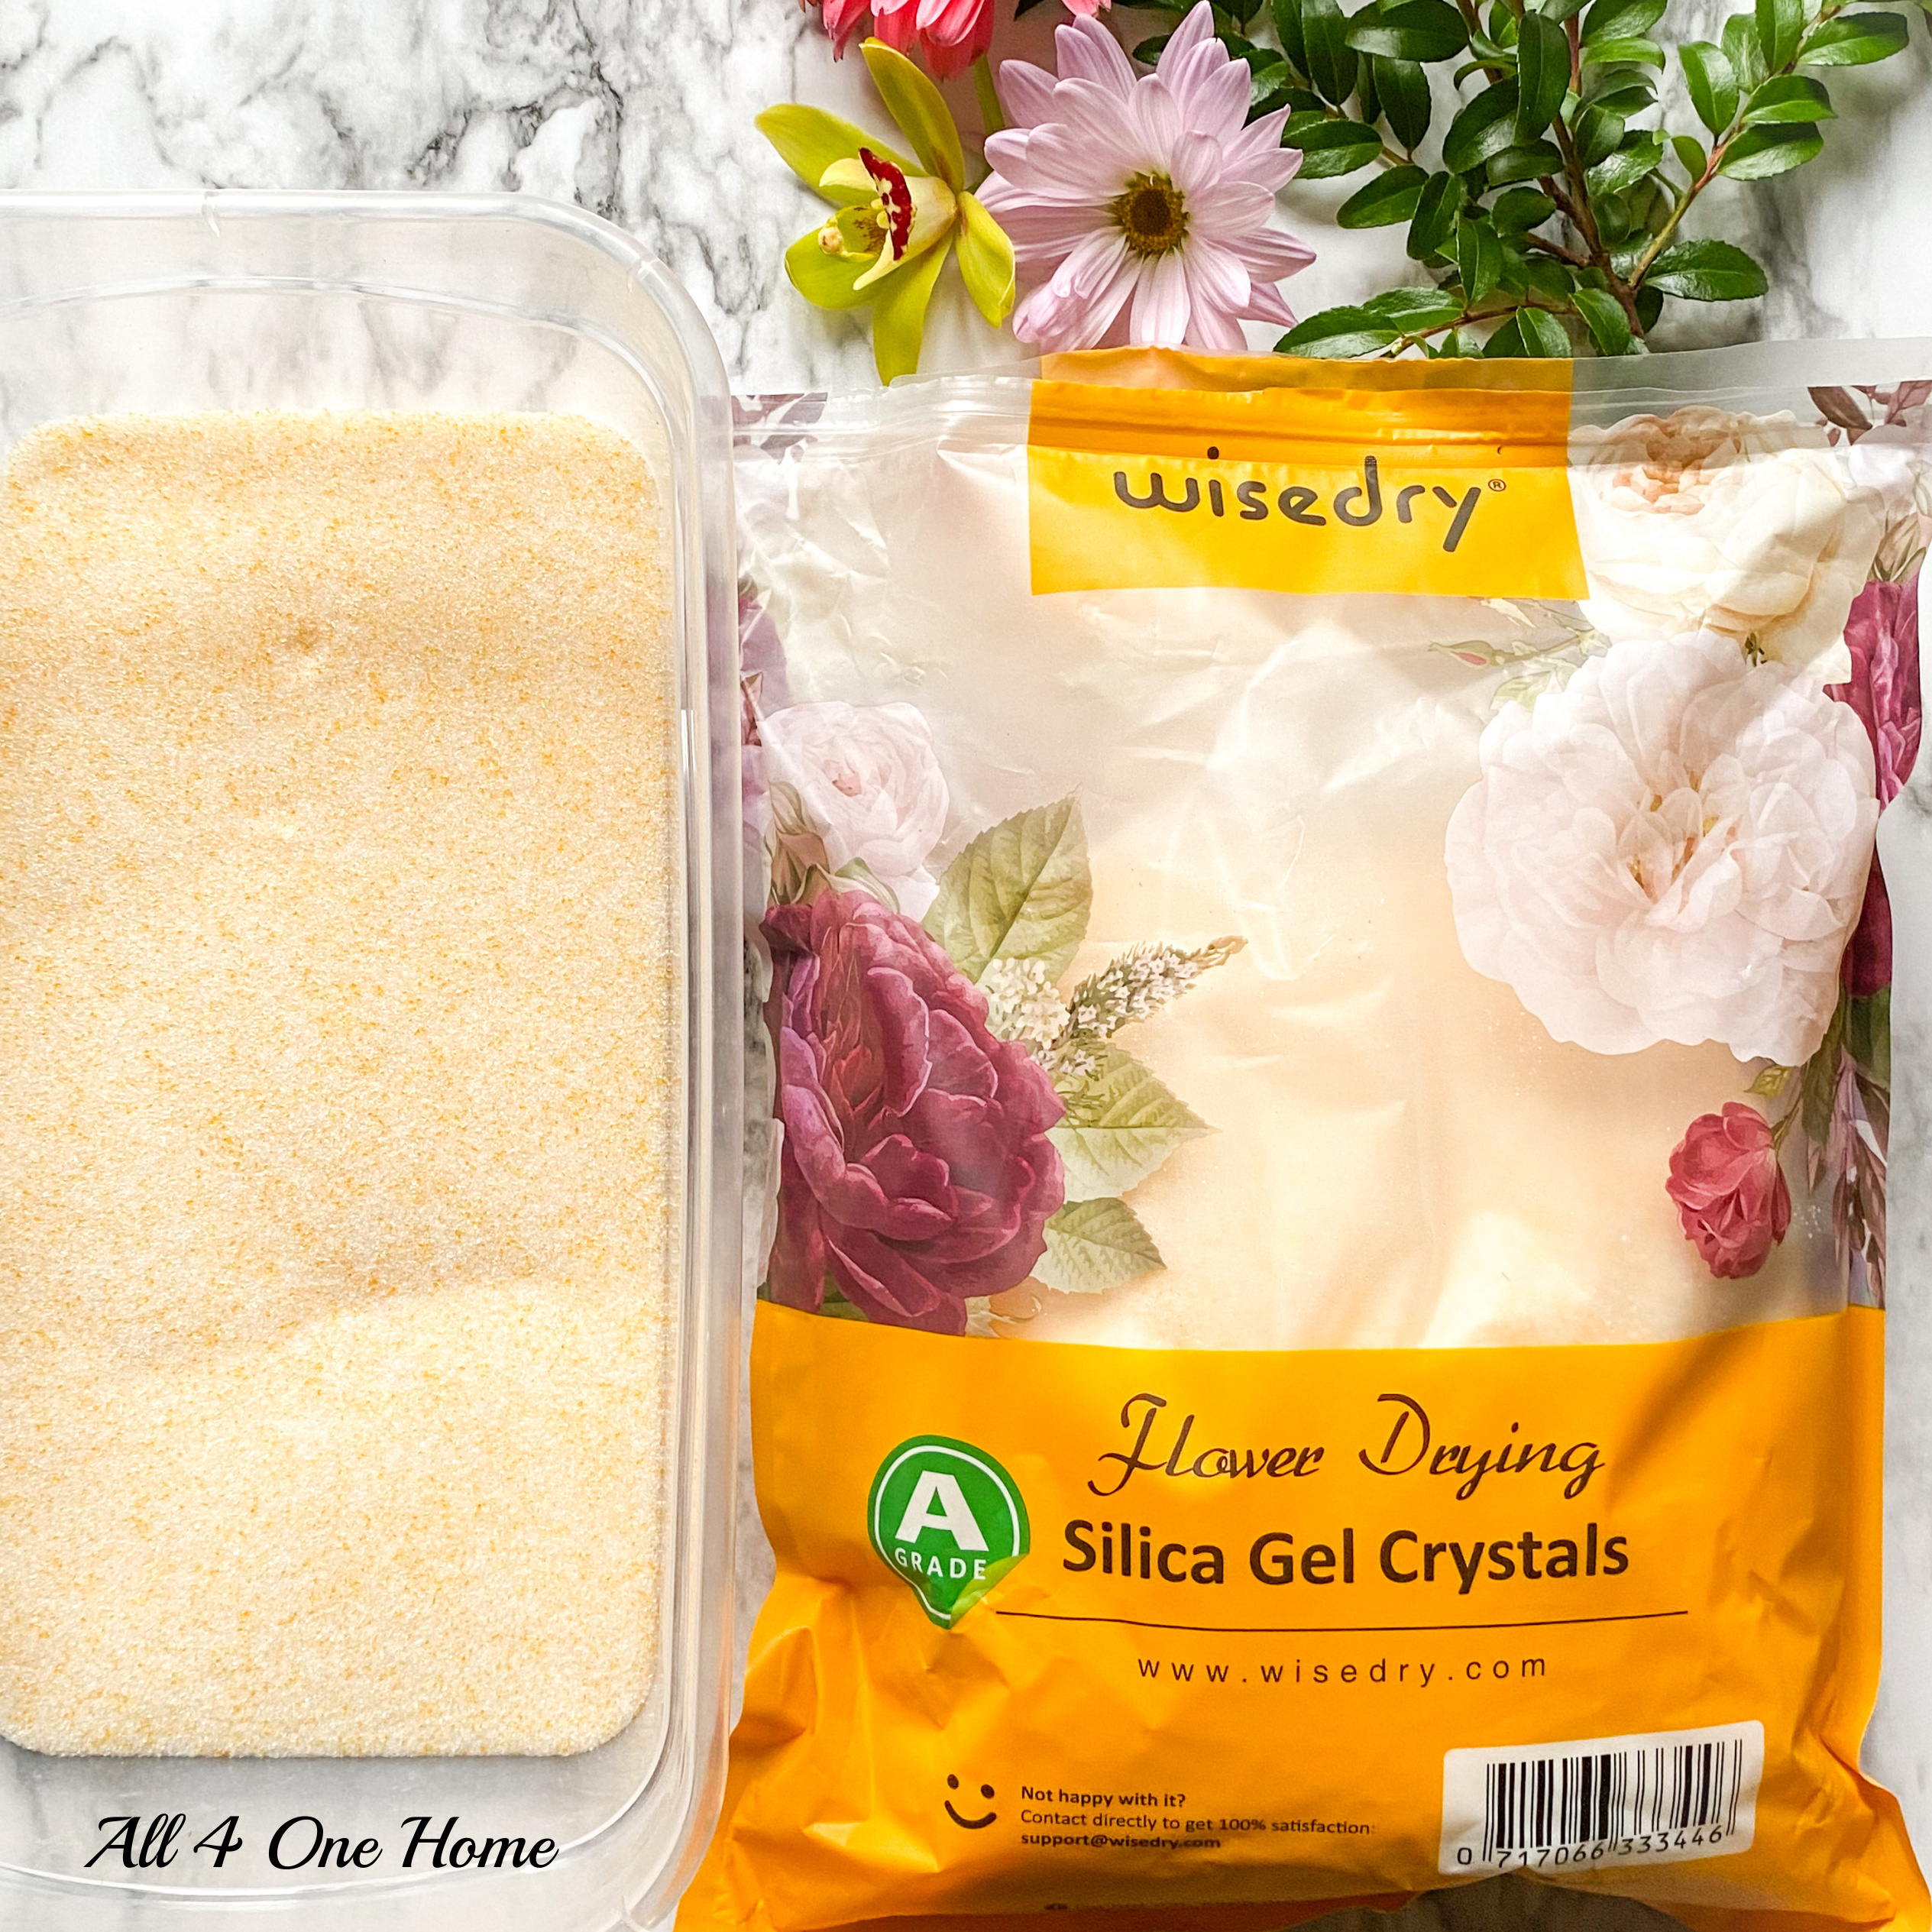
Wisedry flower drying silica gel
Conventional Drying Method
Step 1: Determine the flowers you would like to dry. Make sure the flowers are not wet and free of insects.
Step 2: Place a layer of flower drying silica gel in the bottom of an air-tight container. Make sure the layer is deep enough to hold the stems.
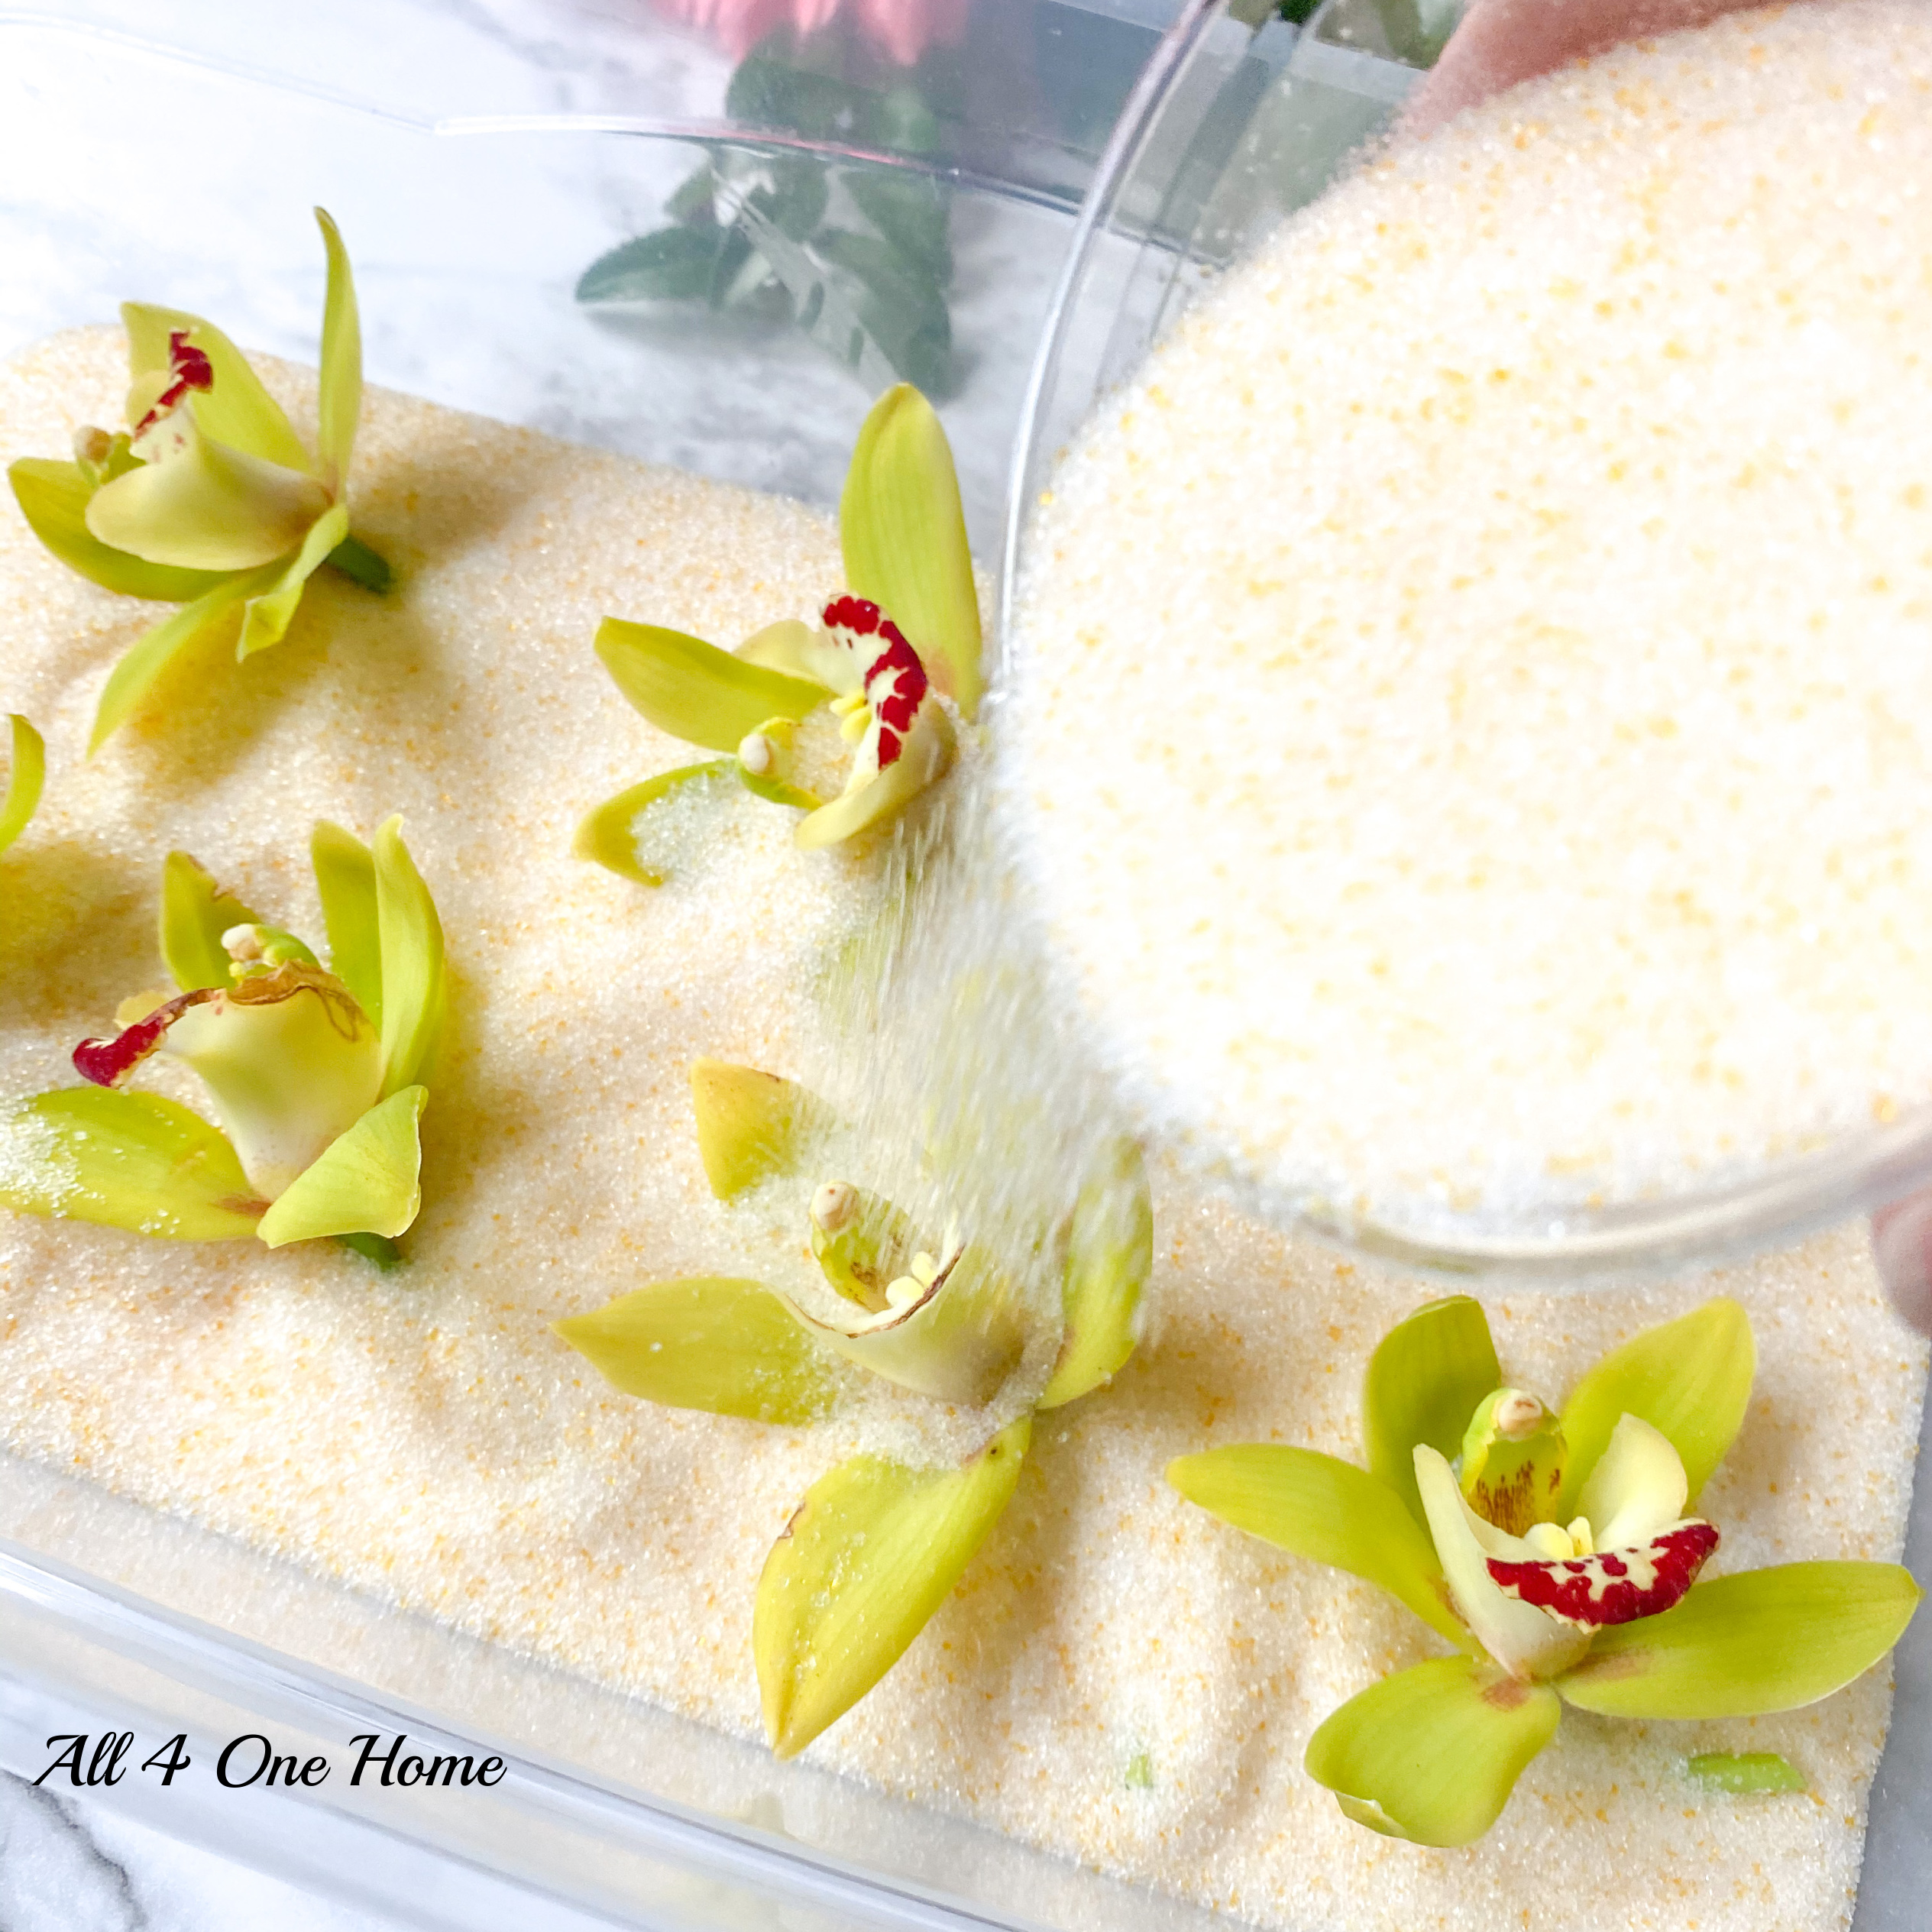
Step 3: Trim the flower stems (the original stems can be dried and re-attached with floral wire and tape after the drying if needed) insert the flowers upright into the silica gel. Flat-faced flowers such as gerbera daisies place face down in silica gel. Long flowers like snapdragons and larkspur can be laid on their side in the silica gel.
Step 4: Using a cup, gently sprinkle silica gel around the base of flowers be careful to support fragile petals silica gels before covering the top of the blossoms, to keep the shape of the flower intact. Make sure to place silica gel between each petal until all are covered.
Step 5: Seal the container and put it away in a cool & dry place, make sure to not tip or shift the contents when moving. After 2-7 days, check for dryness of the petals. Drying times will vary based on the type of flower. For best results, dry flowers of the same type in one container to be certain that all flowers dry at the same rate.
Step 6: If drying completed, gently pour out enough of the silica gel to expose a portion of the petals. Remove each flower and gently shake out the silica gel crystals. Brush off any remaining crystals with a fine brush. Using a new air-tight container and store for future uses.
The above directions are included in the package of silica gels provided by Wisedry. They also include microwave drying instructions as well.
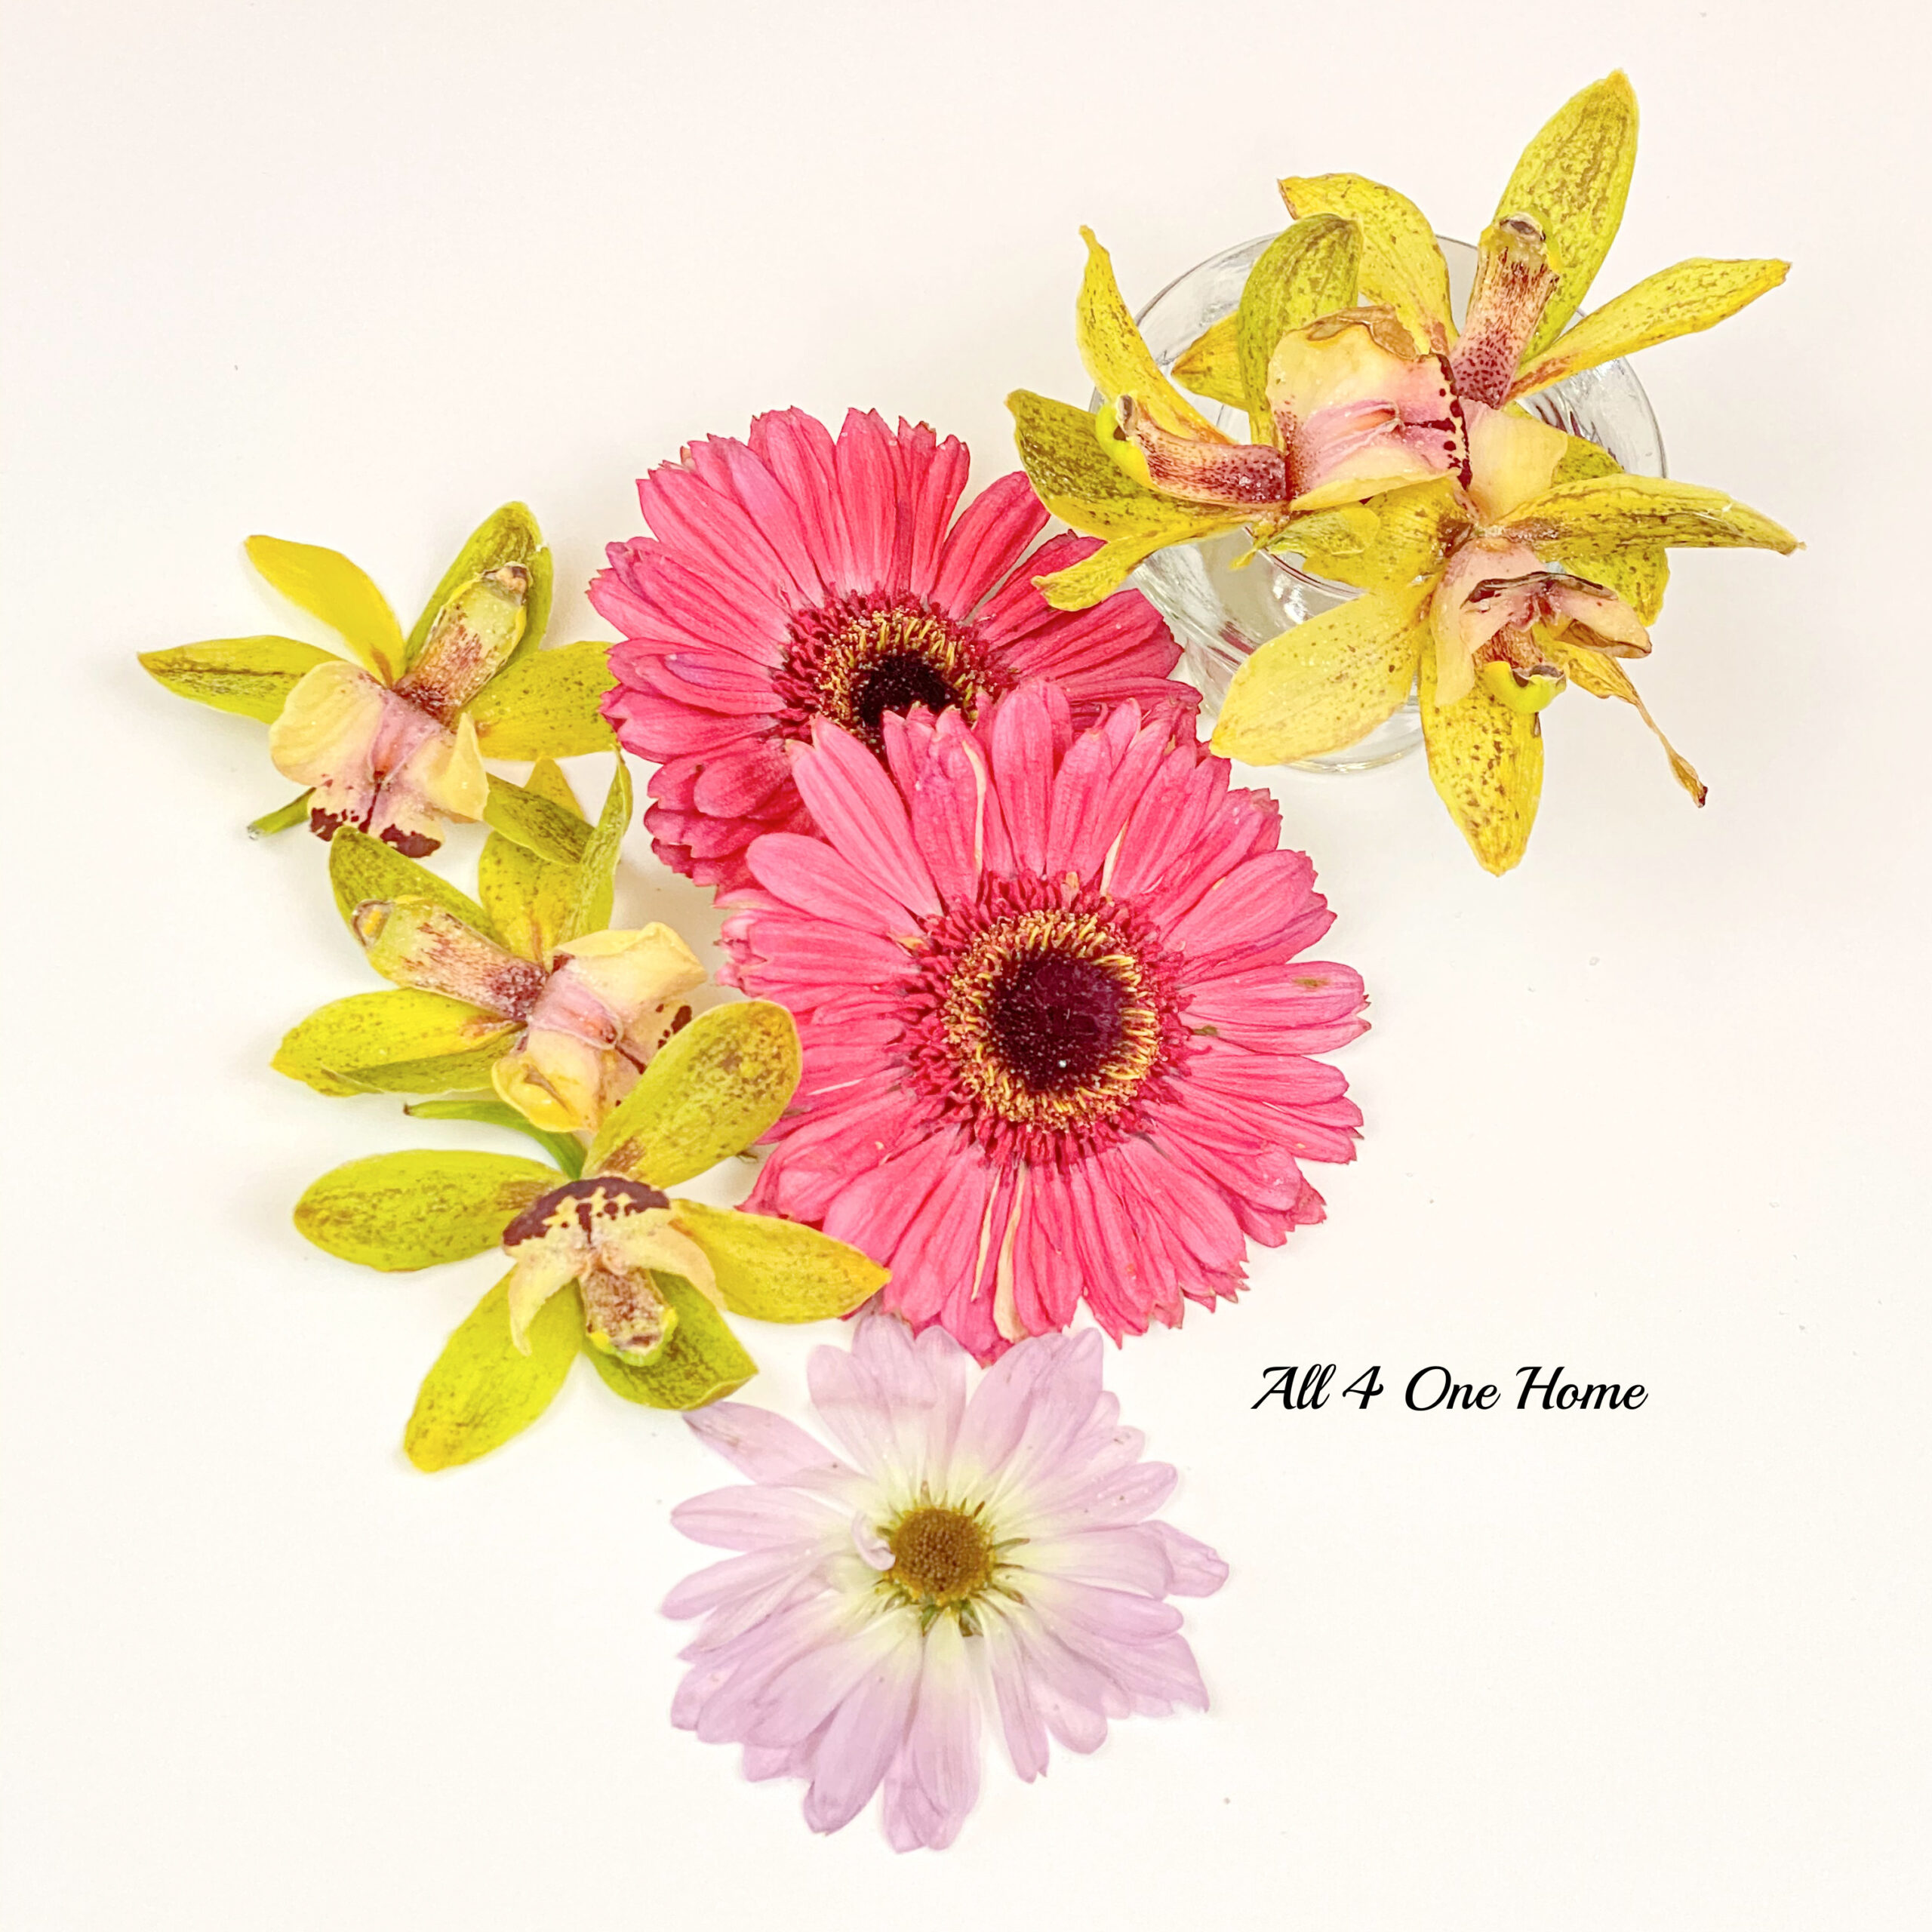
As you can see, my orchids and daisies dried beautifully and I’m looking forward to drying more flowers and creating fun gifts.
Enjoy!
Gretchen ~ All 4 One Home


Recent Comments