Today I’m sharing with you how to plant, harvest, and store your garlic. I am a huge fan of garlic and use it in almost all of my savory dishes. In fact, I go through so much garlic I became tired of always needing to add it to my grocery list, I decided to try and grow some myself.
The first year I tried to grow garlic, I followed the instructions on the bulb bag from the garden center, and it said to plant in early spring, and I did get some growth, however no garlic. I didn’t realize, depending on the region you live in, those directions are not necessarily the best. Garlic takes time to grow, and if you live in a region where your growing season is short, then you should definitely follow this guideline for a successful garlic harvest.
- When to plant: Plant your garlic bulbs in late September or early October. Just how you would plant your flower bulbs. They need about 5-6, sometimes 7 months to grow and mature.
- How to plant: Separate all of the cloves from the head of garlic, making sure the cloves still have their outer layer of skin on them. Plant 2″ deep into the soil, cover with organic compost/mulch, and wait.
- Spring: You should start to see the garlic sprouting up. If you live in an area where you still have frost, you may want to consider covering the shoots to protect them.
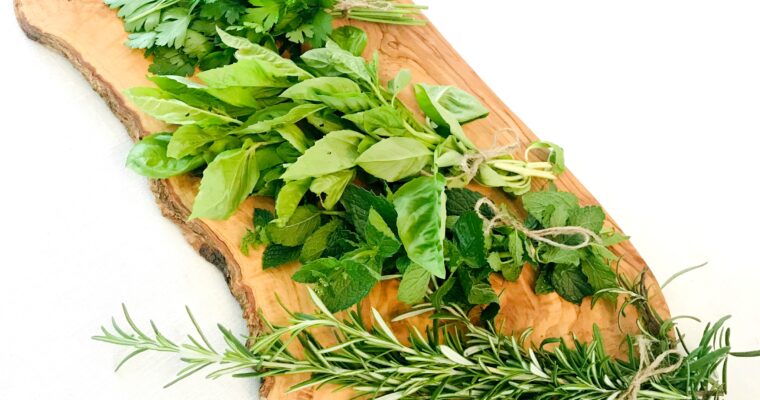
- Late Spring/Early Summer: You will begin to see garlic scapes. Which are basically blooms from the garlic and they start to twist and curl as they grow. It’s important to cut these so all of the energy will be focused on your garlic bulbs and not the flowers. You can utilize the scapes by making pesto, garlic scape butter, or add them to your salads. Once the scapes have been cut, you will need to wait another 3-4 weeks after that.
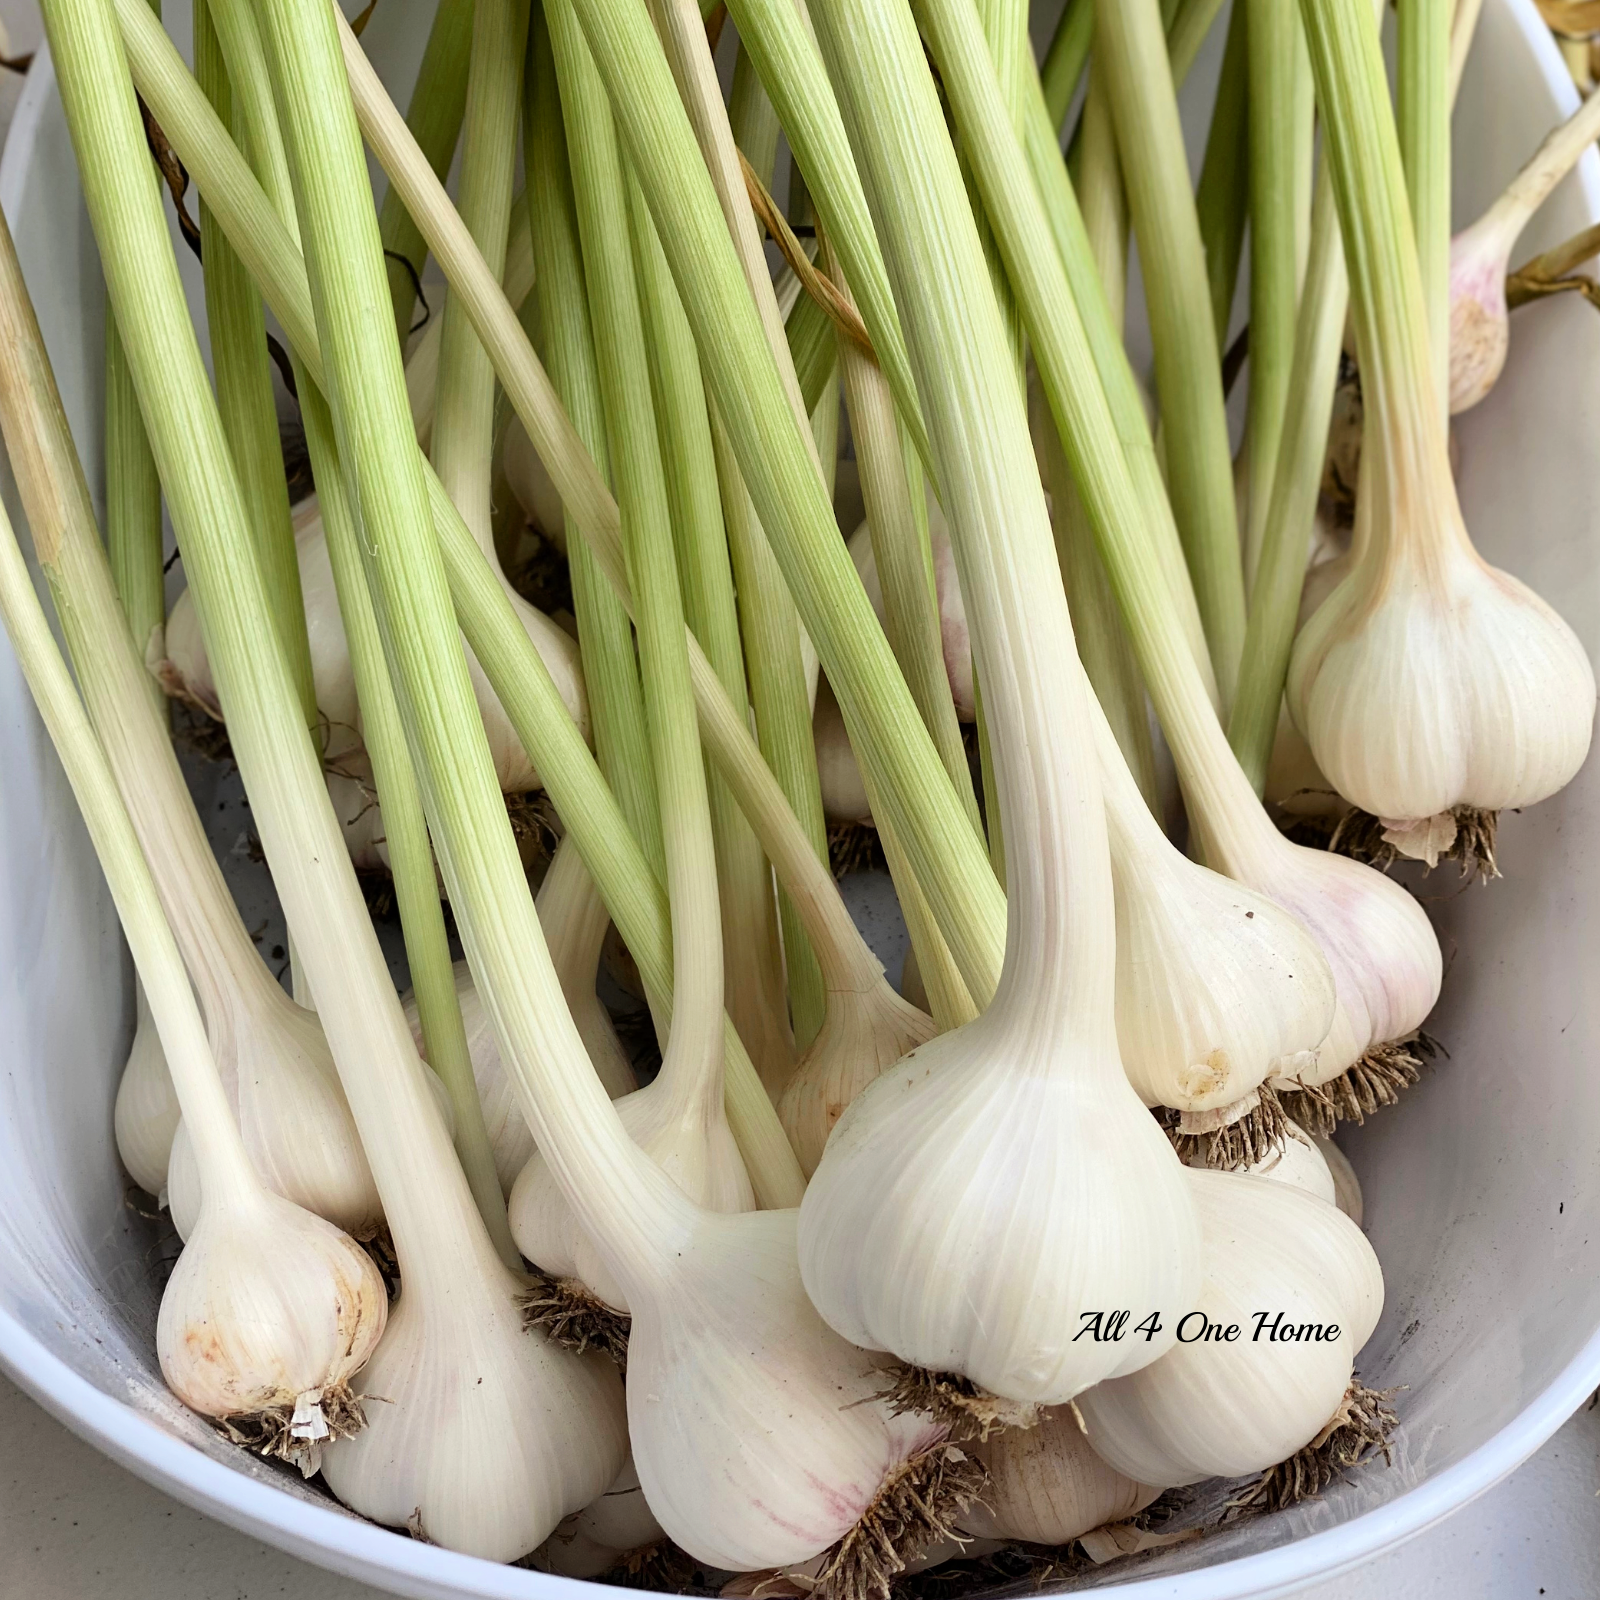
- When to harvest: Your garlic should be ready to harvest when you see the bottom 2-3 leaves dry and turn brown. Depending on the soil you have, you might be able to carefully pull out the garlic at the base of the leaves and shake off any dirt. If your soil is very hard and clay-like, I recommend using a small shovel or garden tool to help you dig them out of the soil. Being careful to not bruise them by hitting them on the ground, or bucket. The bulbs are very soft and tender at this stage.
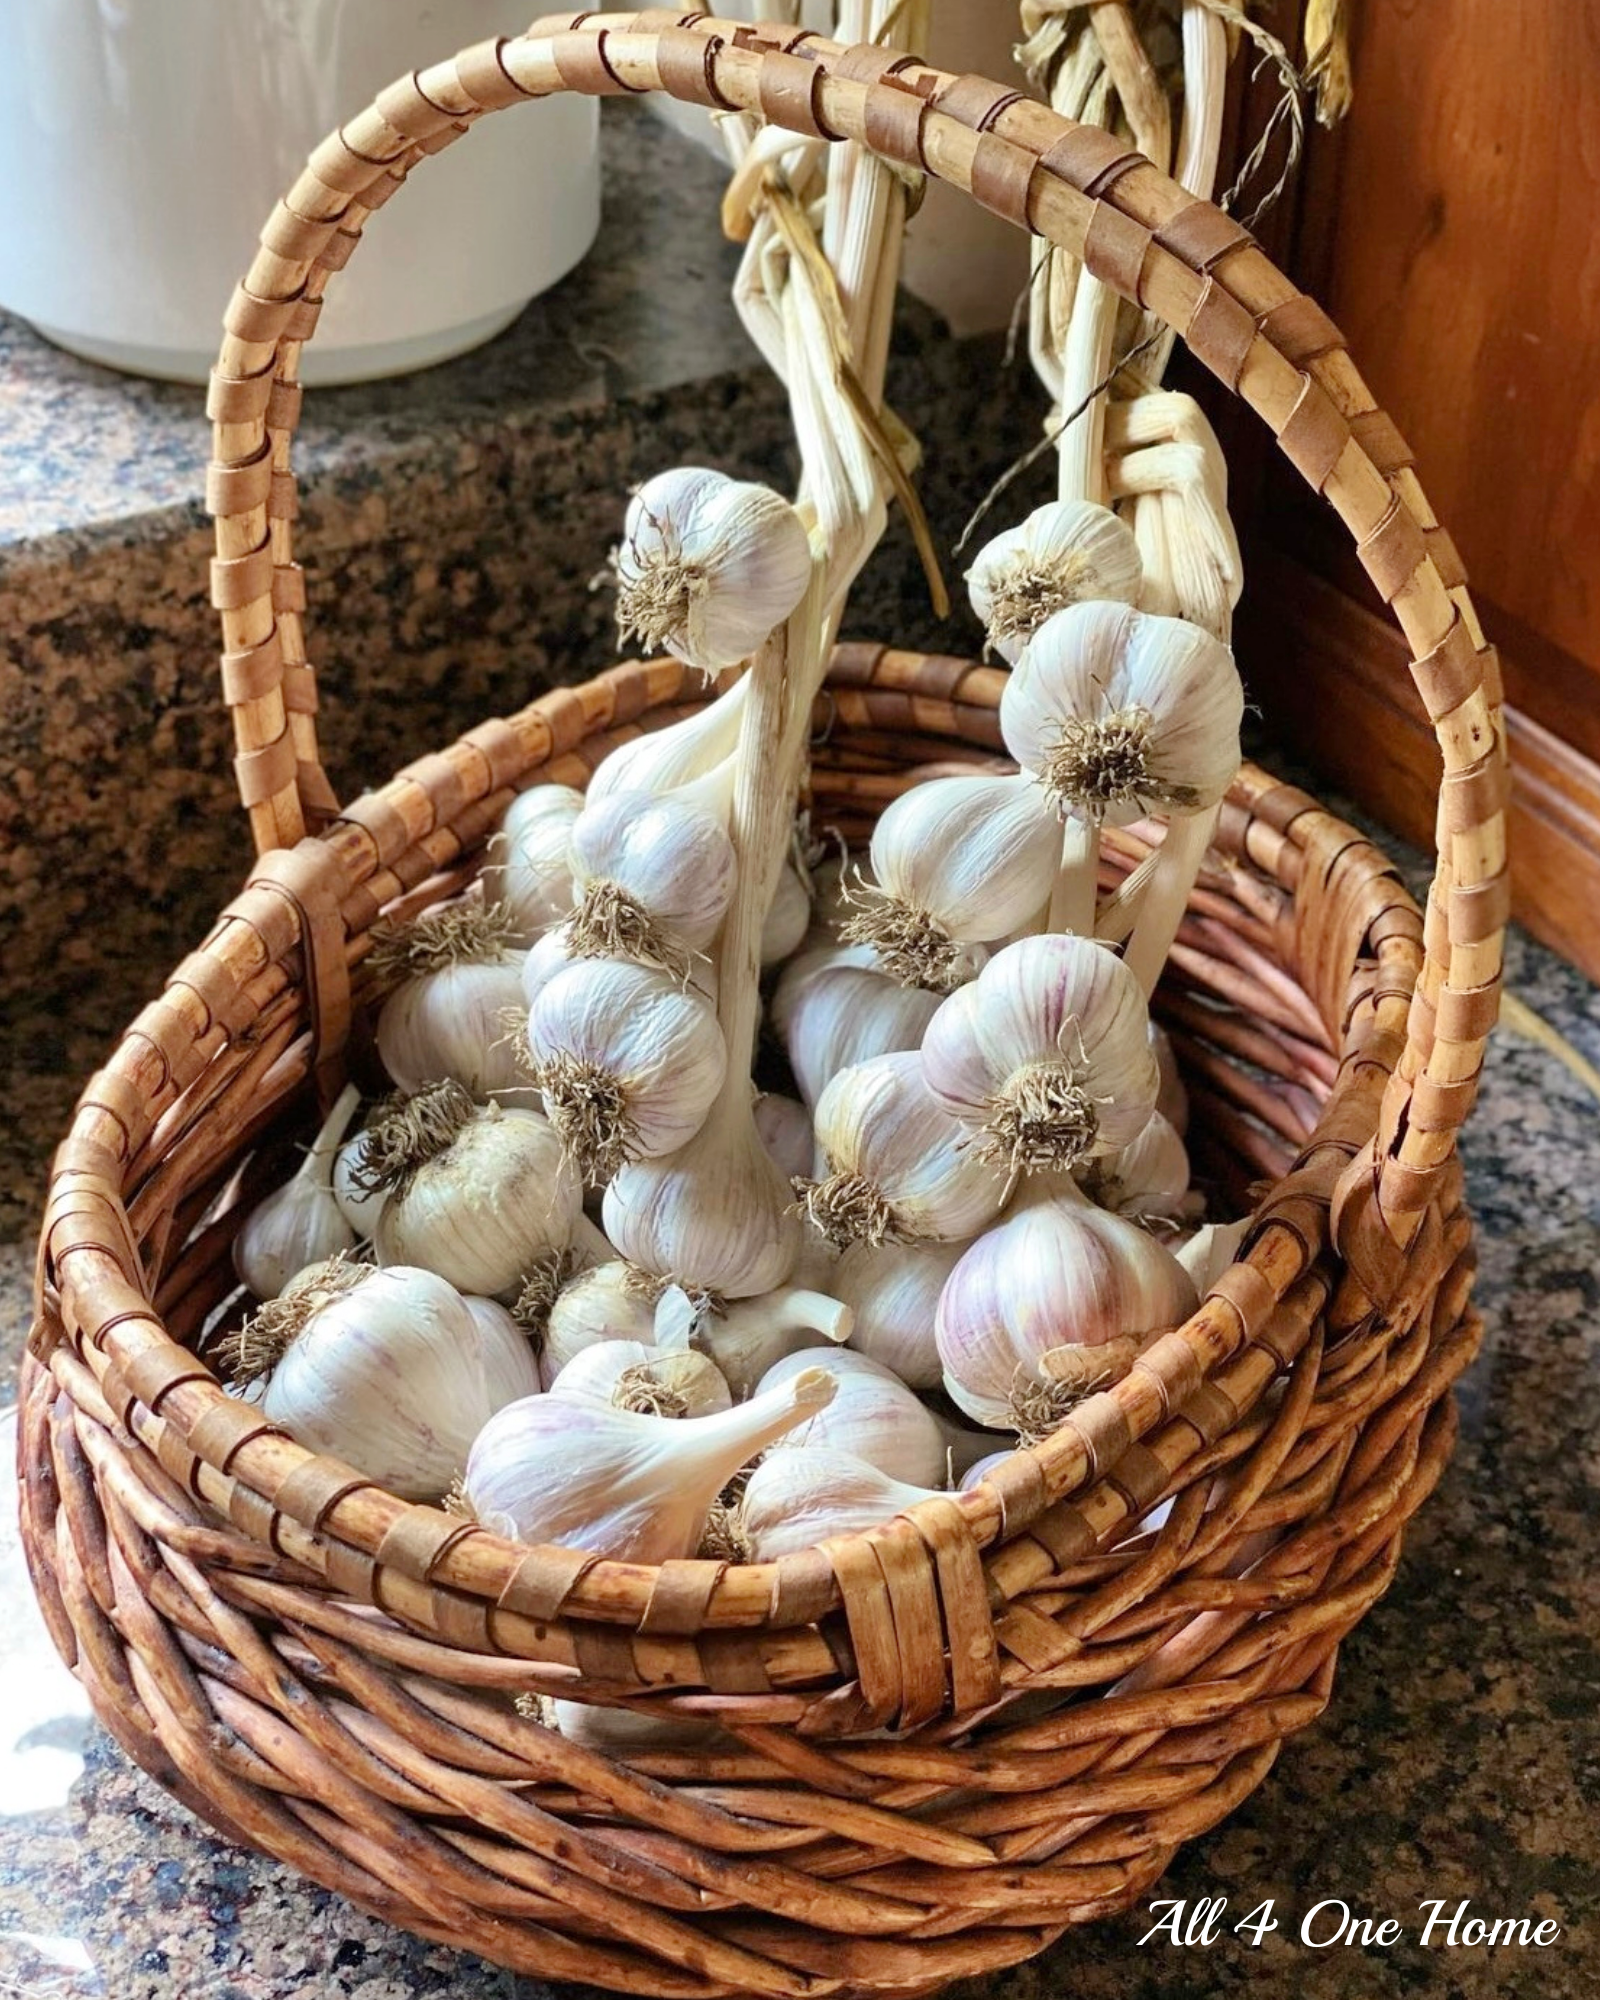
- How to dry: There are several different ways you can dry your garlic. You can use a drying rack, hang them in a well-ventilated area, or you can braid them for a more decorative hanging method. You can also brush the debris off with a soft brush before you dry. I personally like to let them hang dry for 2 weeks, then pull the bottom/outer dry leaves down off of the bulbs and all of the dirt comes off very easily.
- Curing: Now you need to continue to be patient a few more weeks before you can actually enjoy your garlic. They need an additional 4-6 weeks more of curing.
- Enjoy: Once your garlic is cured, cut the remaining stems off leaving about 2-3 inches, and enjoy.
Note: If you have a small garden and wish to plant several bulbs, spread them out around your garden beds, don’t use up an entire bed for them. That way you can utilize the space in your beds for other vegetables while your garlic matures, they don’t need too much room.
I hope this information was helpful for you and you are inspired to grow your own garlic.
Happy Gardening!
Gretchen ~ All 4 One Home


Recent Comments