
Have you noticed lately everywhere you look you will find these beautiful and intricate coloring books made for adults? I personally love these books, and I picked mine up two years ago when I was searching for something that would give me some peace of mind and allow me to be creative at the same time. I love to take my coloring book traveling with me and I enjoy using a variety of colored pens and pencils. The dilemma I found was how do I carry my pens and pencils without having to bring the buckets or bags I use to hold them in, I needed to simplify it.
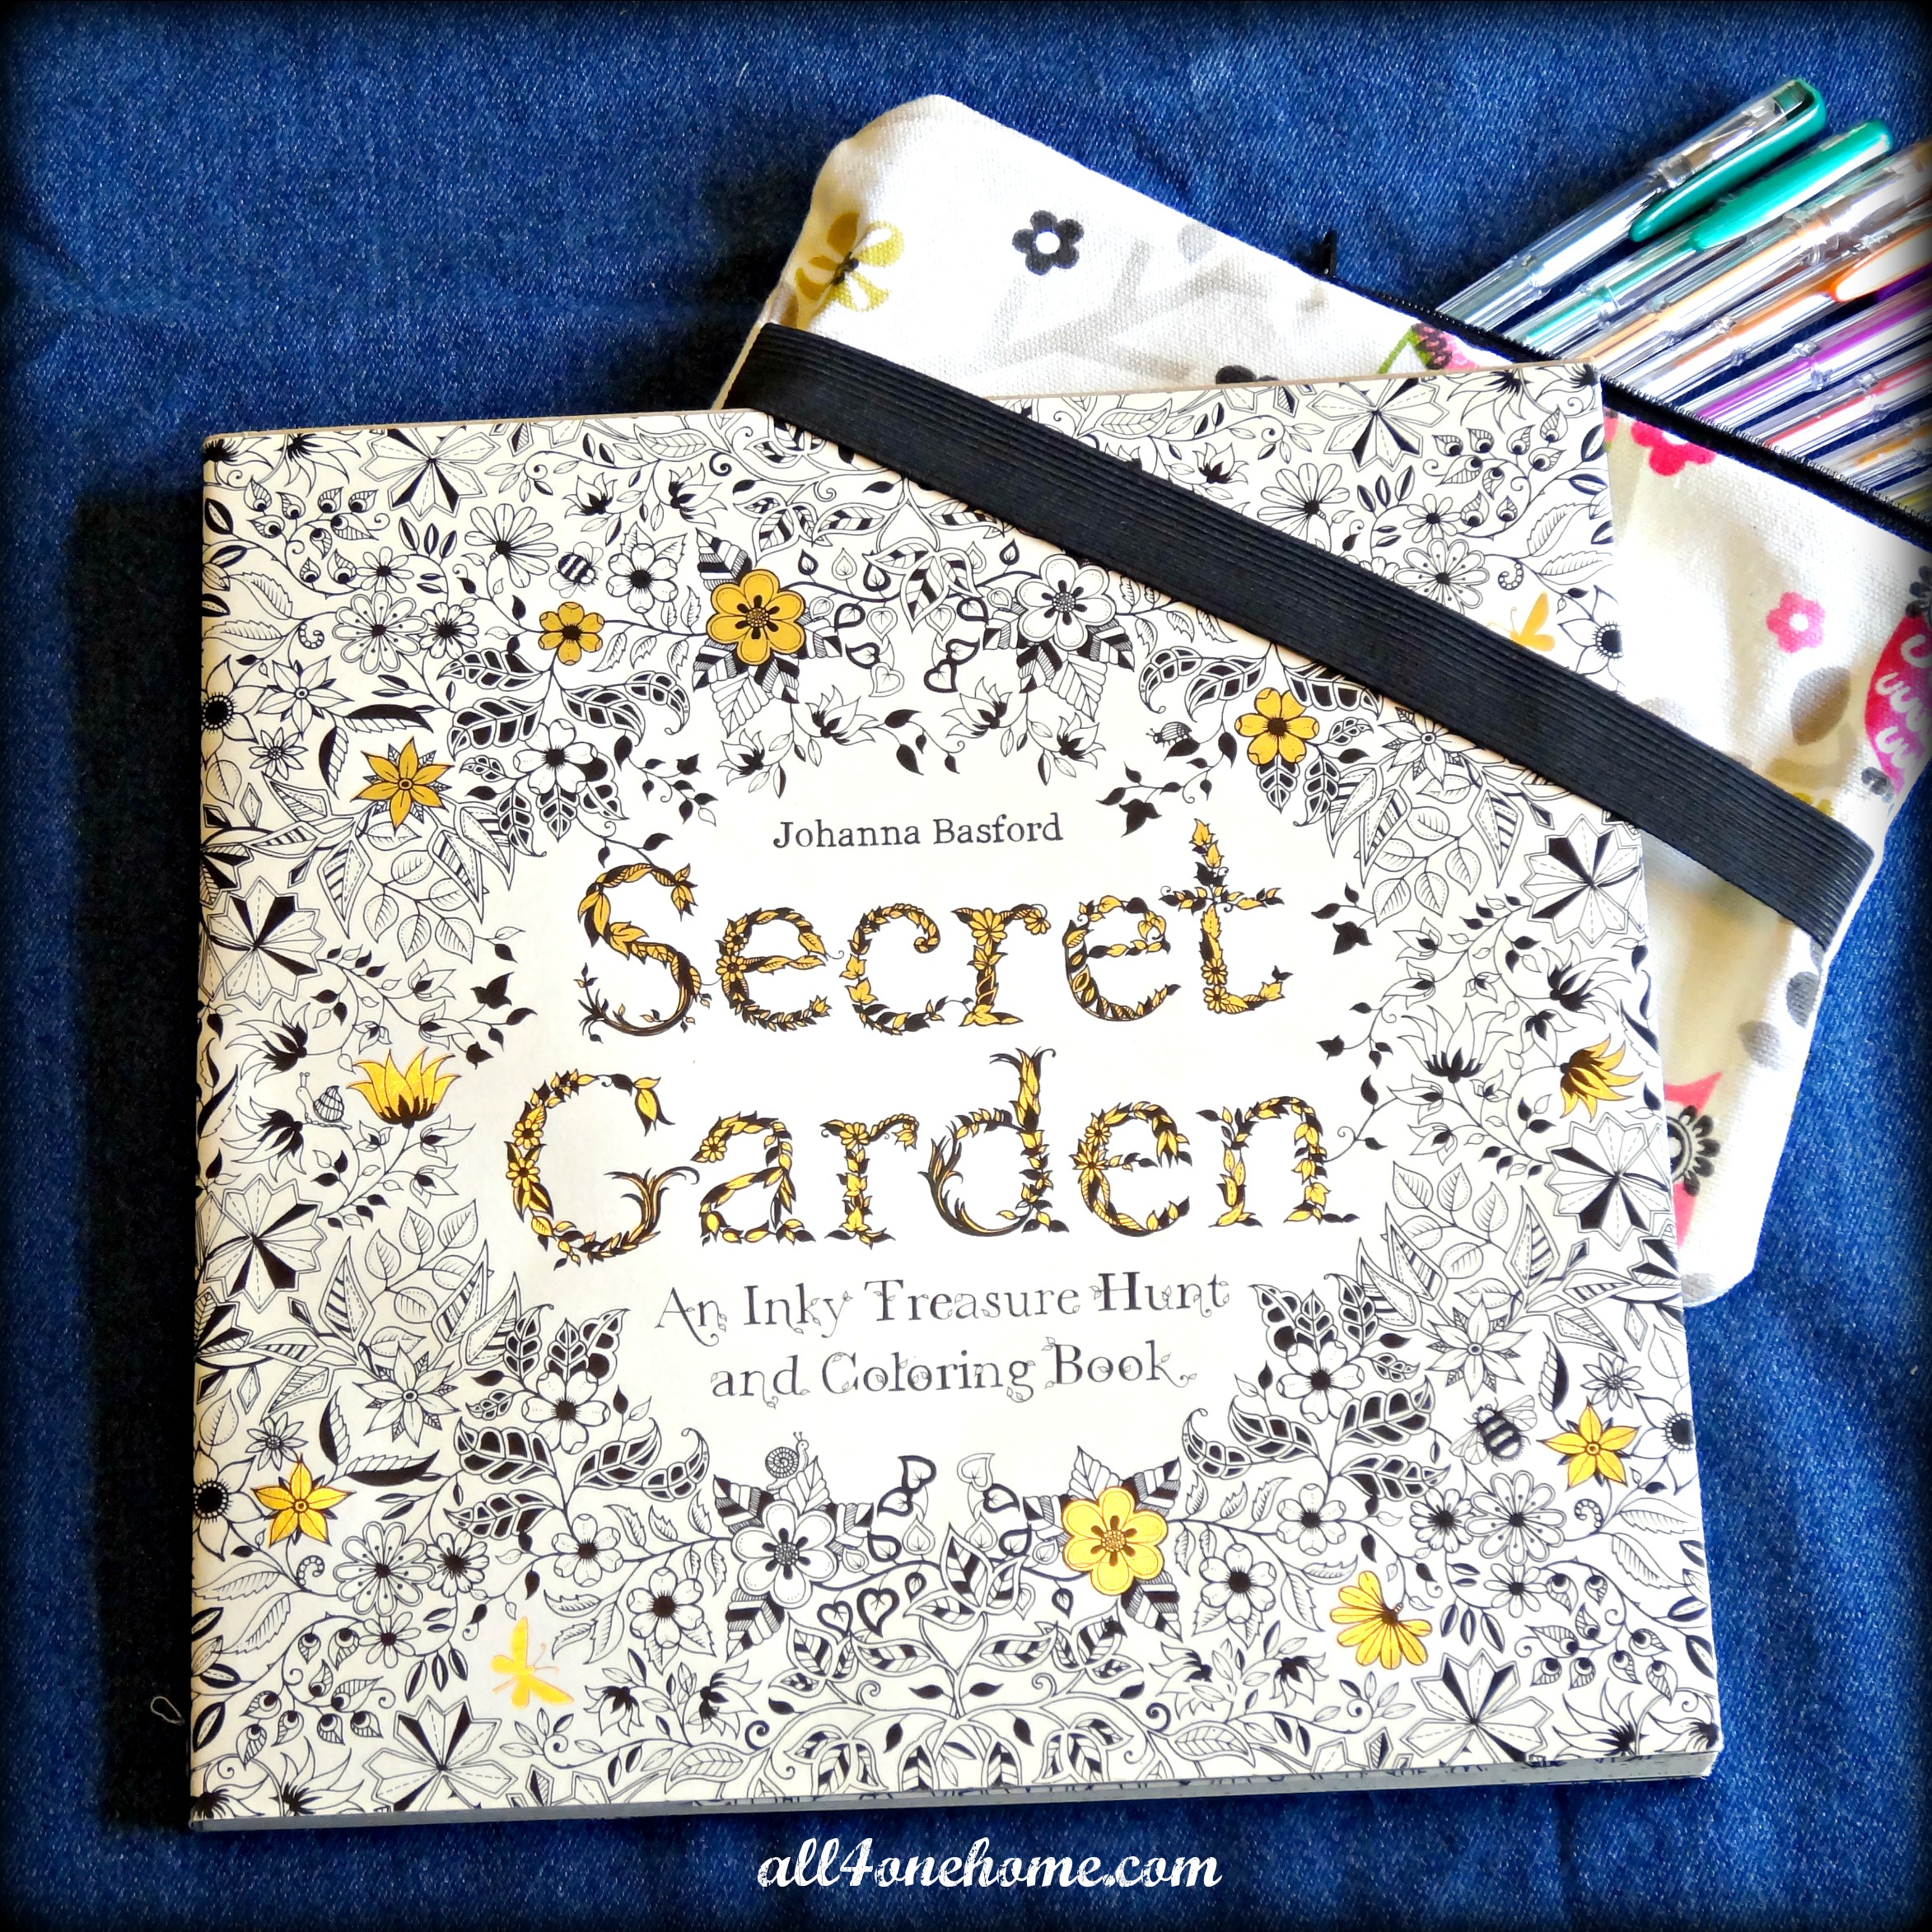
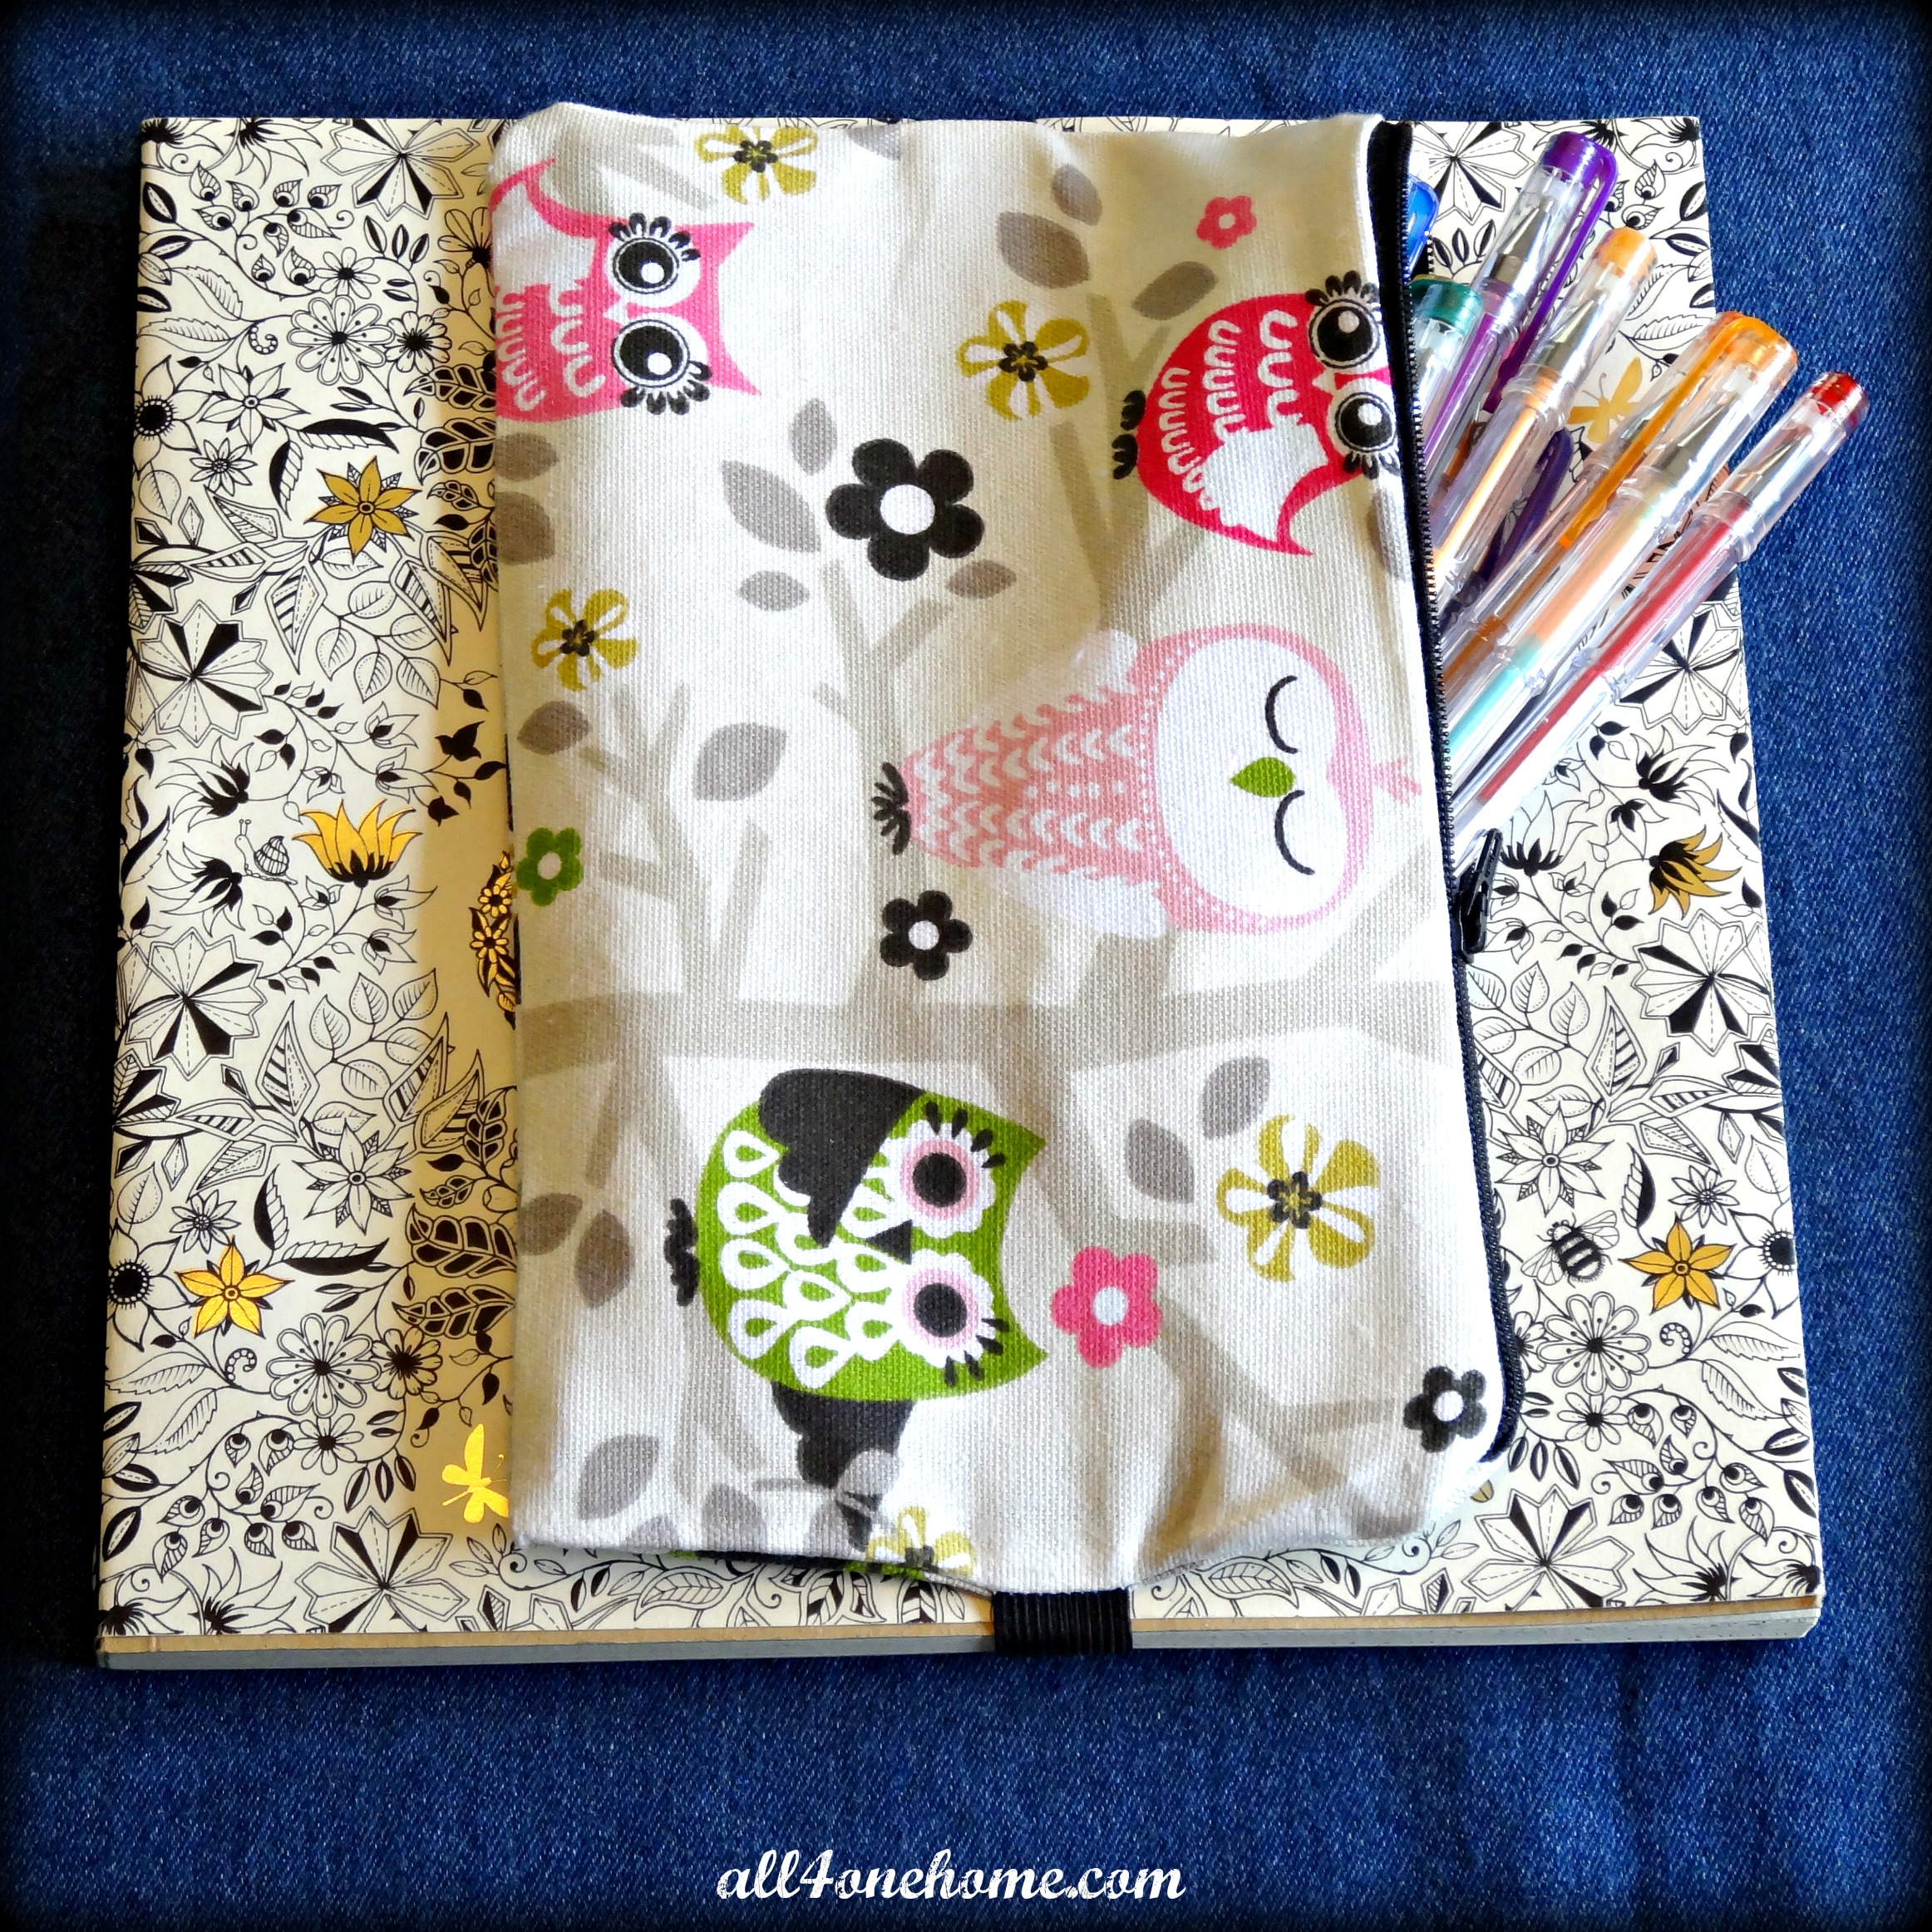
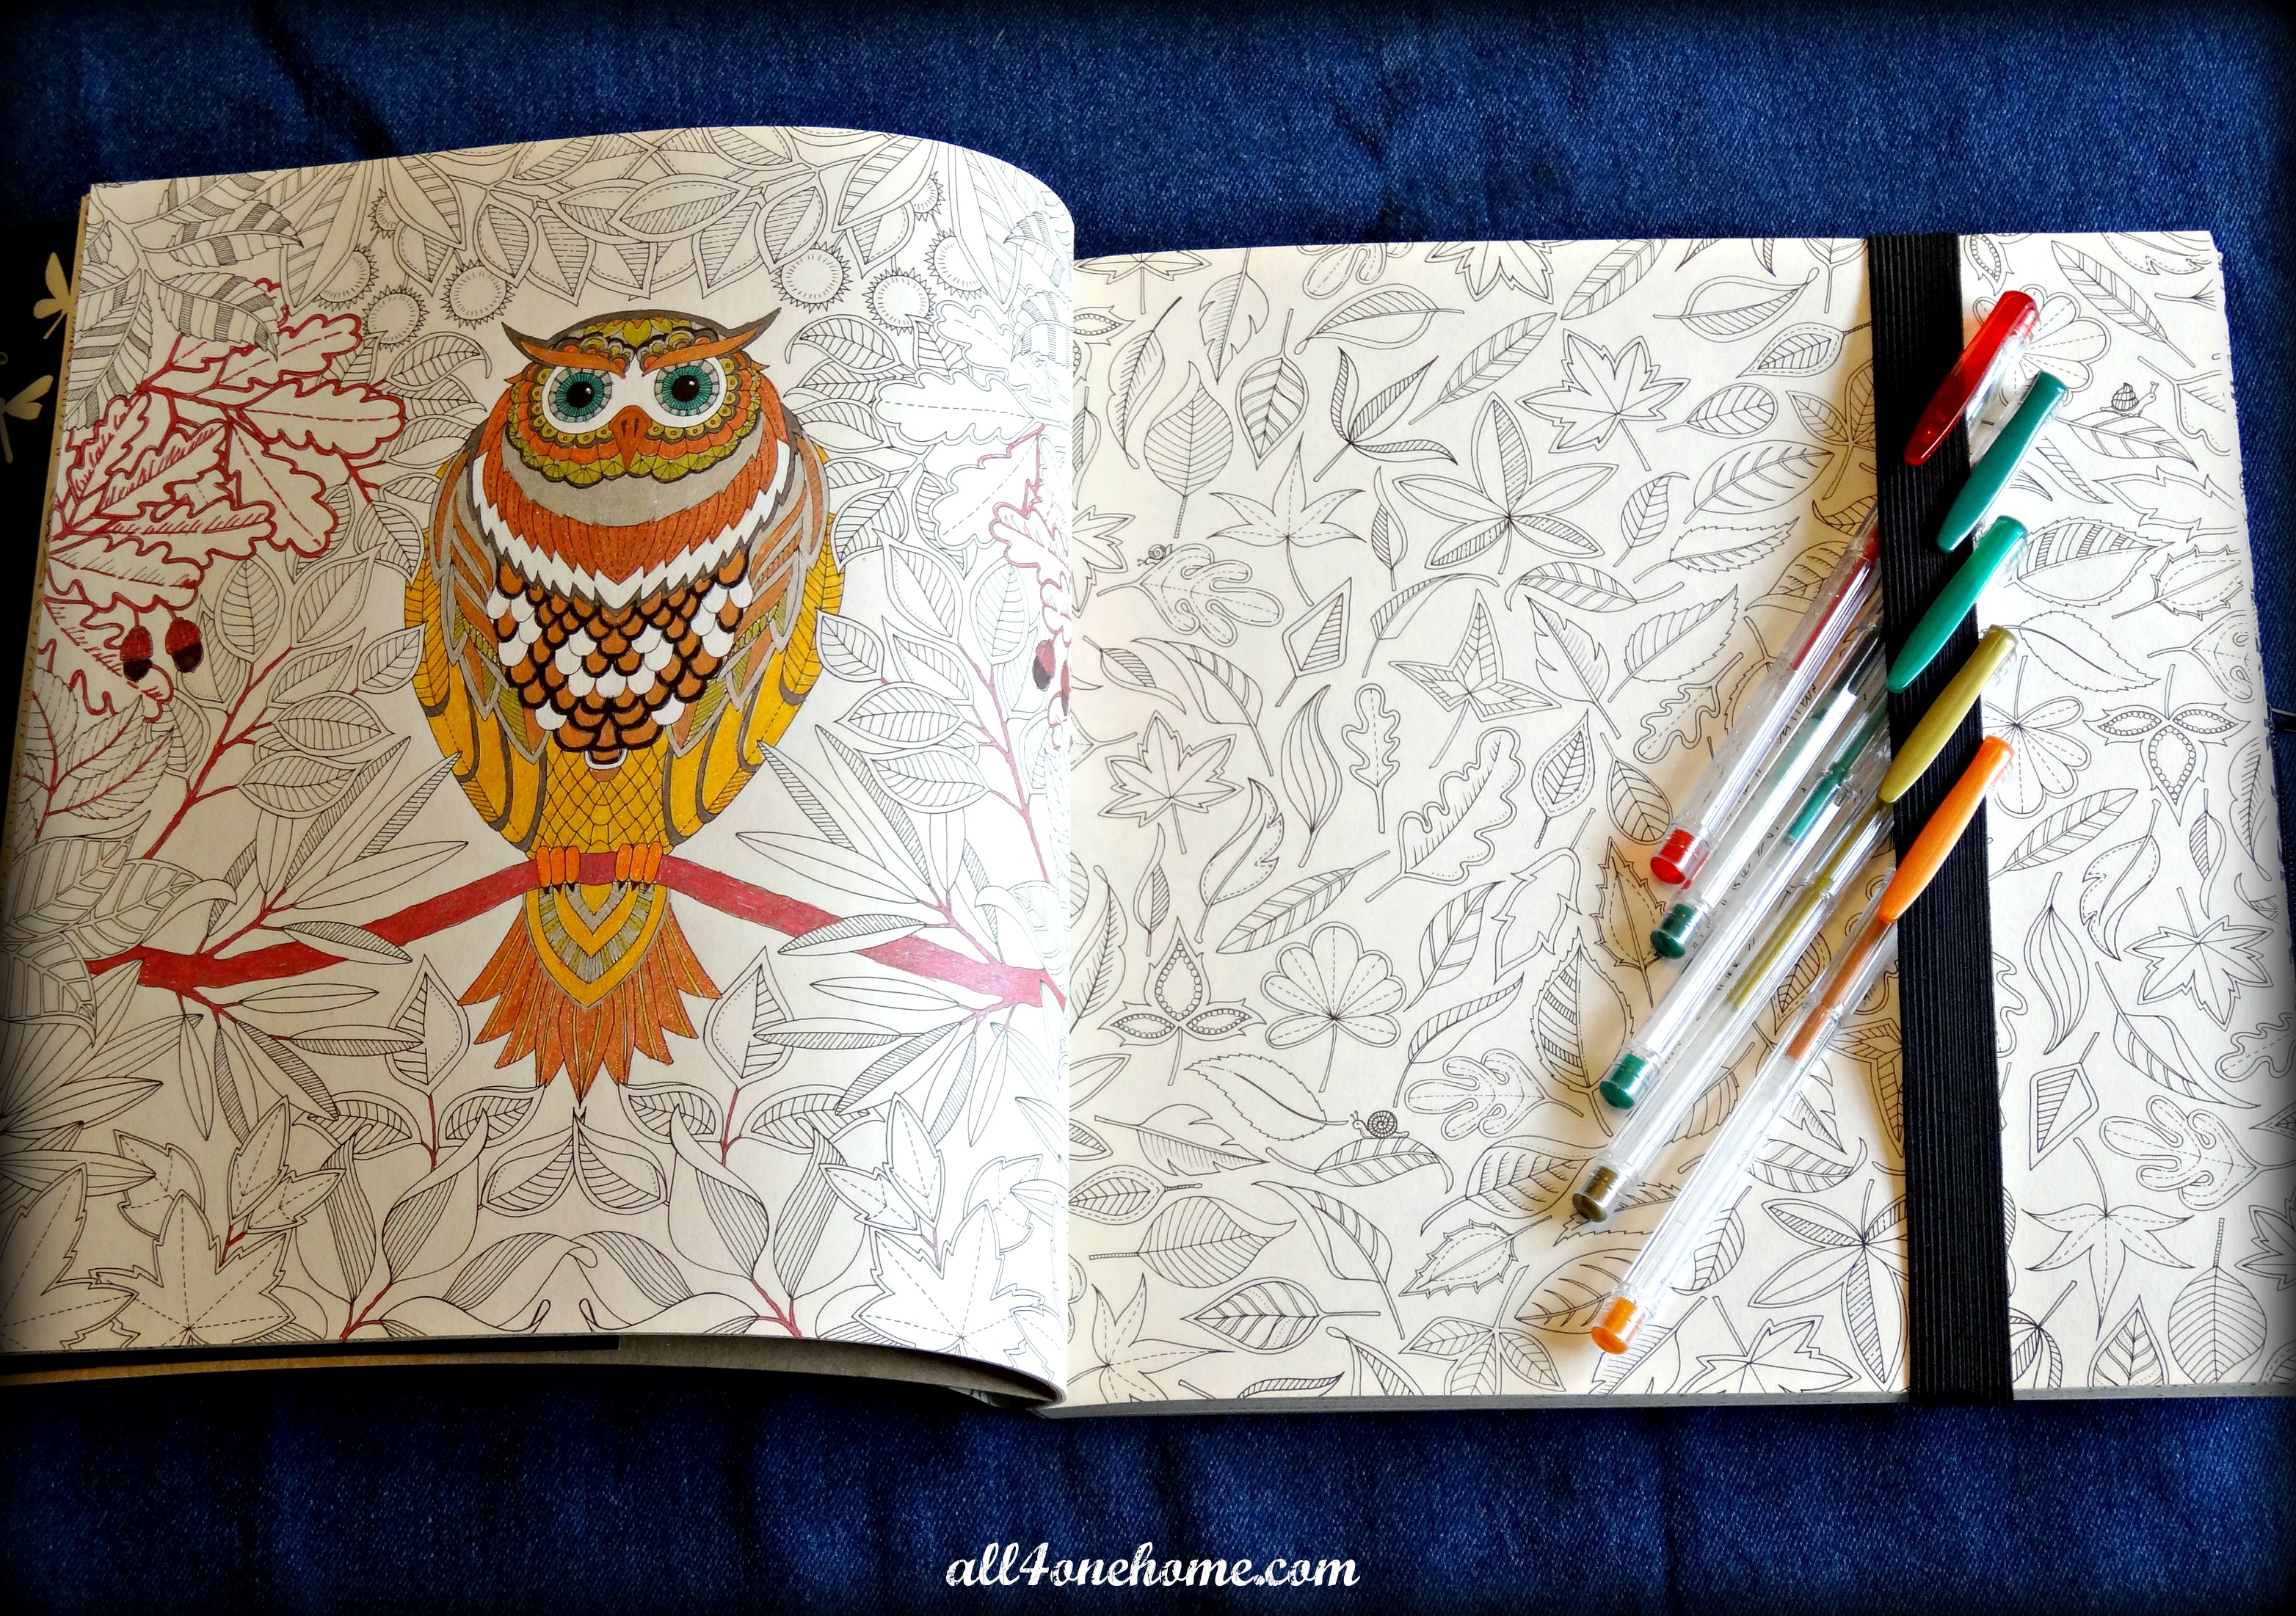
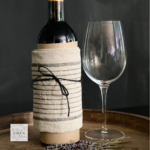
Recently I found a pencil pouch that had an elastic band across it, which allows you to attach it to any book you would like to without needing binder holes or rings. You simply place it over the cover of your book and your pens and pencils are on hand at any time. The benefits I discovered are; if you are using multiple pens you can easily hook them onto the elastic and they won’t roll off the page, and the elastic band holds the paper in place while you are creating your masterpiece. How cool is that?
I ran across several tutorials that teach you how to sew a basic zipper pouch. My favorite one I discovered is from mellysews.com. Her easy step-by-step video is great to show beginners how to sew on a zipper for your basic pouch. The steps below will show you how I attached the elastic band. It’s a very simple way to add functionality to your pouch!
These elastic pencil pouches will make amazing teacher gifts, back to school necessities for your kiddos and of course for yourself and your amazing coloring books! So let’s get crafty!
Supplies Needed:
Sewing machine
Scissors
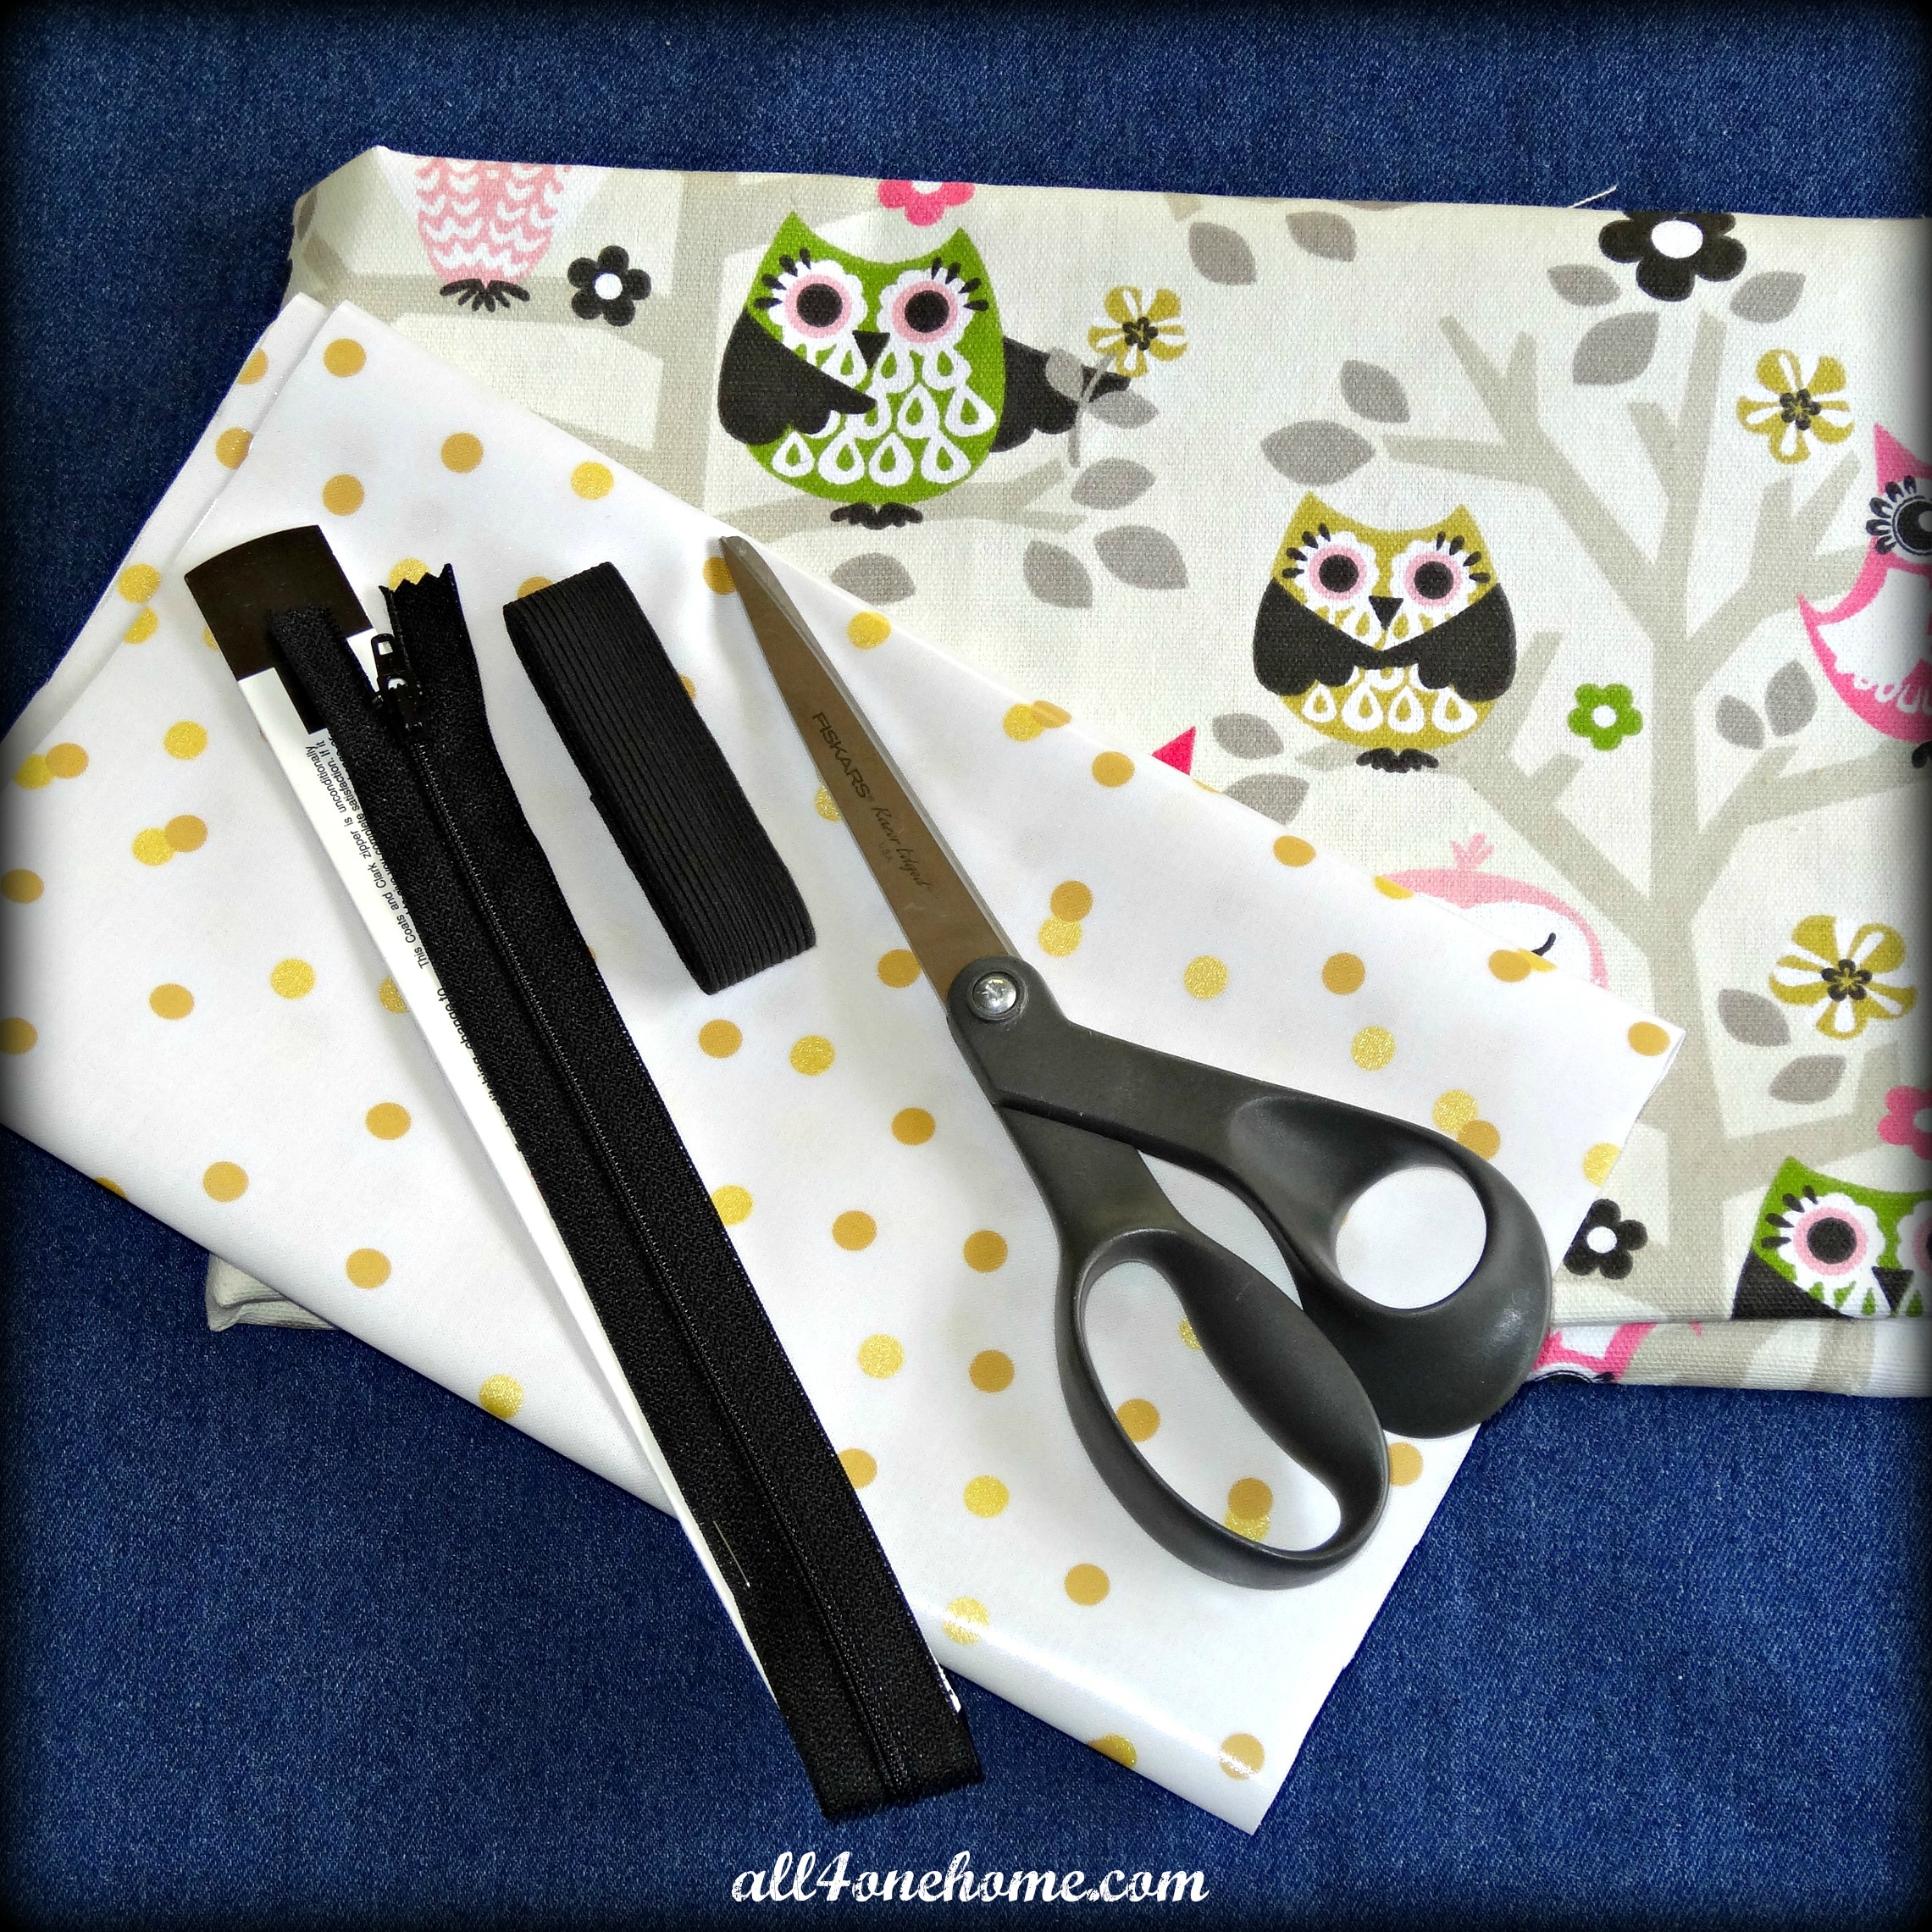
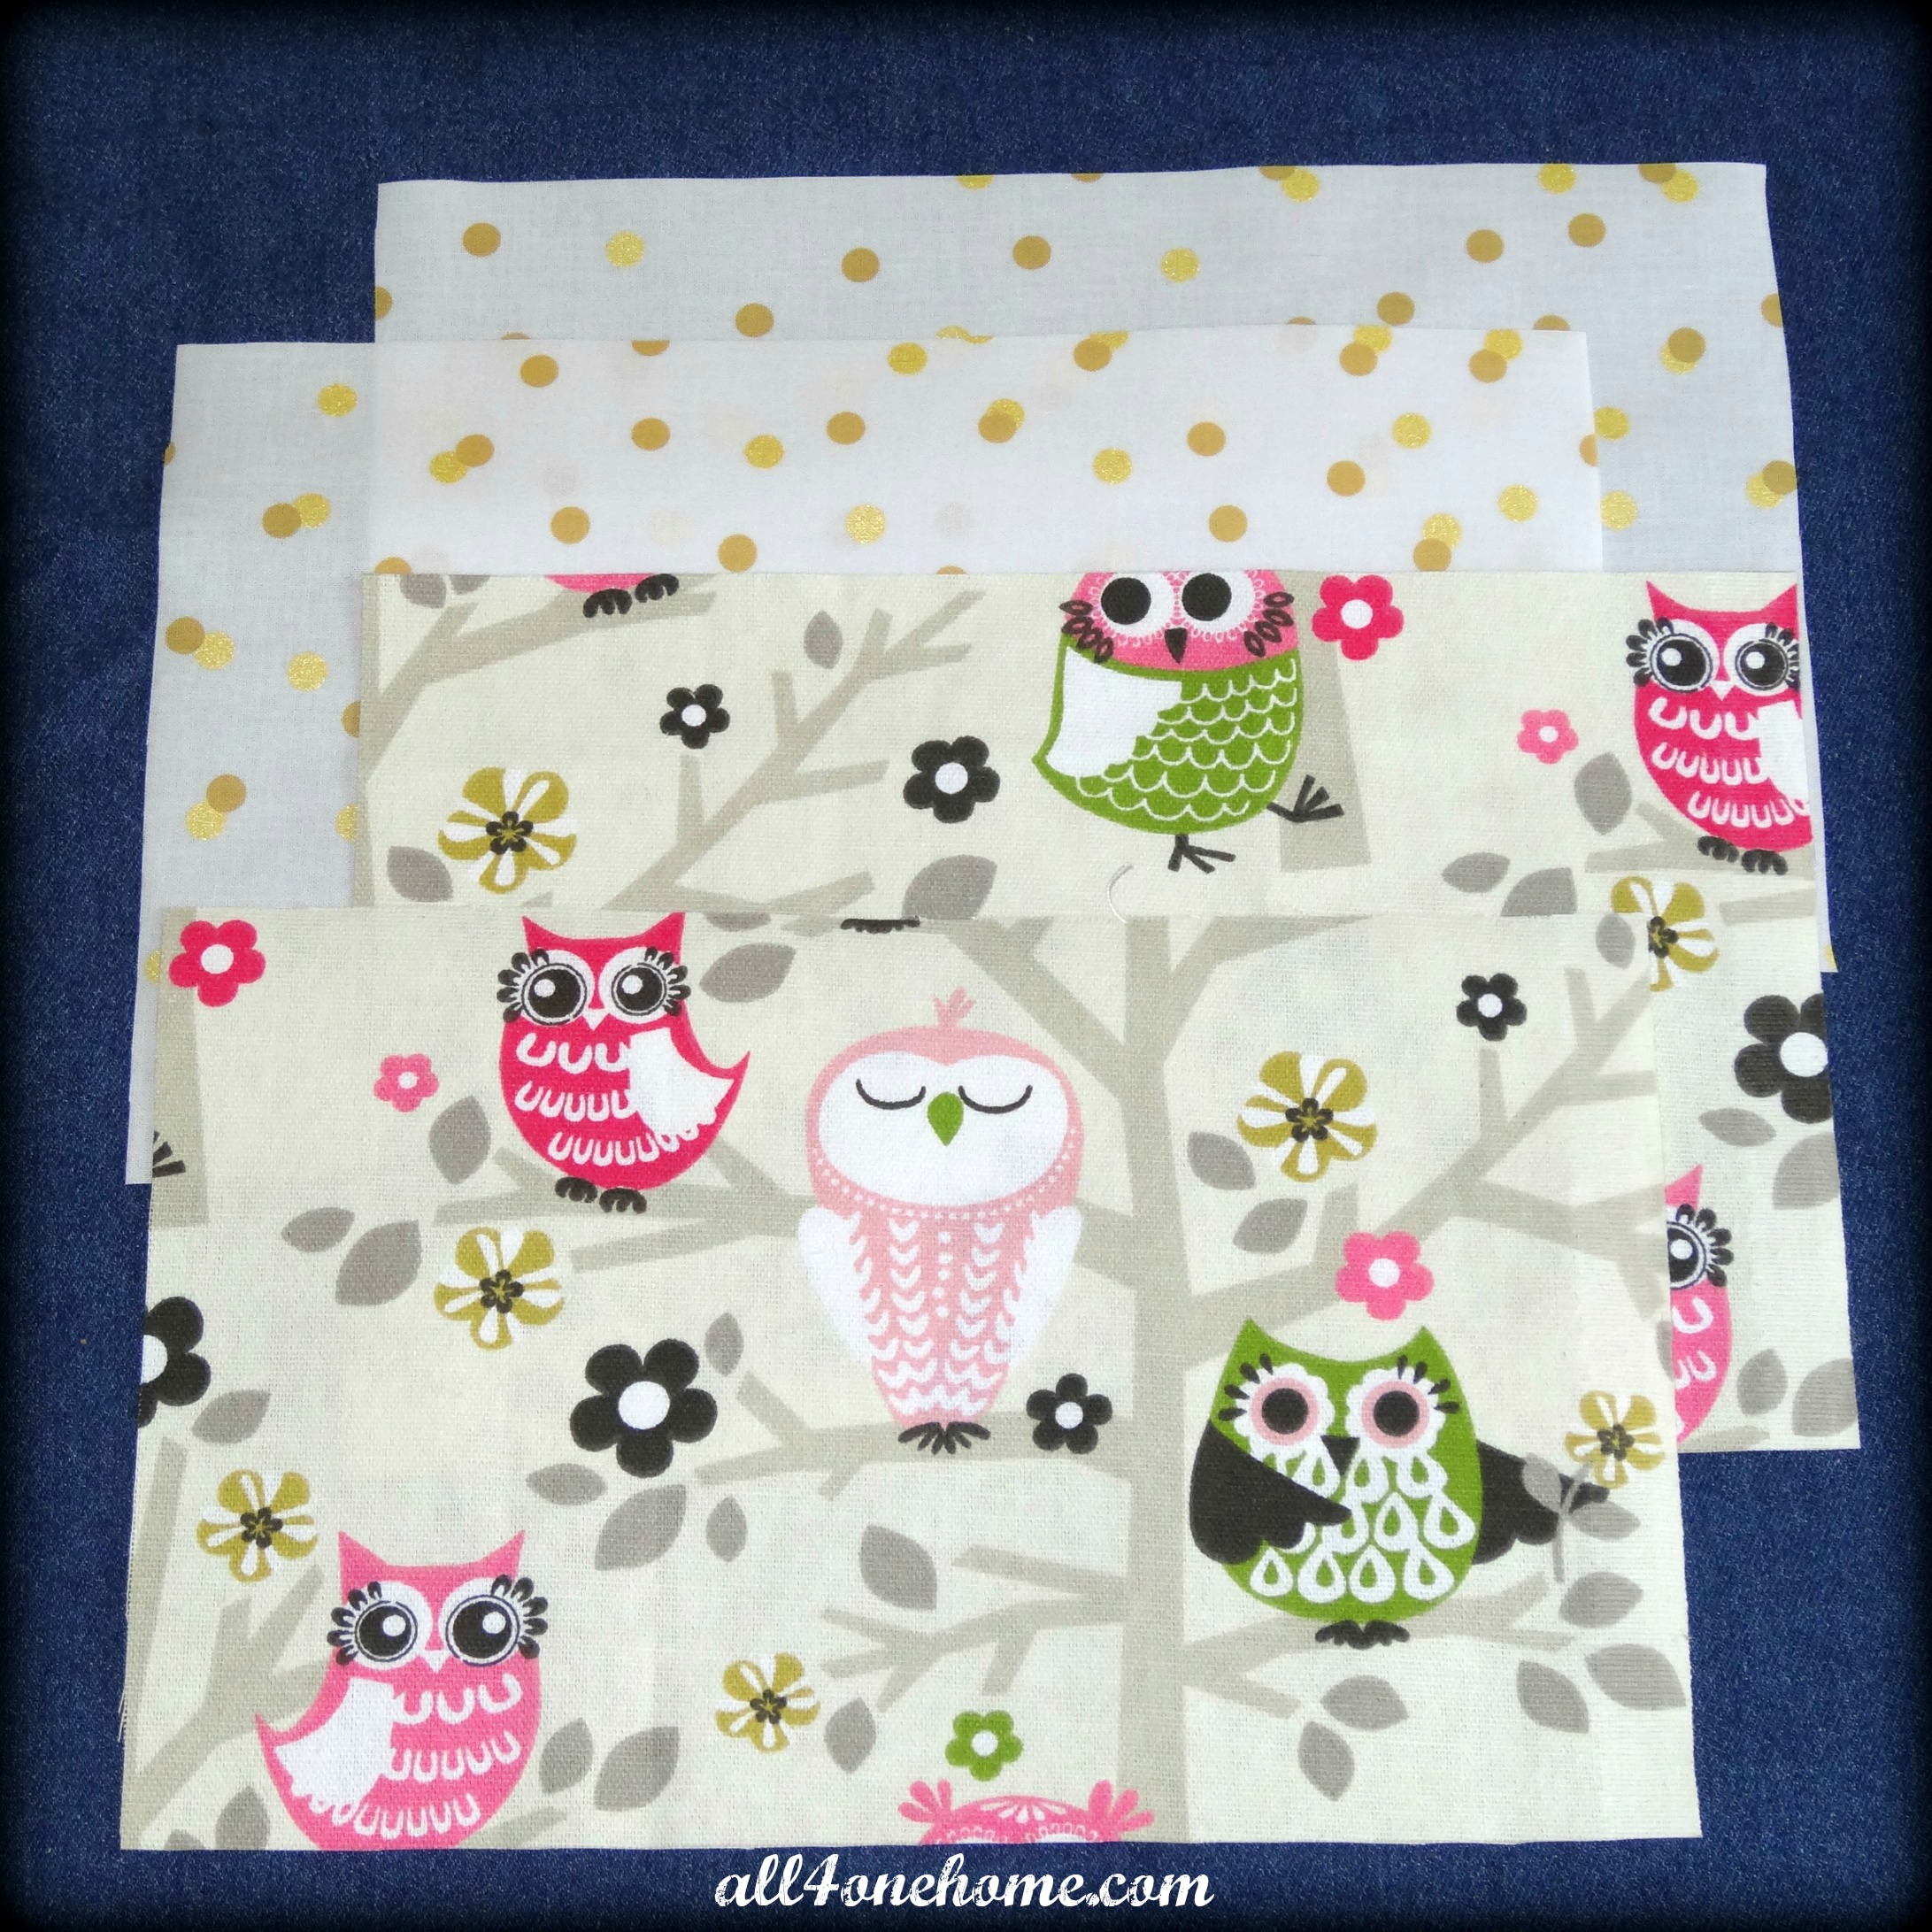
1/4 yard of printed material (for the outside of the pouch)
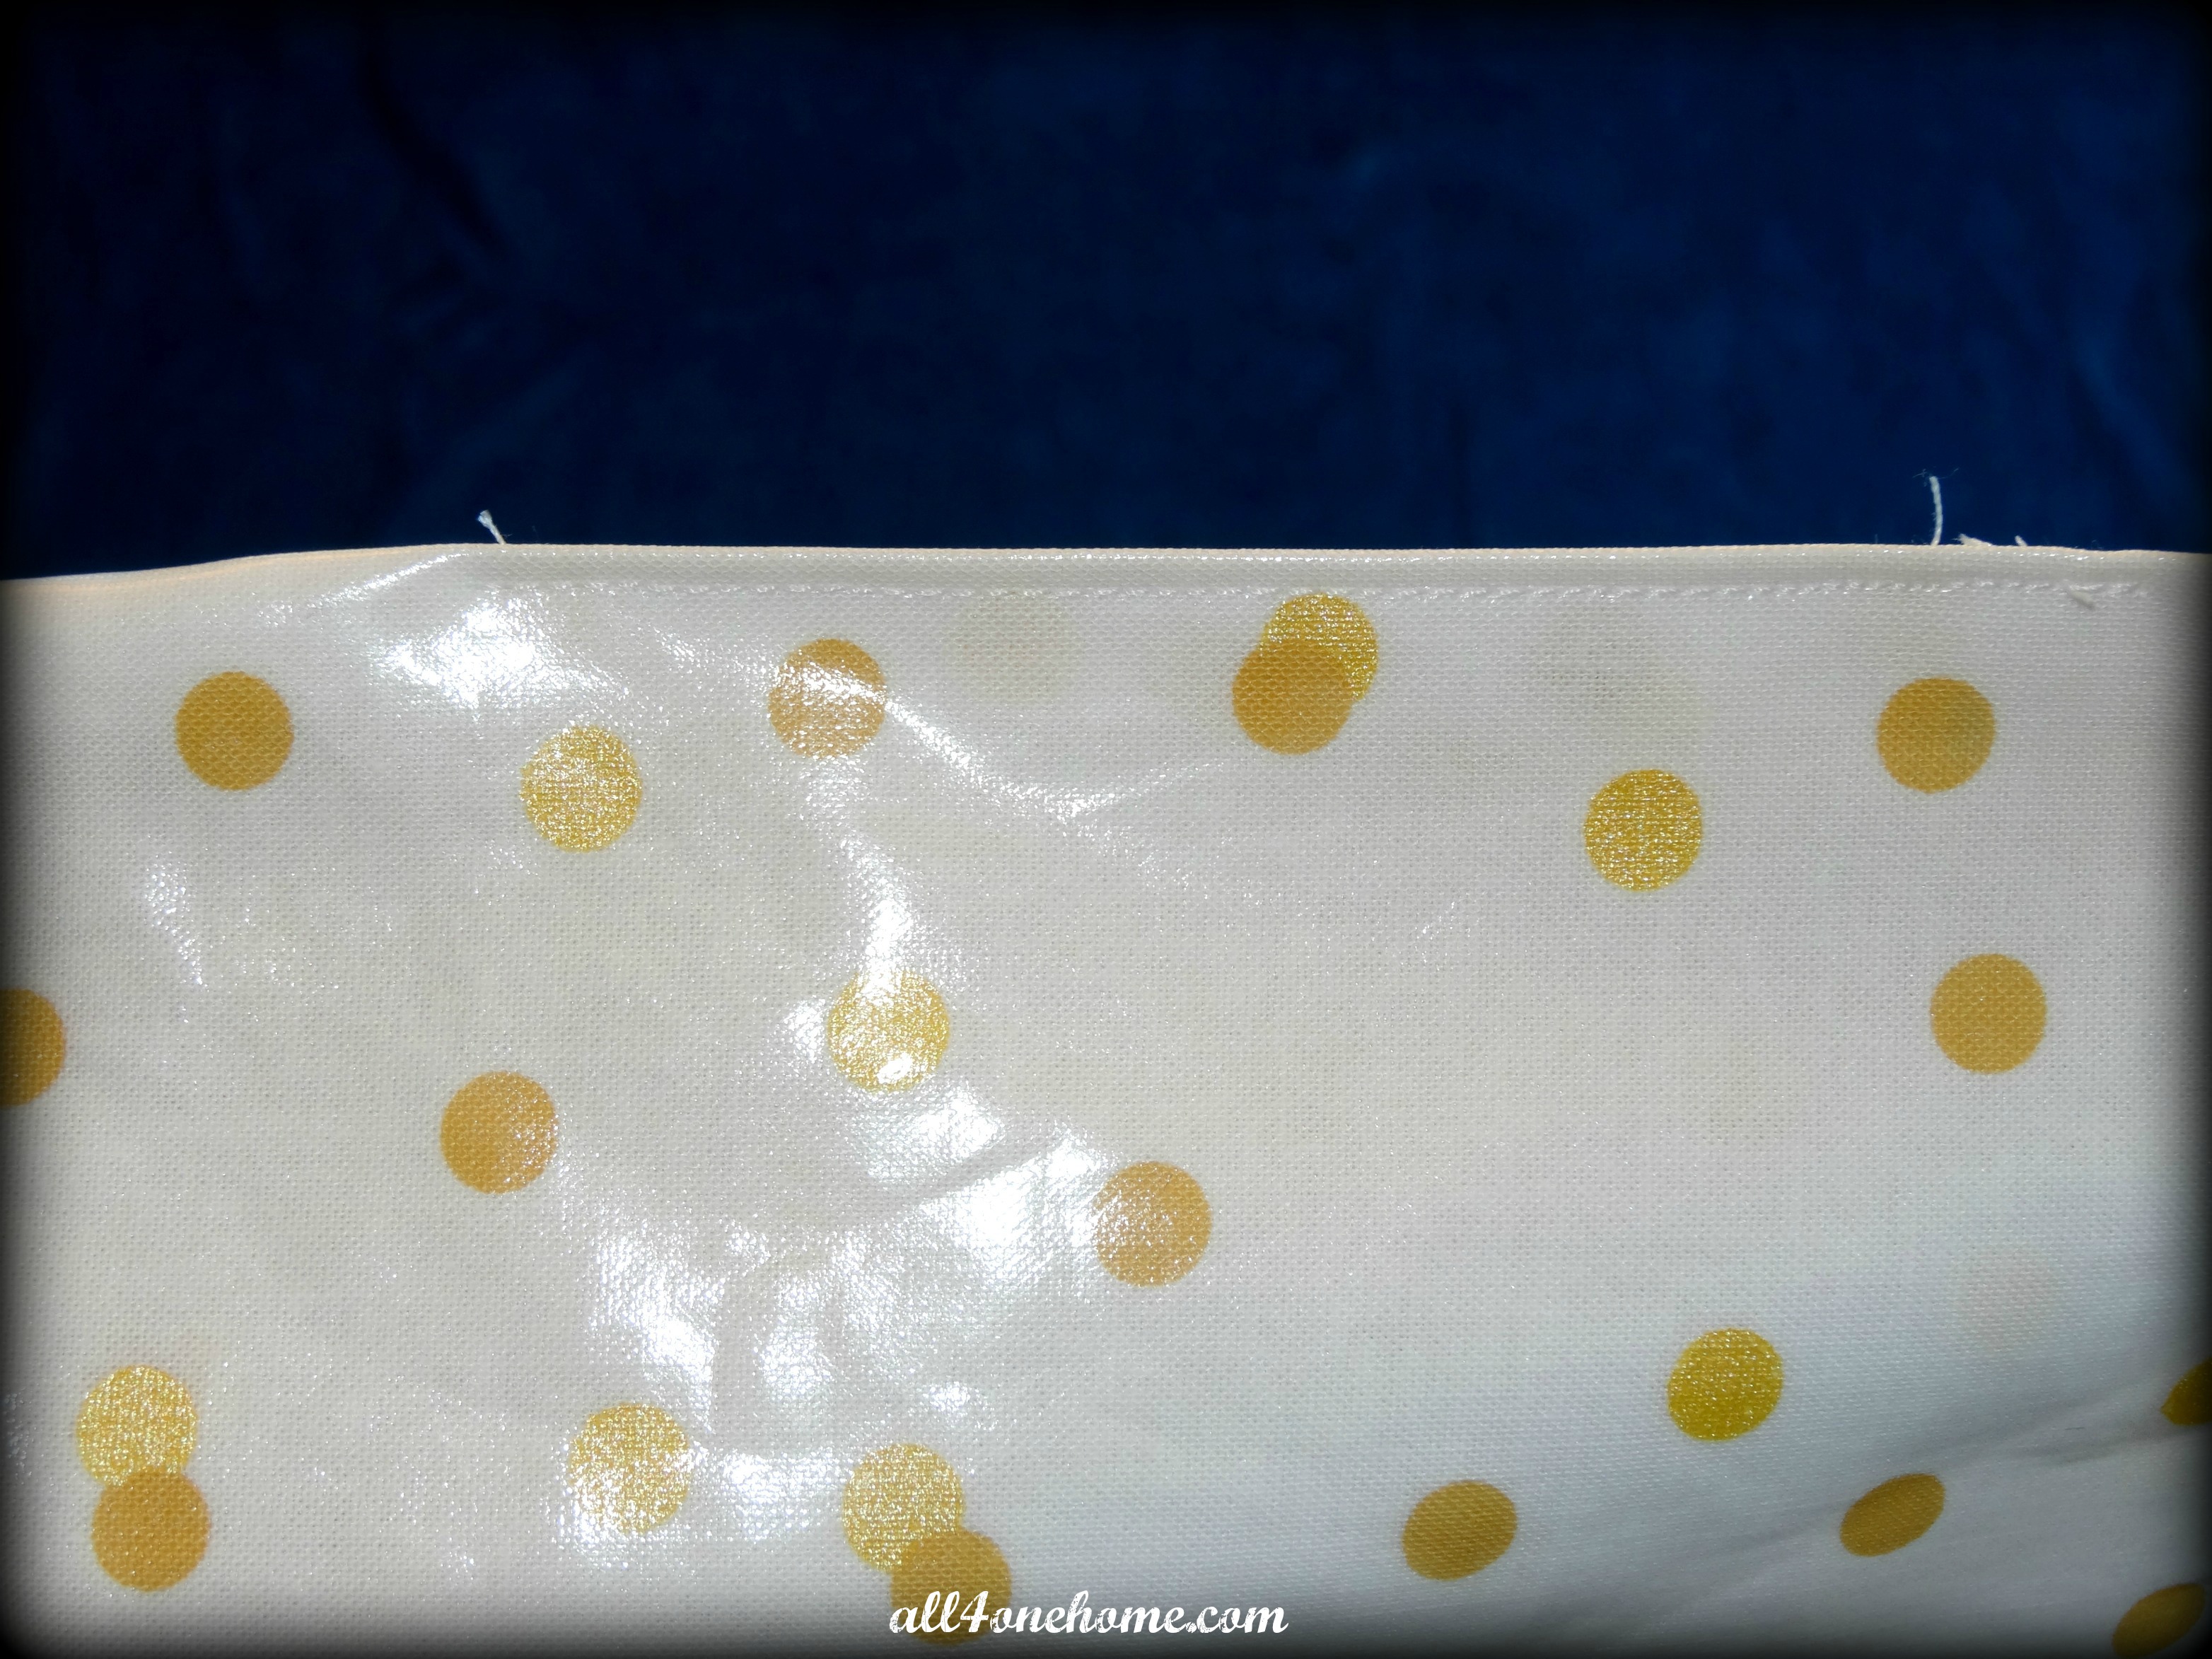
1/4 yard of oilcloth material or any contrasting material (for the inside of the pouch)
(1) 12-15″ zipper (color to compliment the fabric)
3/4″ wide elastic band (color to compliment the exterior fabric)
Sewing thread to coordinate with the fabric
How To:
Cut the outer material and inner material 10.5″ long by 6.5″ tall (2 pieces each)
Note: you can adjust the size of the pouch to any size you need. My book height was 10″ tall, so I cut my material to be 1/2″ taller than my book.
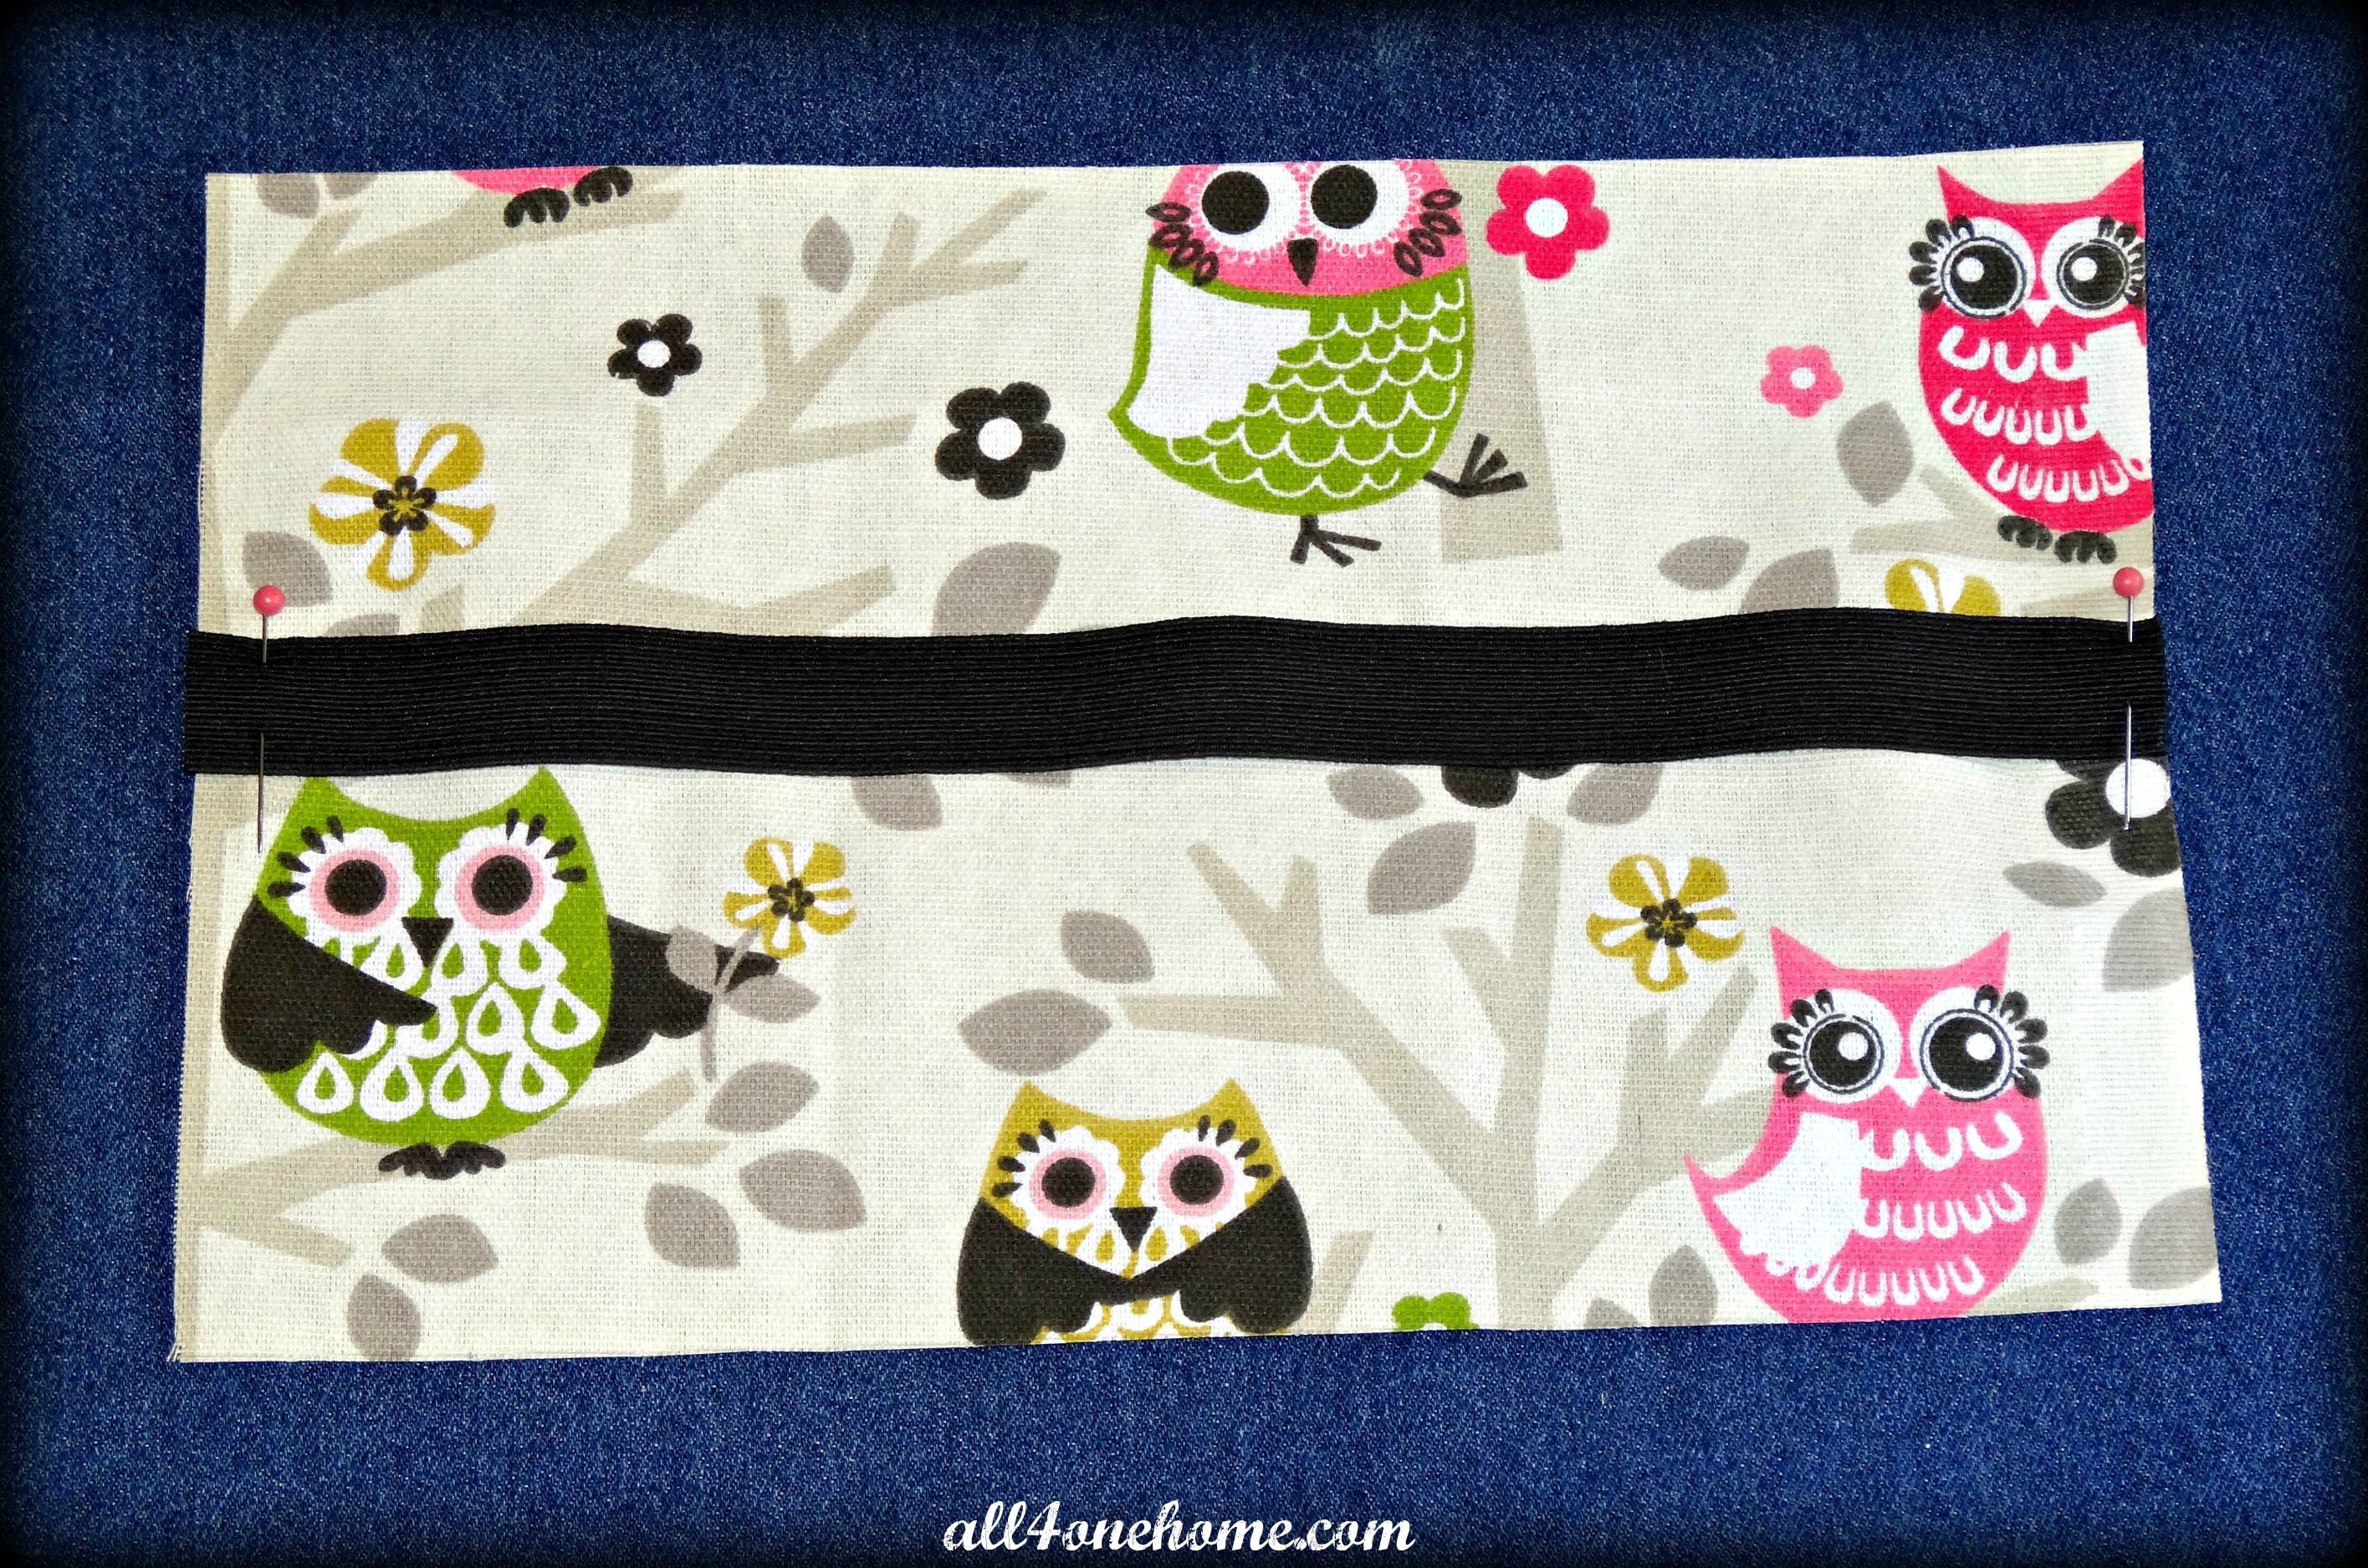
Cut the elastic band 10.5″ to fit along the length of the bag. Pin the elastic band to the center of the right side one of the outer pieces of material and sew on.
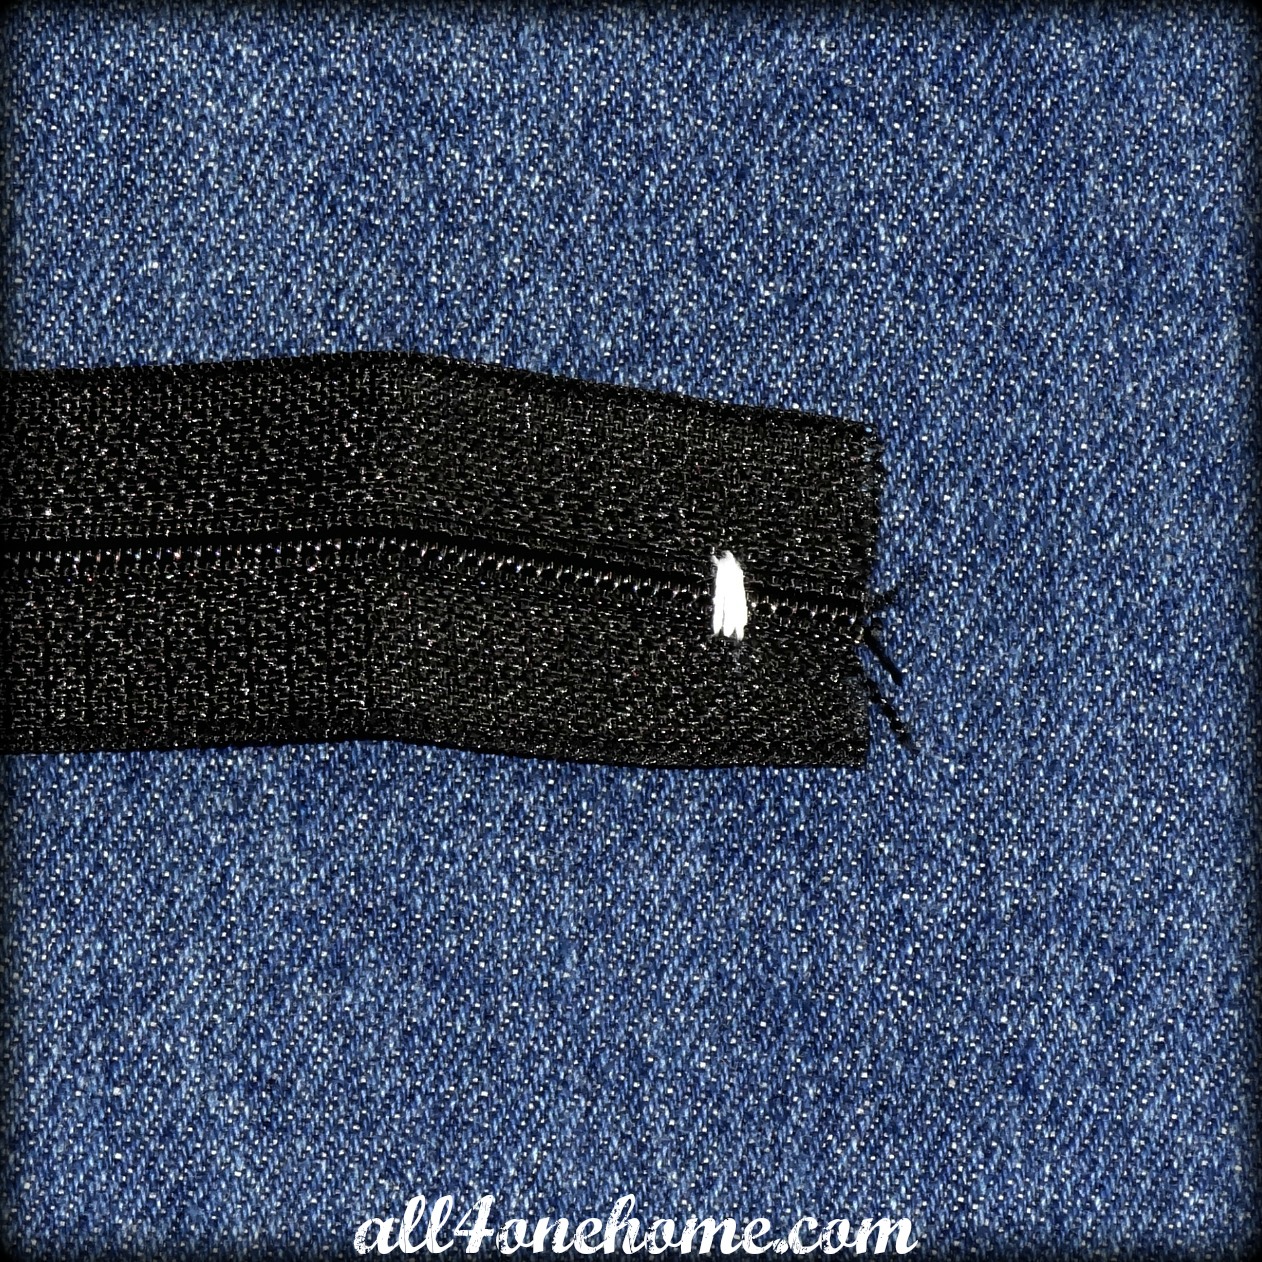
Cut the zipper 10.5″ long and finish the end as shown in photo
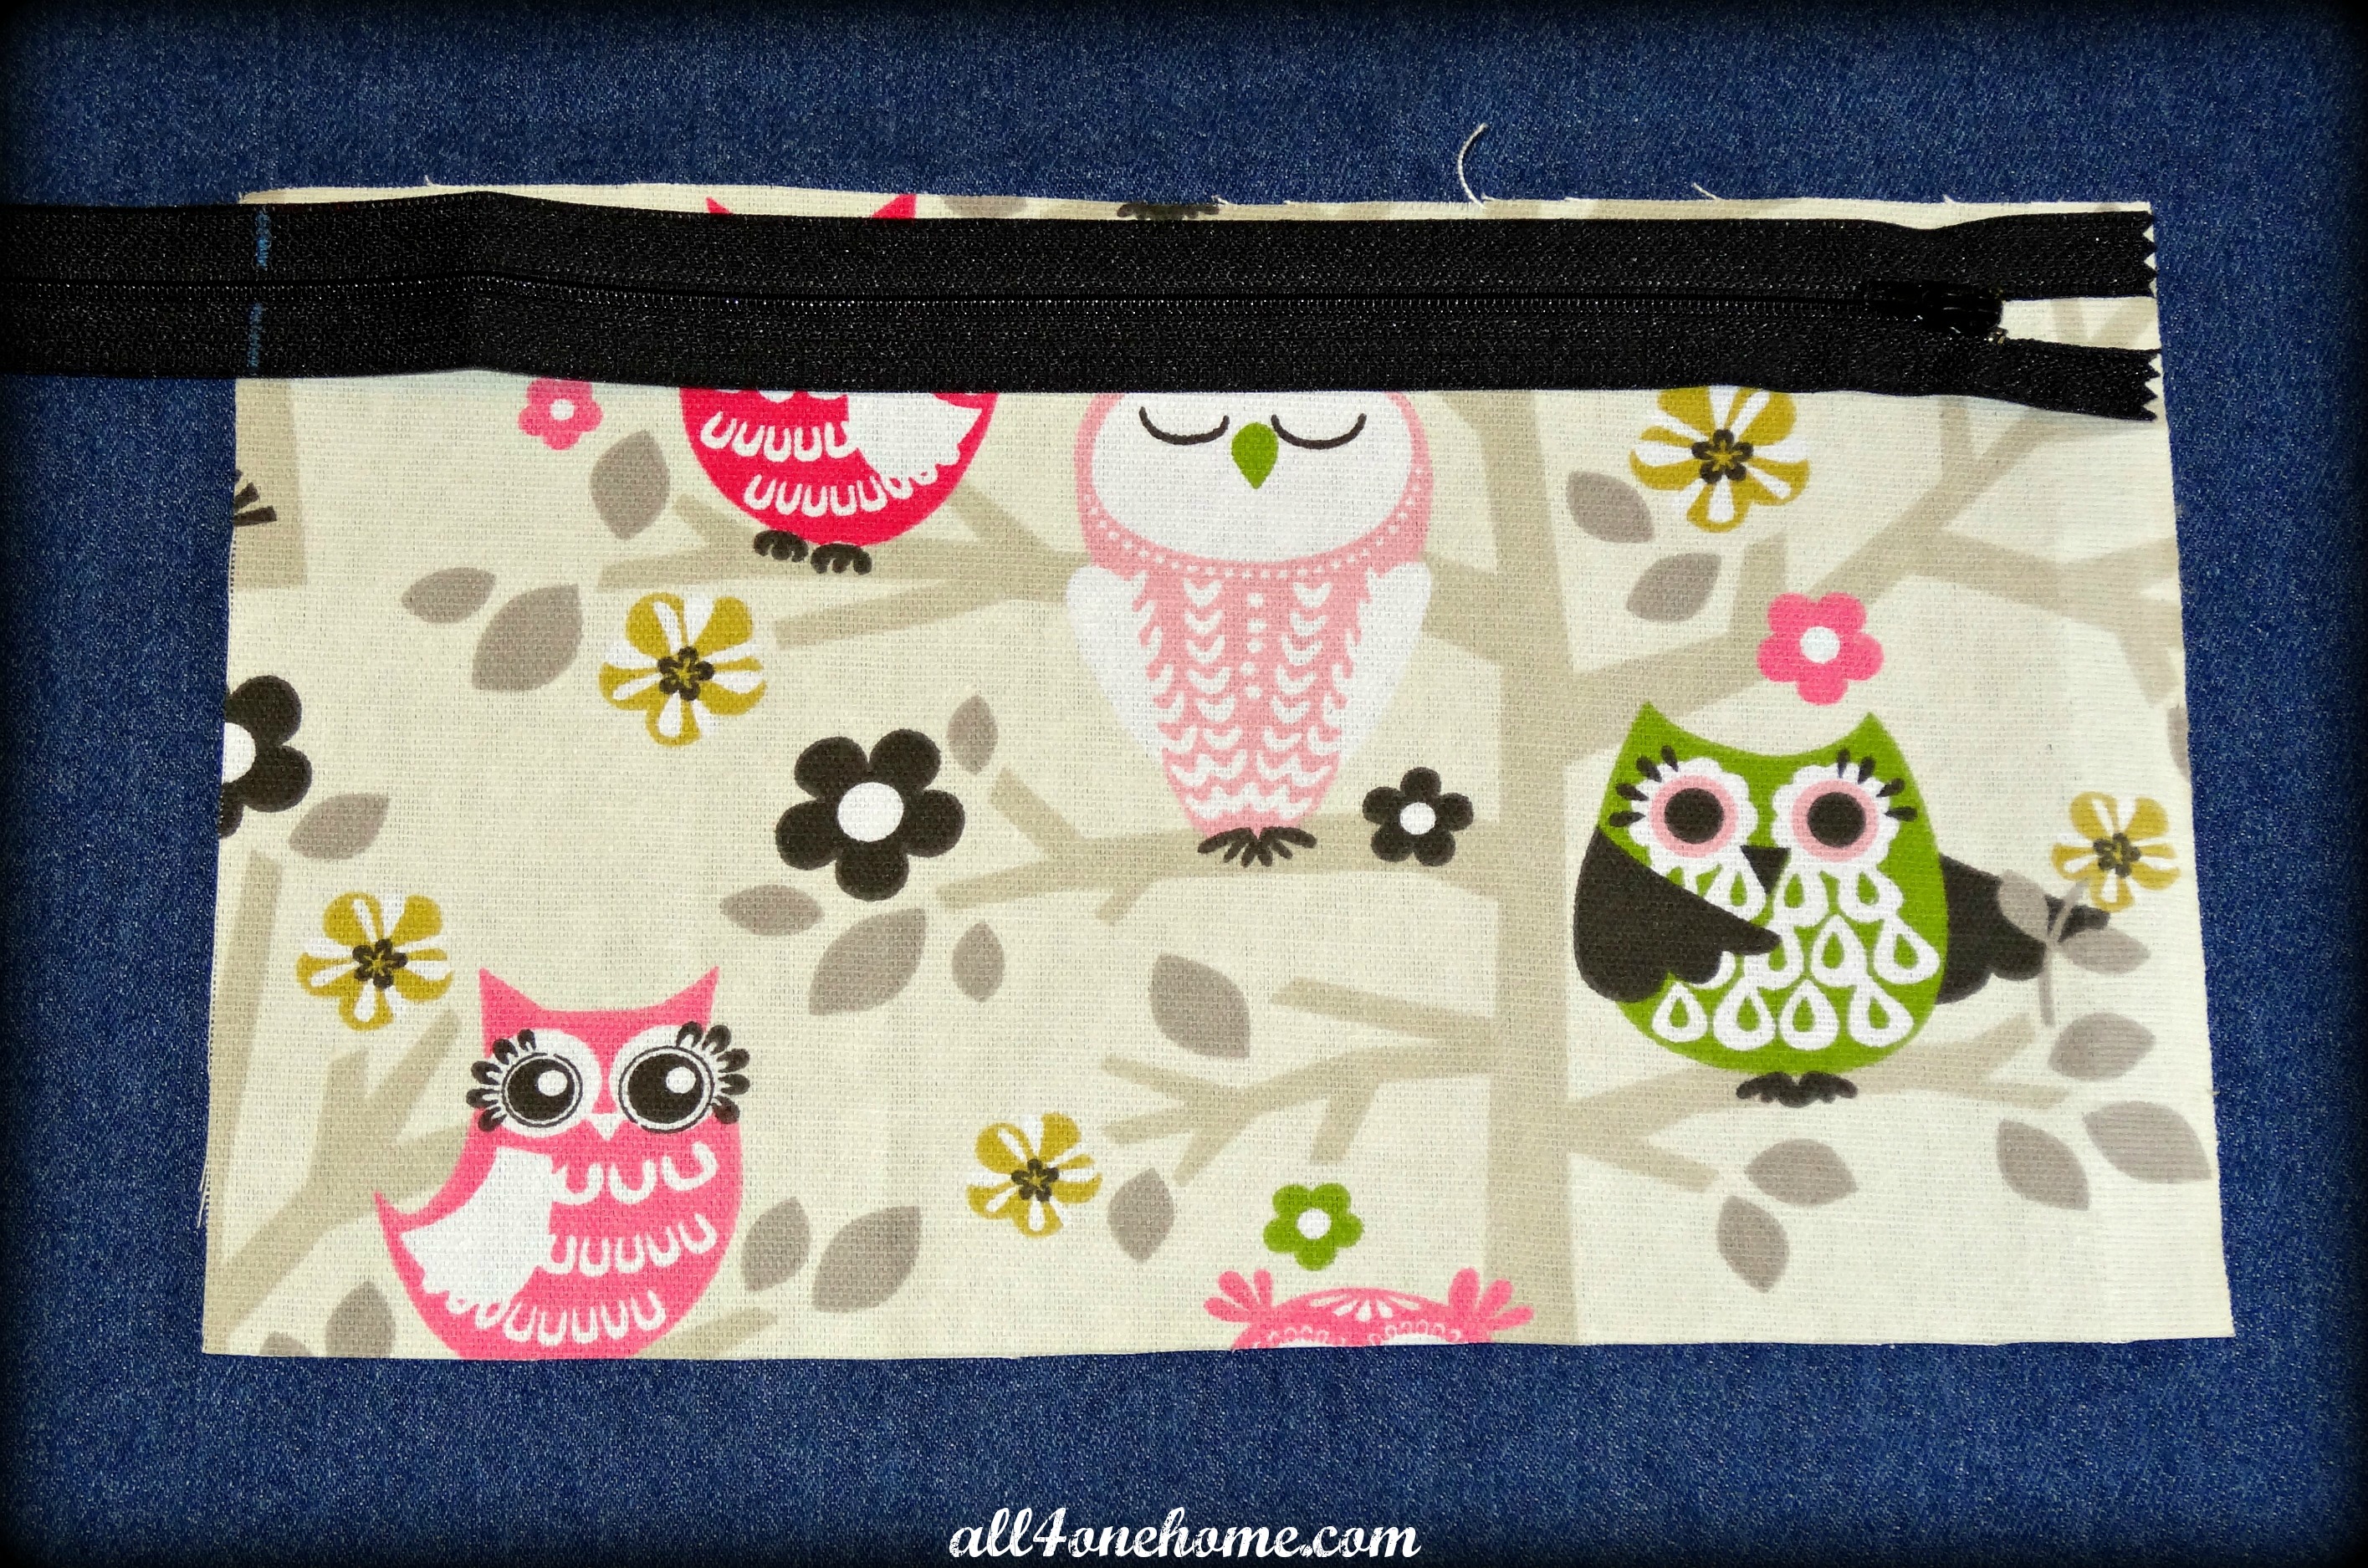
Whip stitch about a 1/4″ from the bottom of the zipper of where you cut, this will secure your zipper in place.
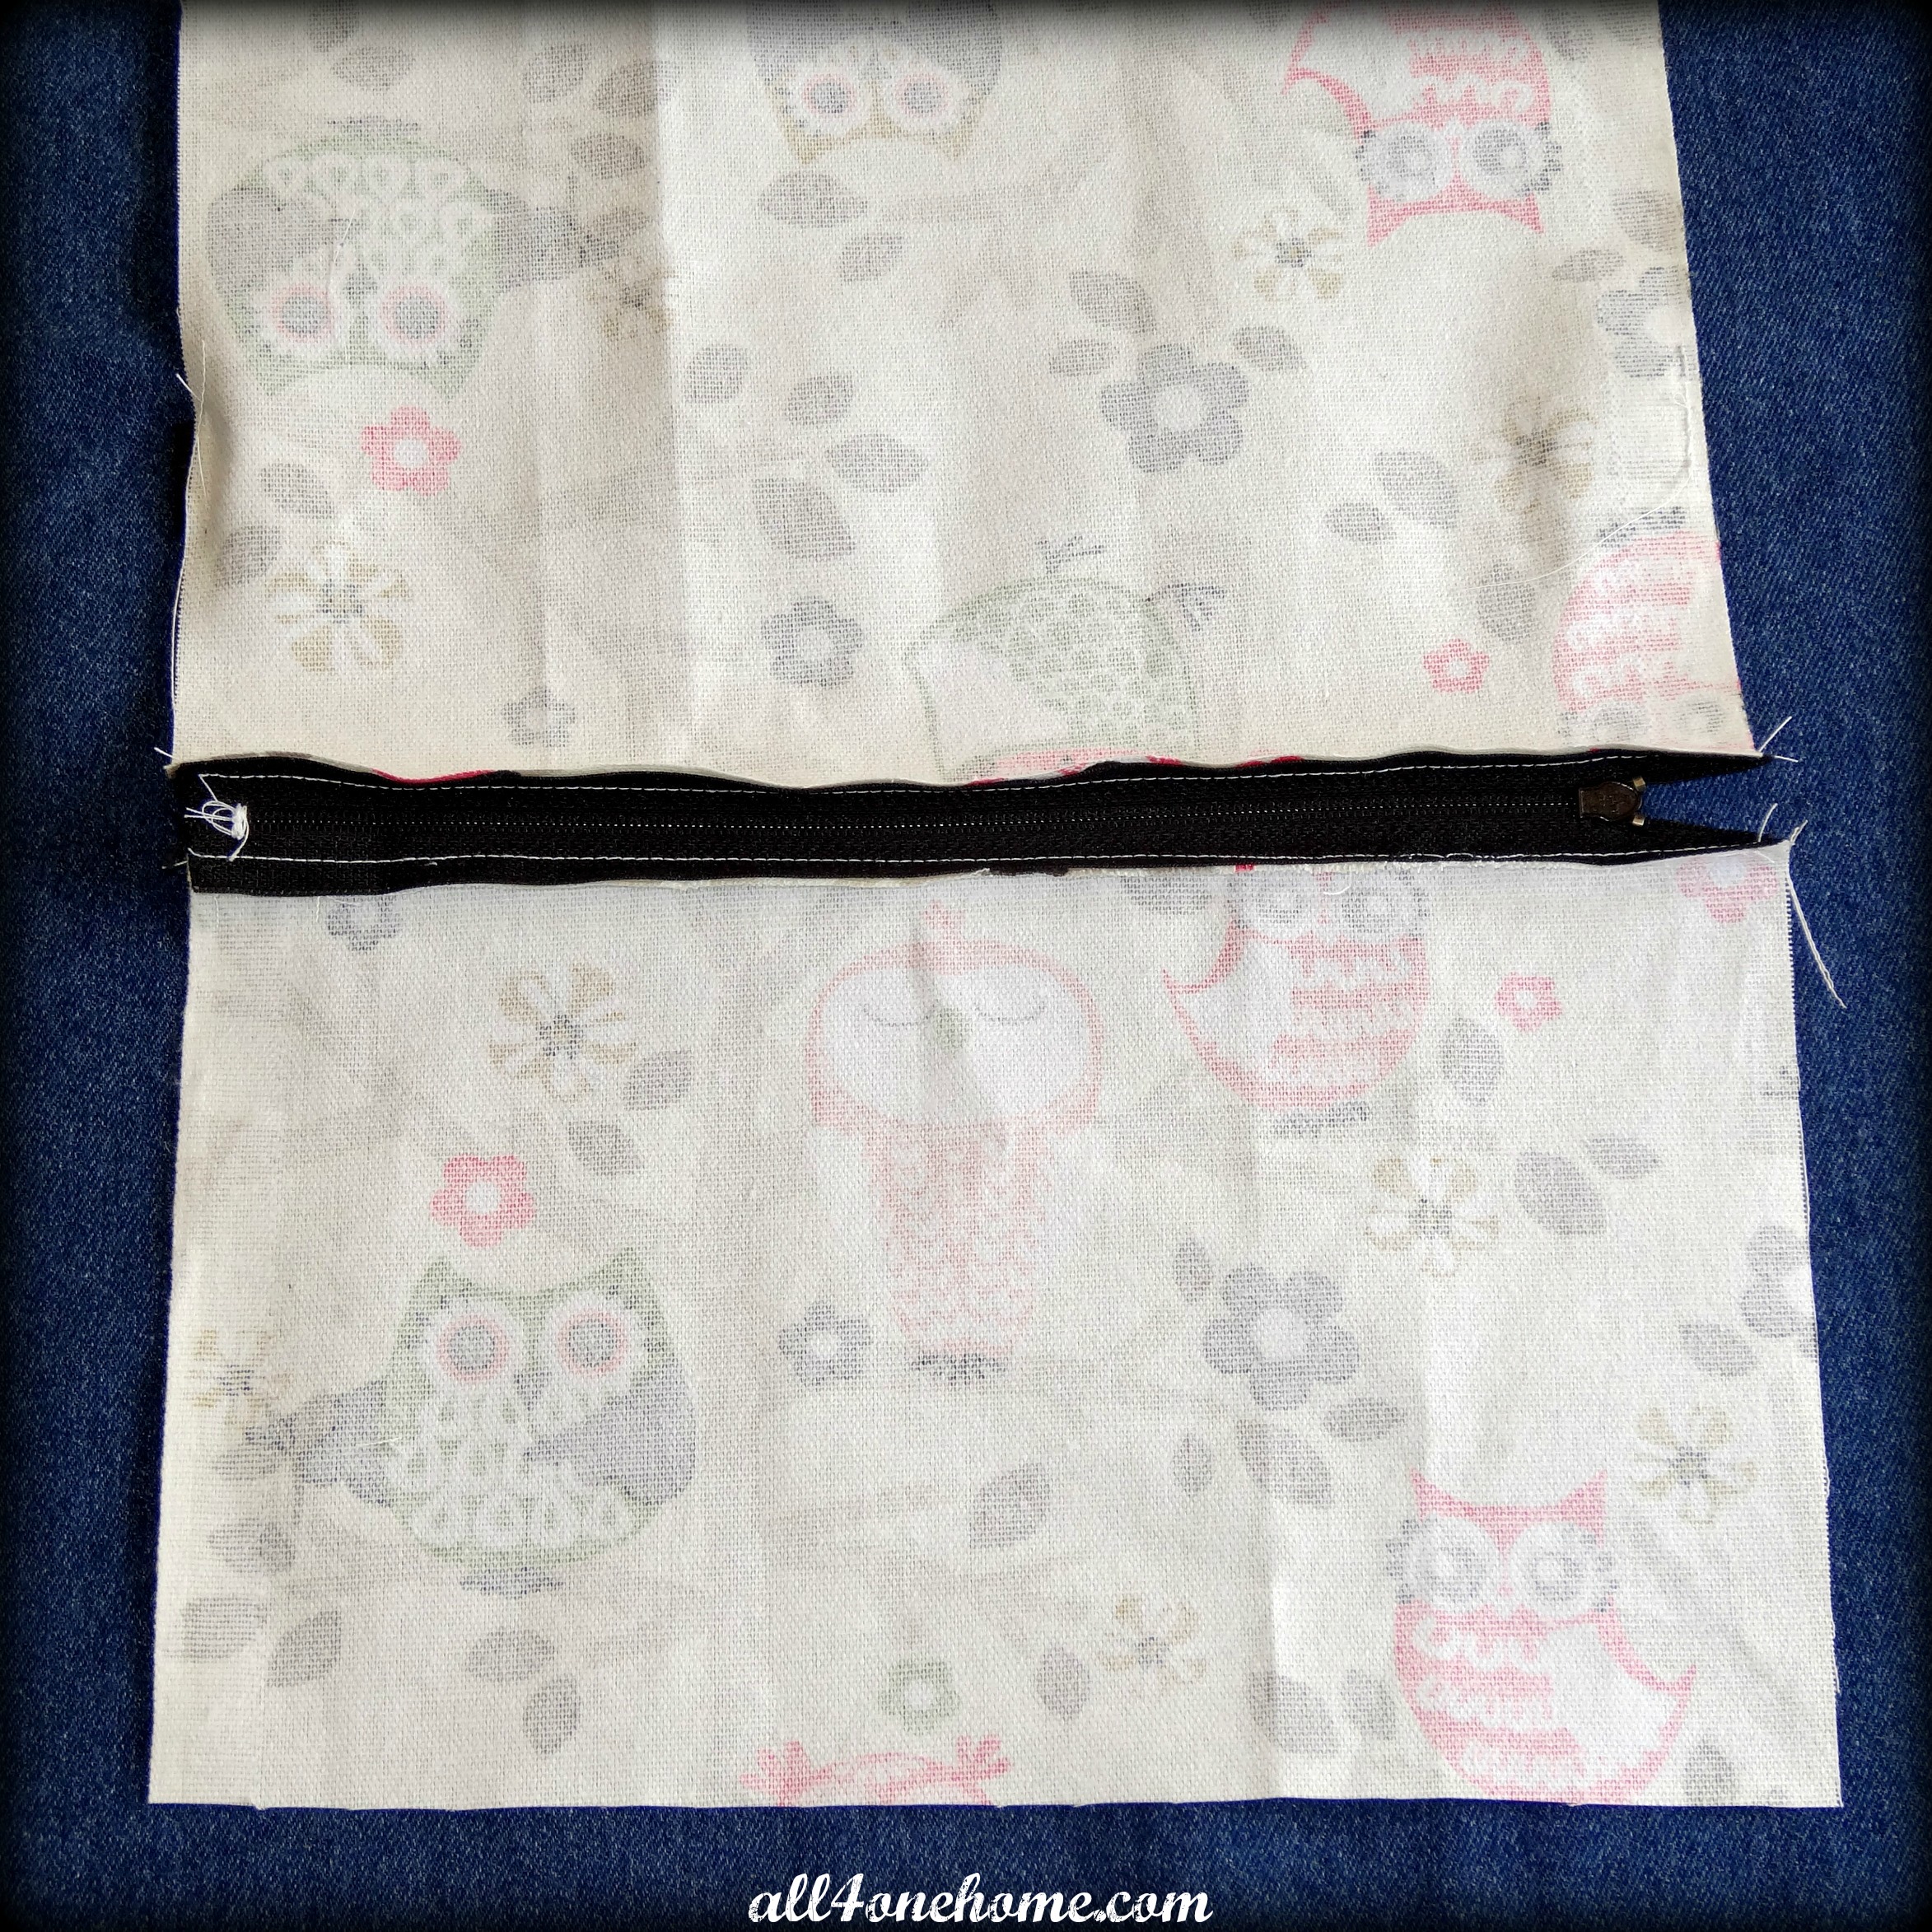
Next, place your zipper at the top of one of your outside materials and match the edges (the zipper should be face down on top of the outer material). Be sure to switch to your zipper foot attachment on your sewing machine at this time.

Now line up the second piece of outer material to the edge of the other side of the zipper and sew on. Be sure your material is right sides facing.

This is how your fabric should look once the zipper is attached.
Now pin your inner material to the top of the zipper, make sure print side is down and sew on along the same stitching. Here is a video tutorial from mellysews.com on how she creates her zipper pouches. This part can be a bit confusing and her tutorial is very helpful.
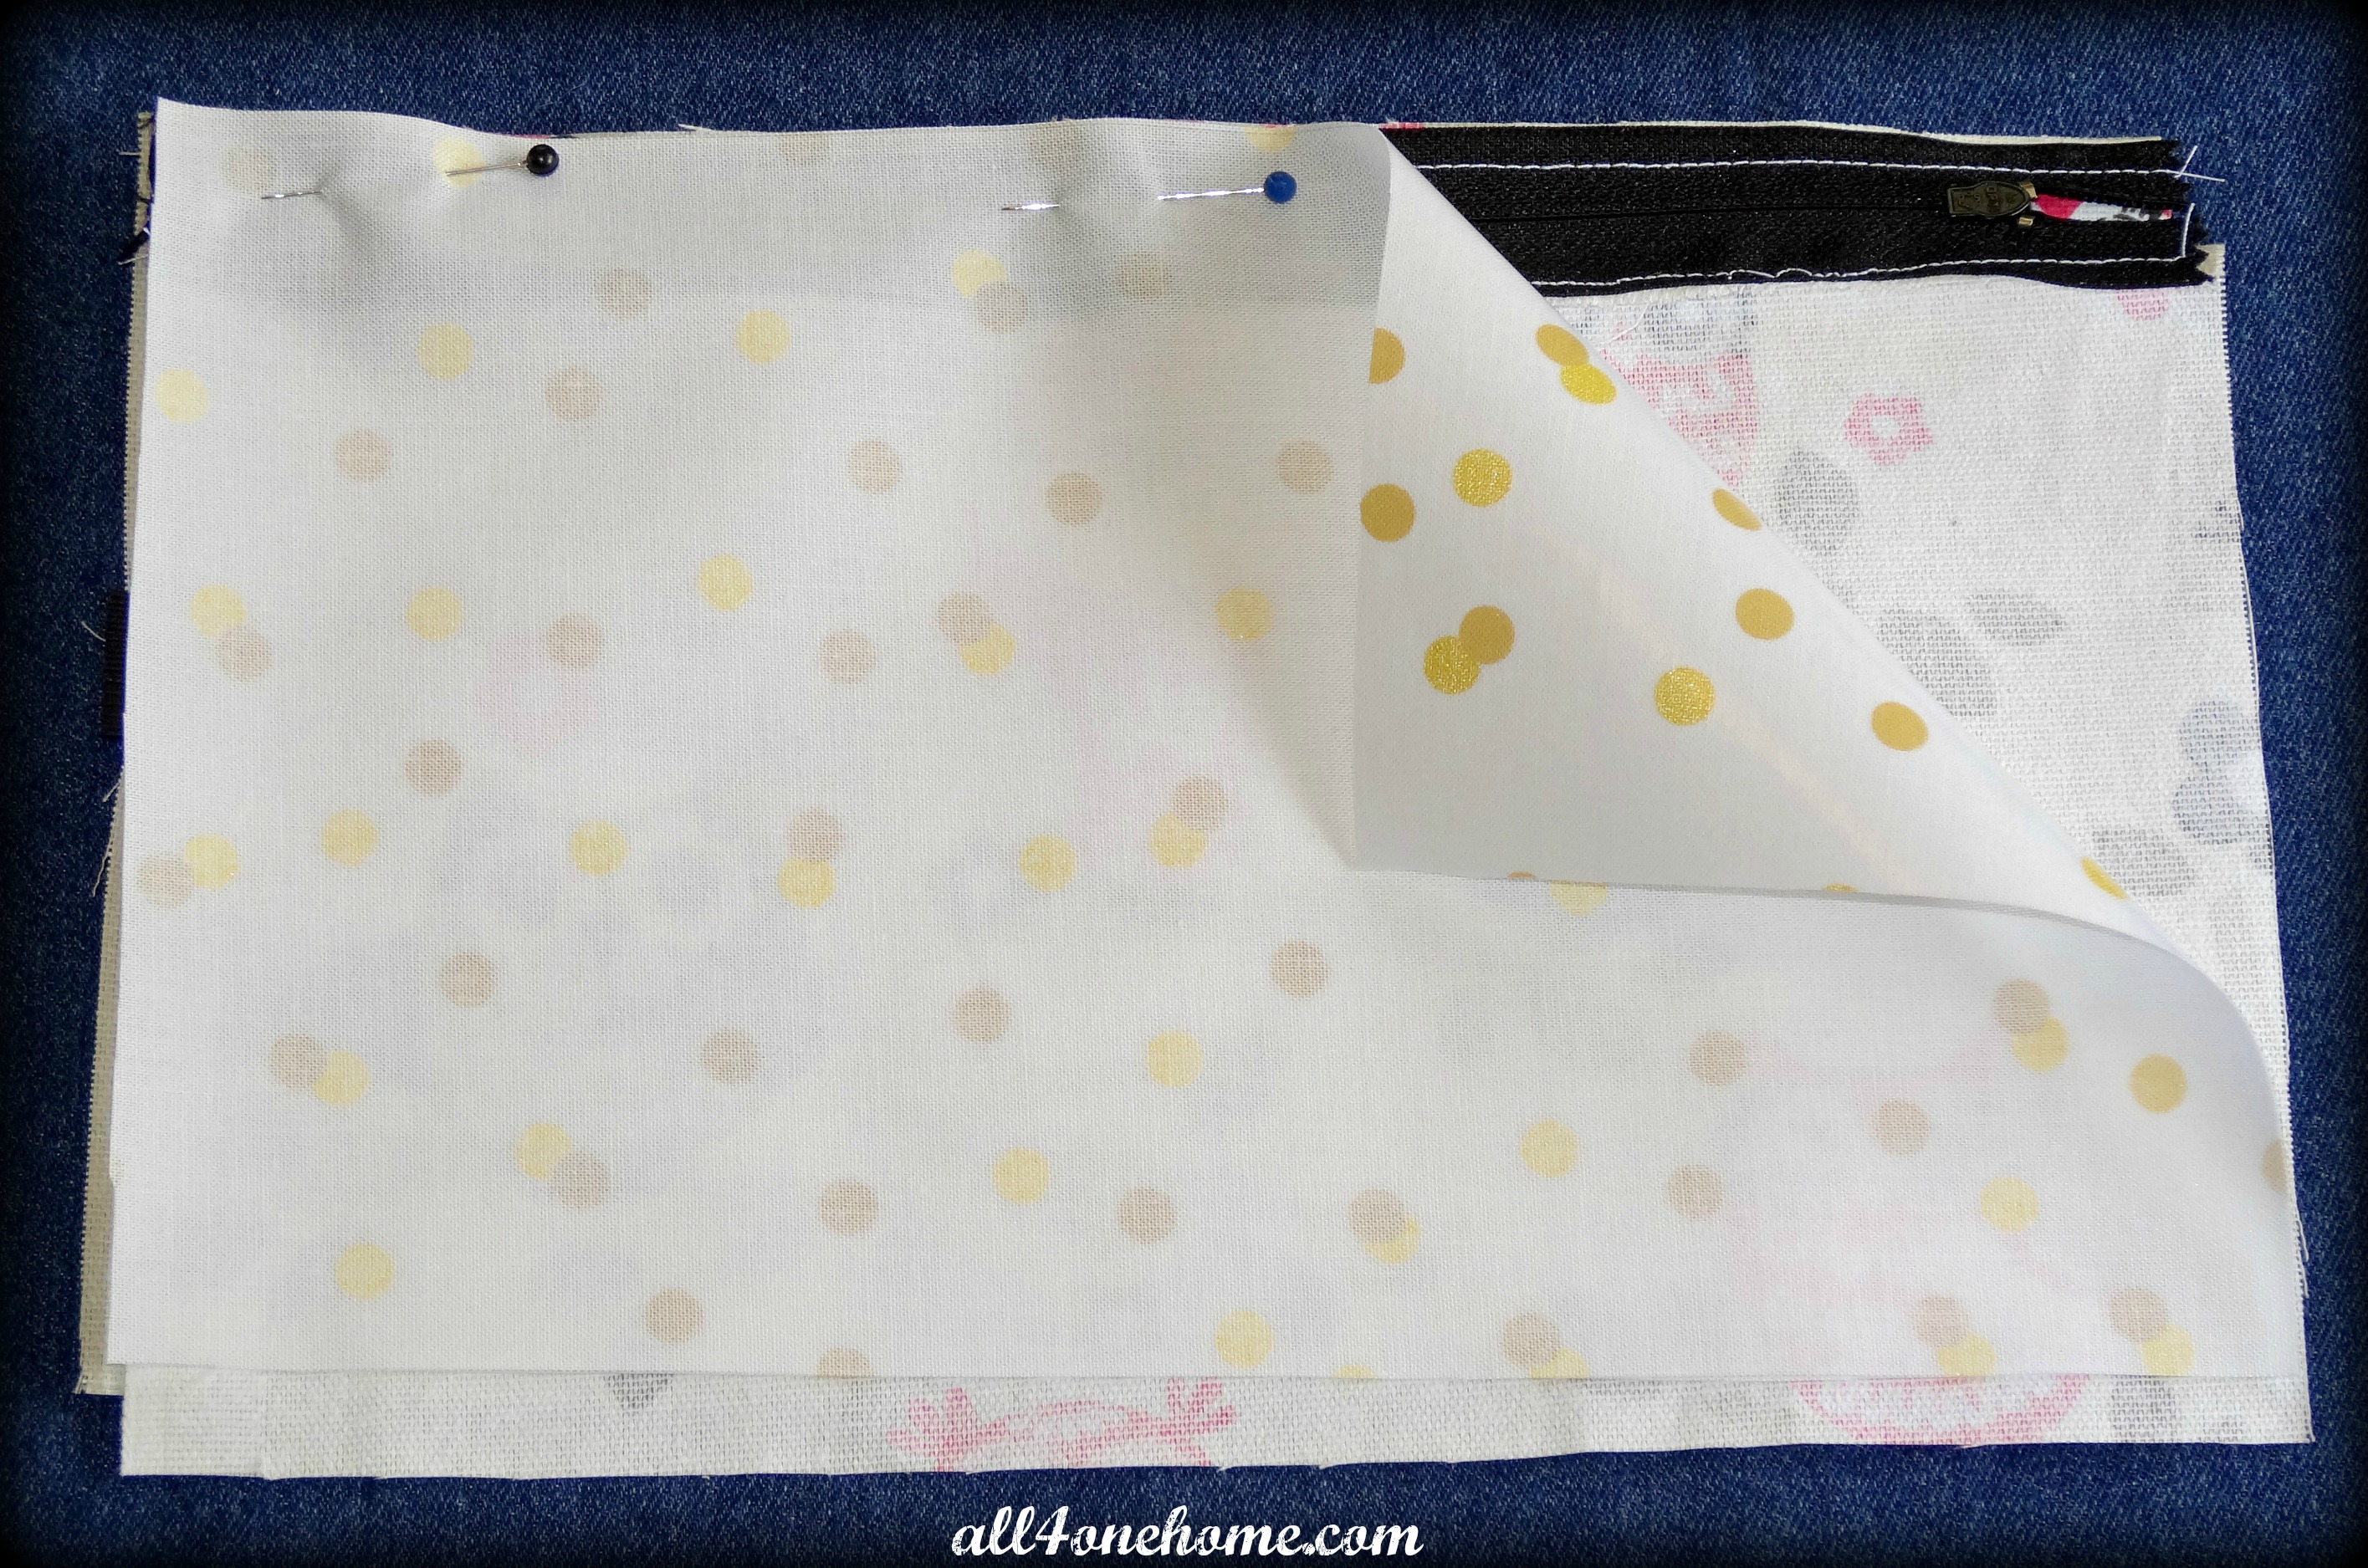
Turn your project around so both inner sides are facing, pin and sew onto the other side of the zipper.

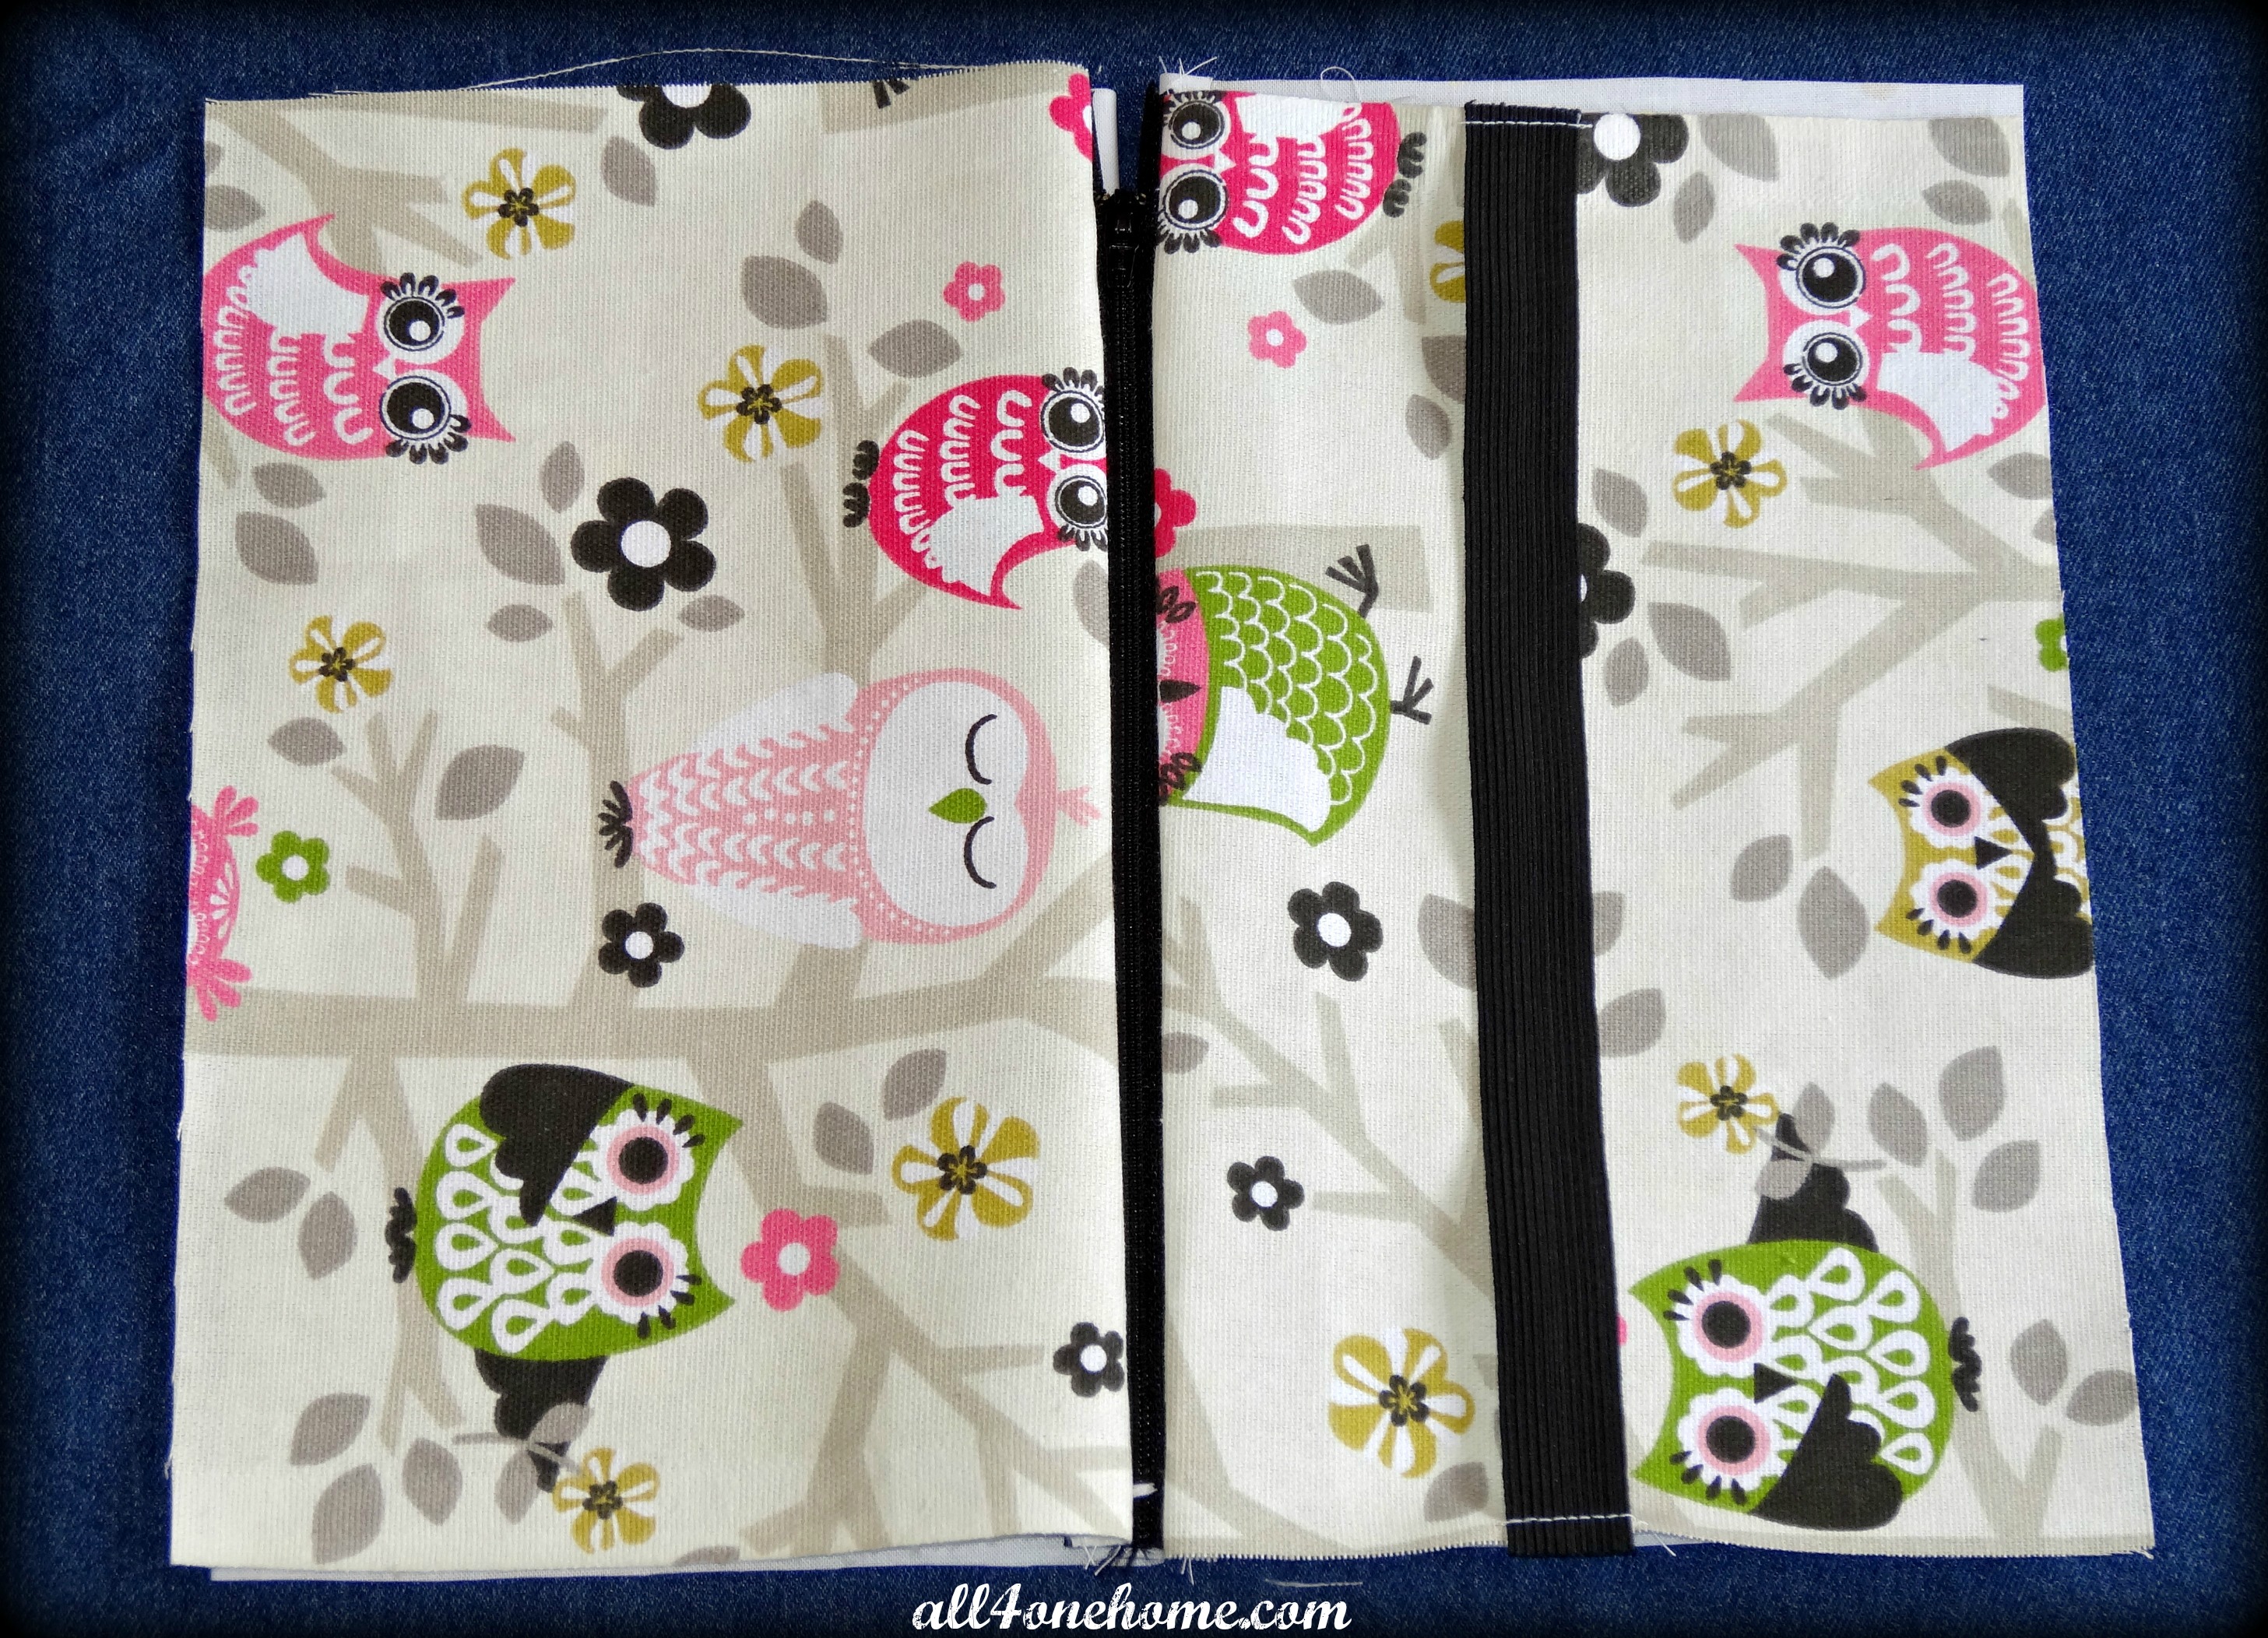
This is how your project should look after both inner and outer fabrics are sewn onto the zipper.
Inside of pouch

Outside of pouch
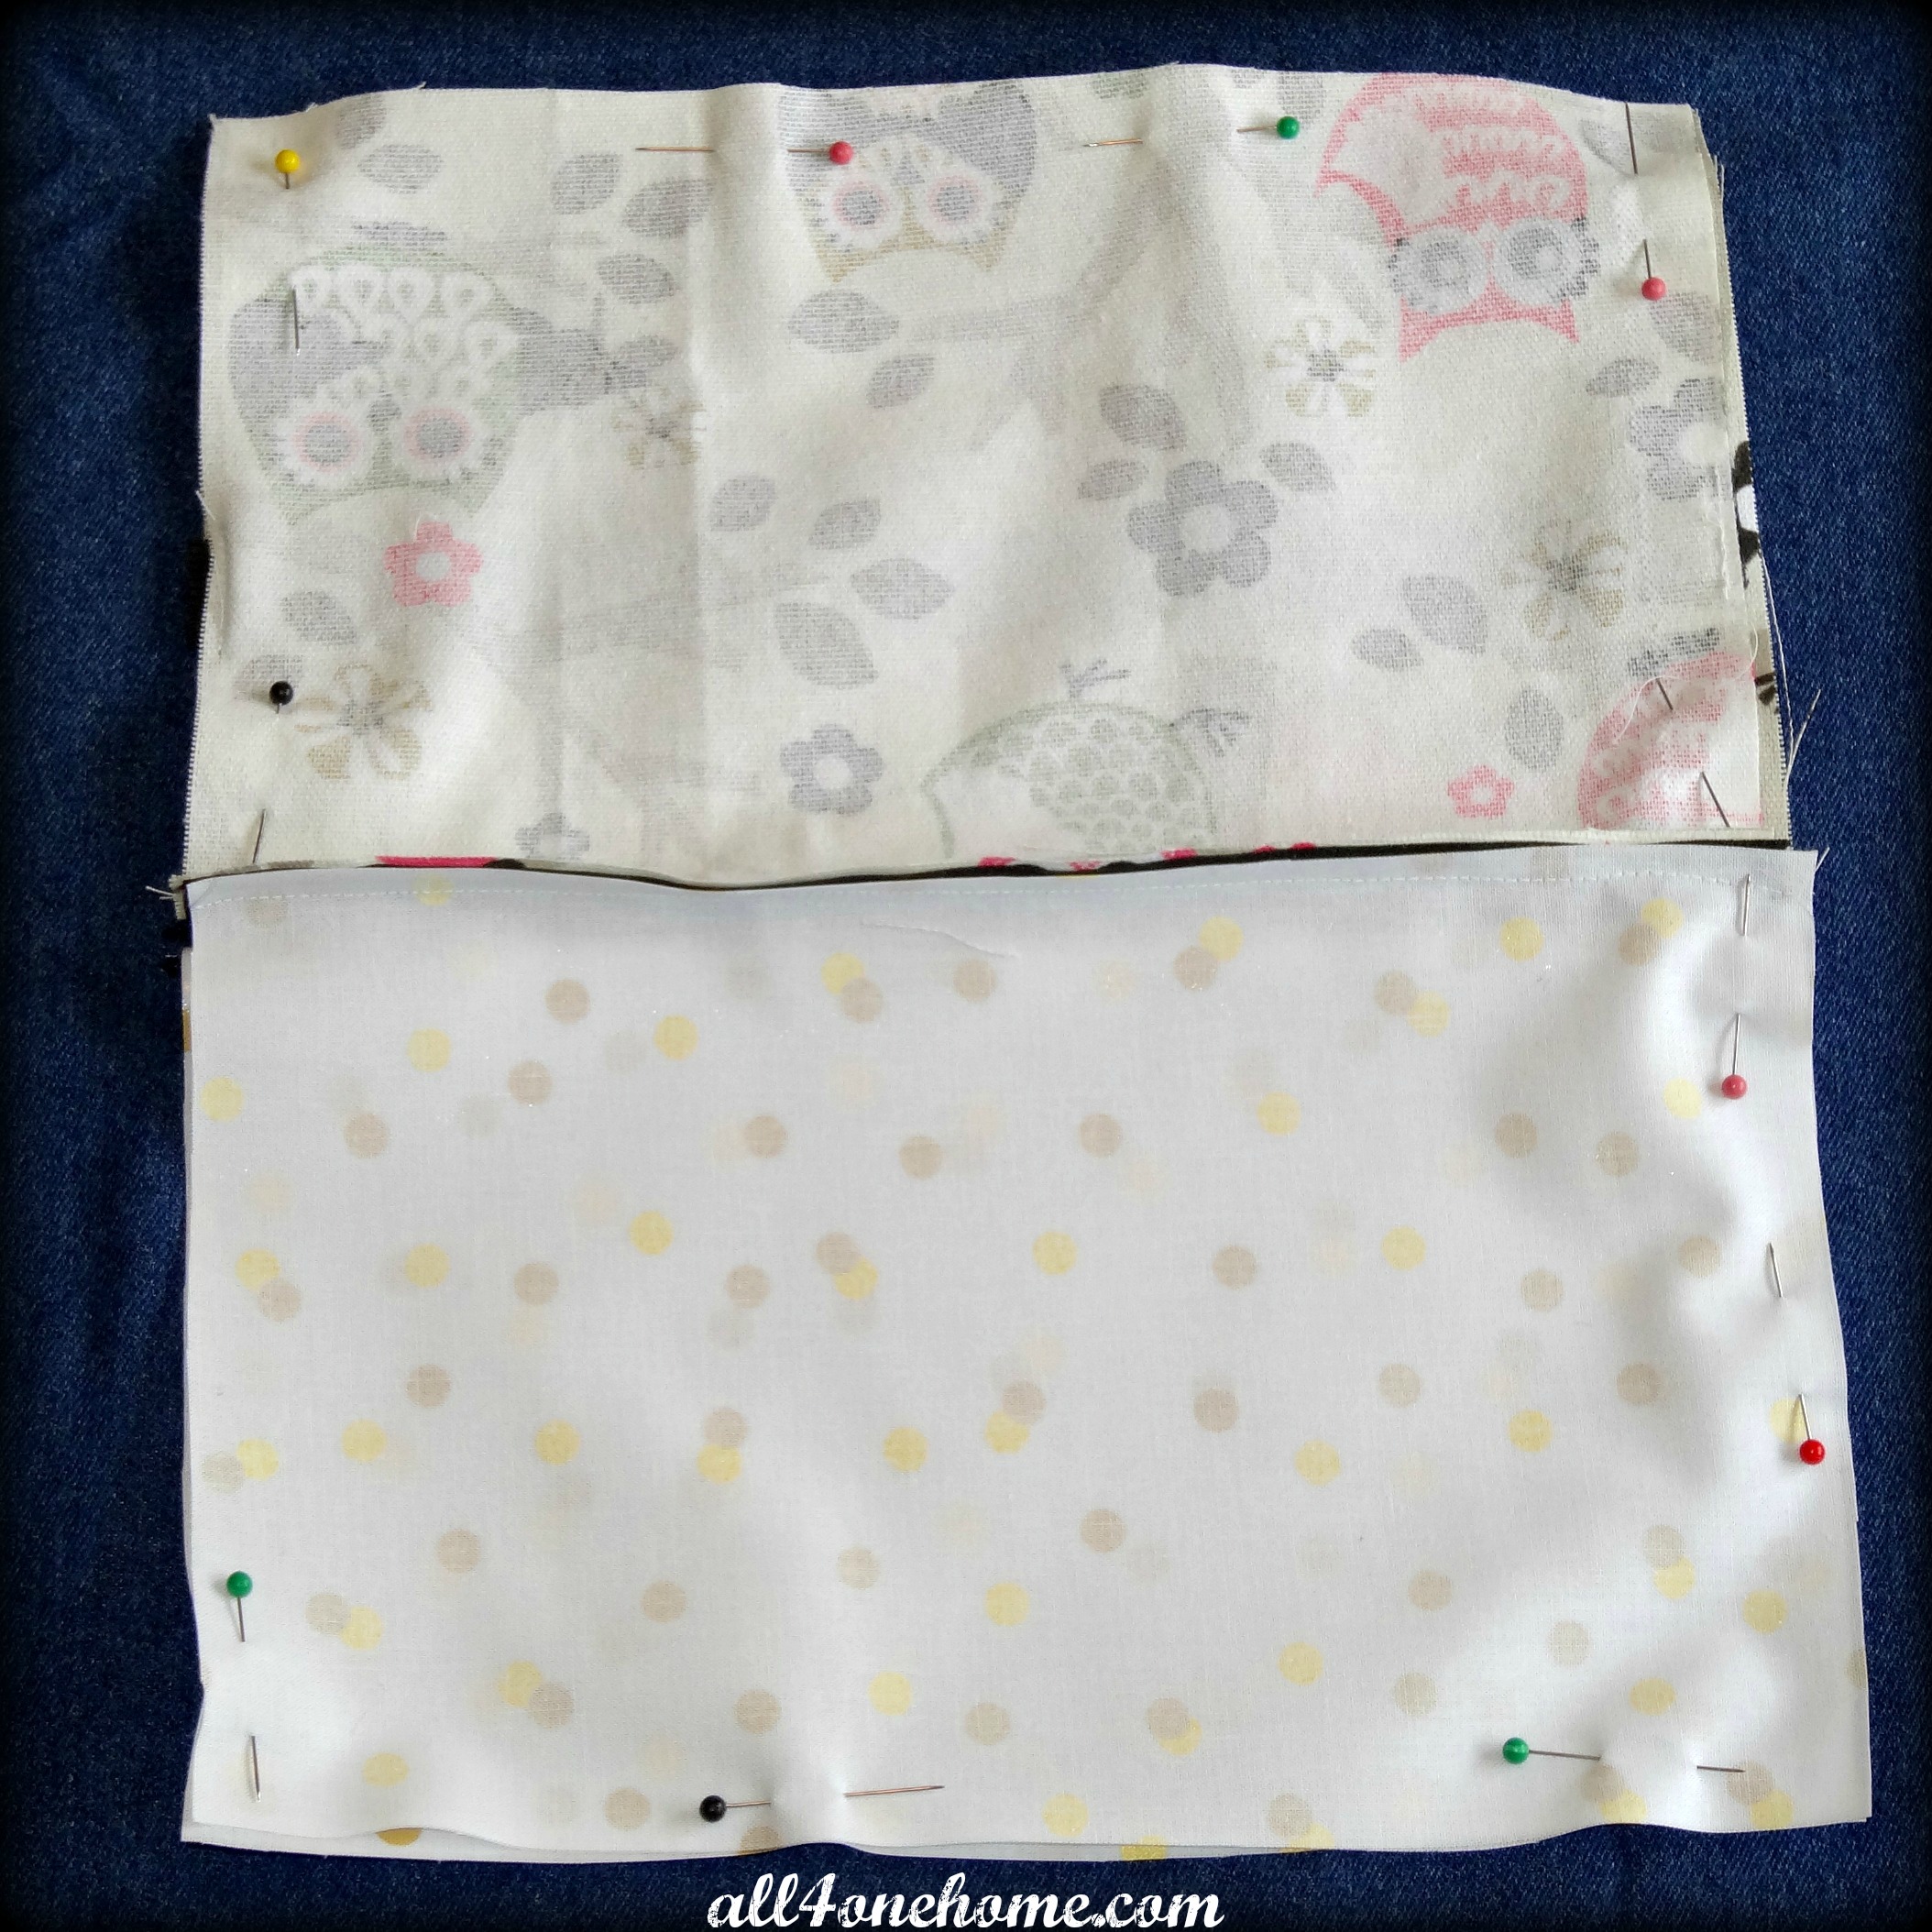
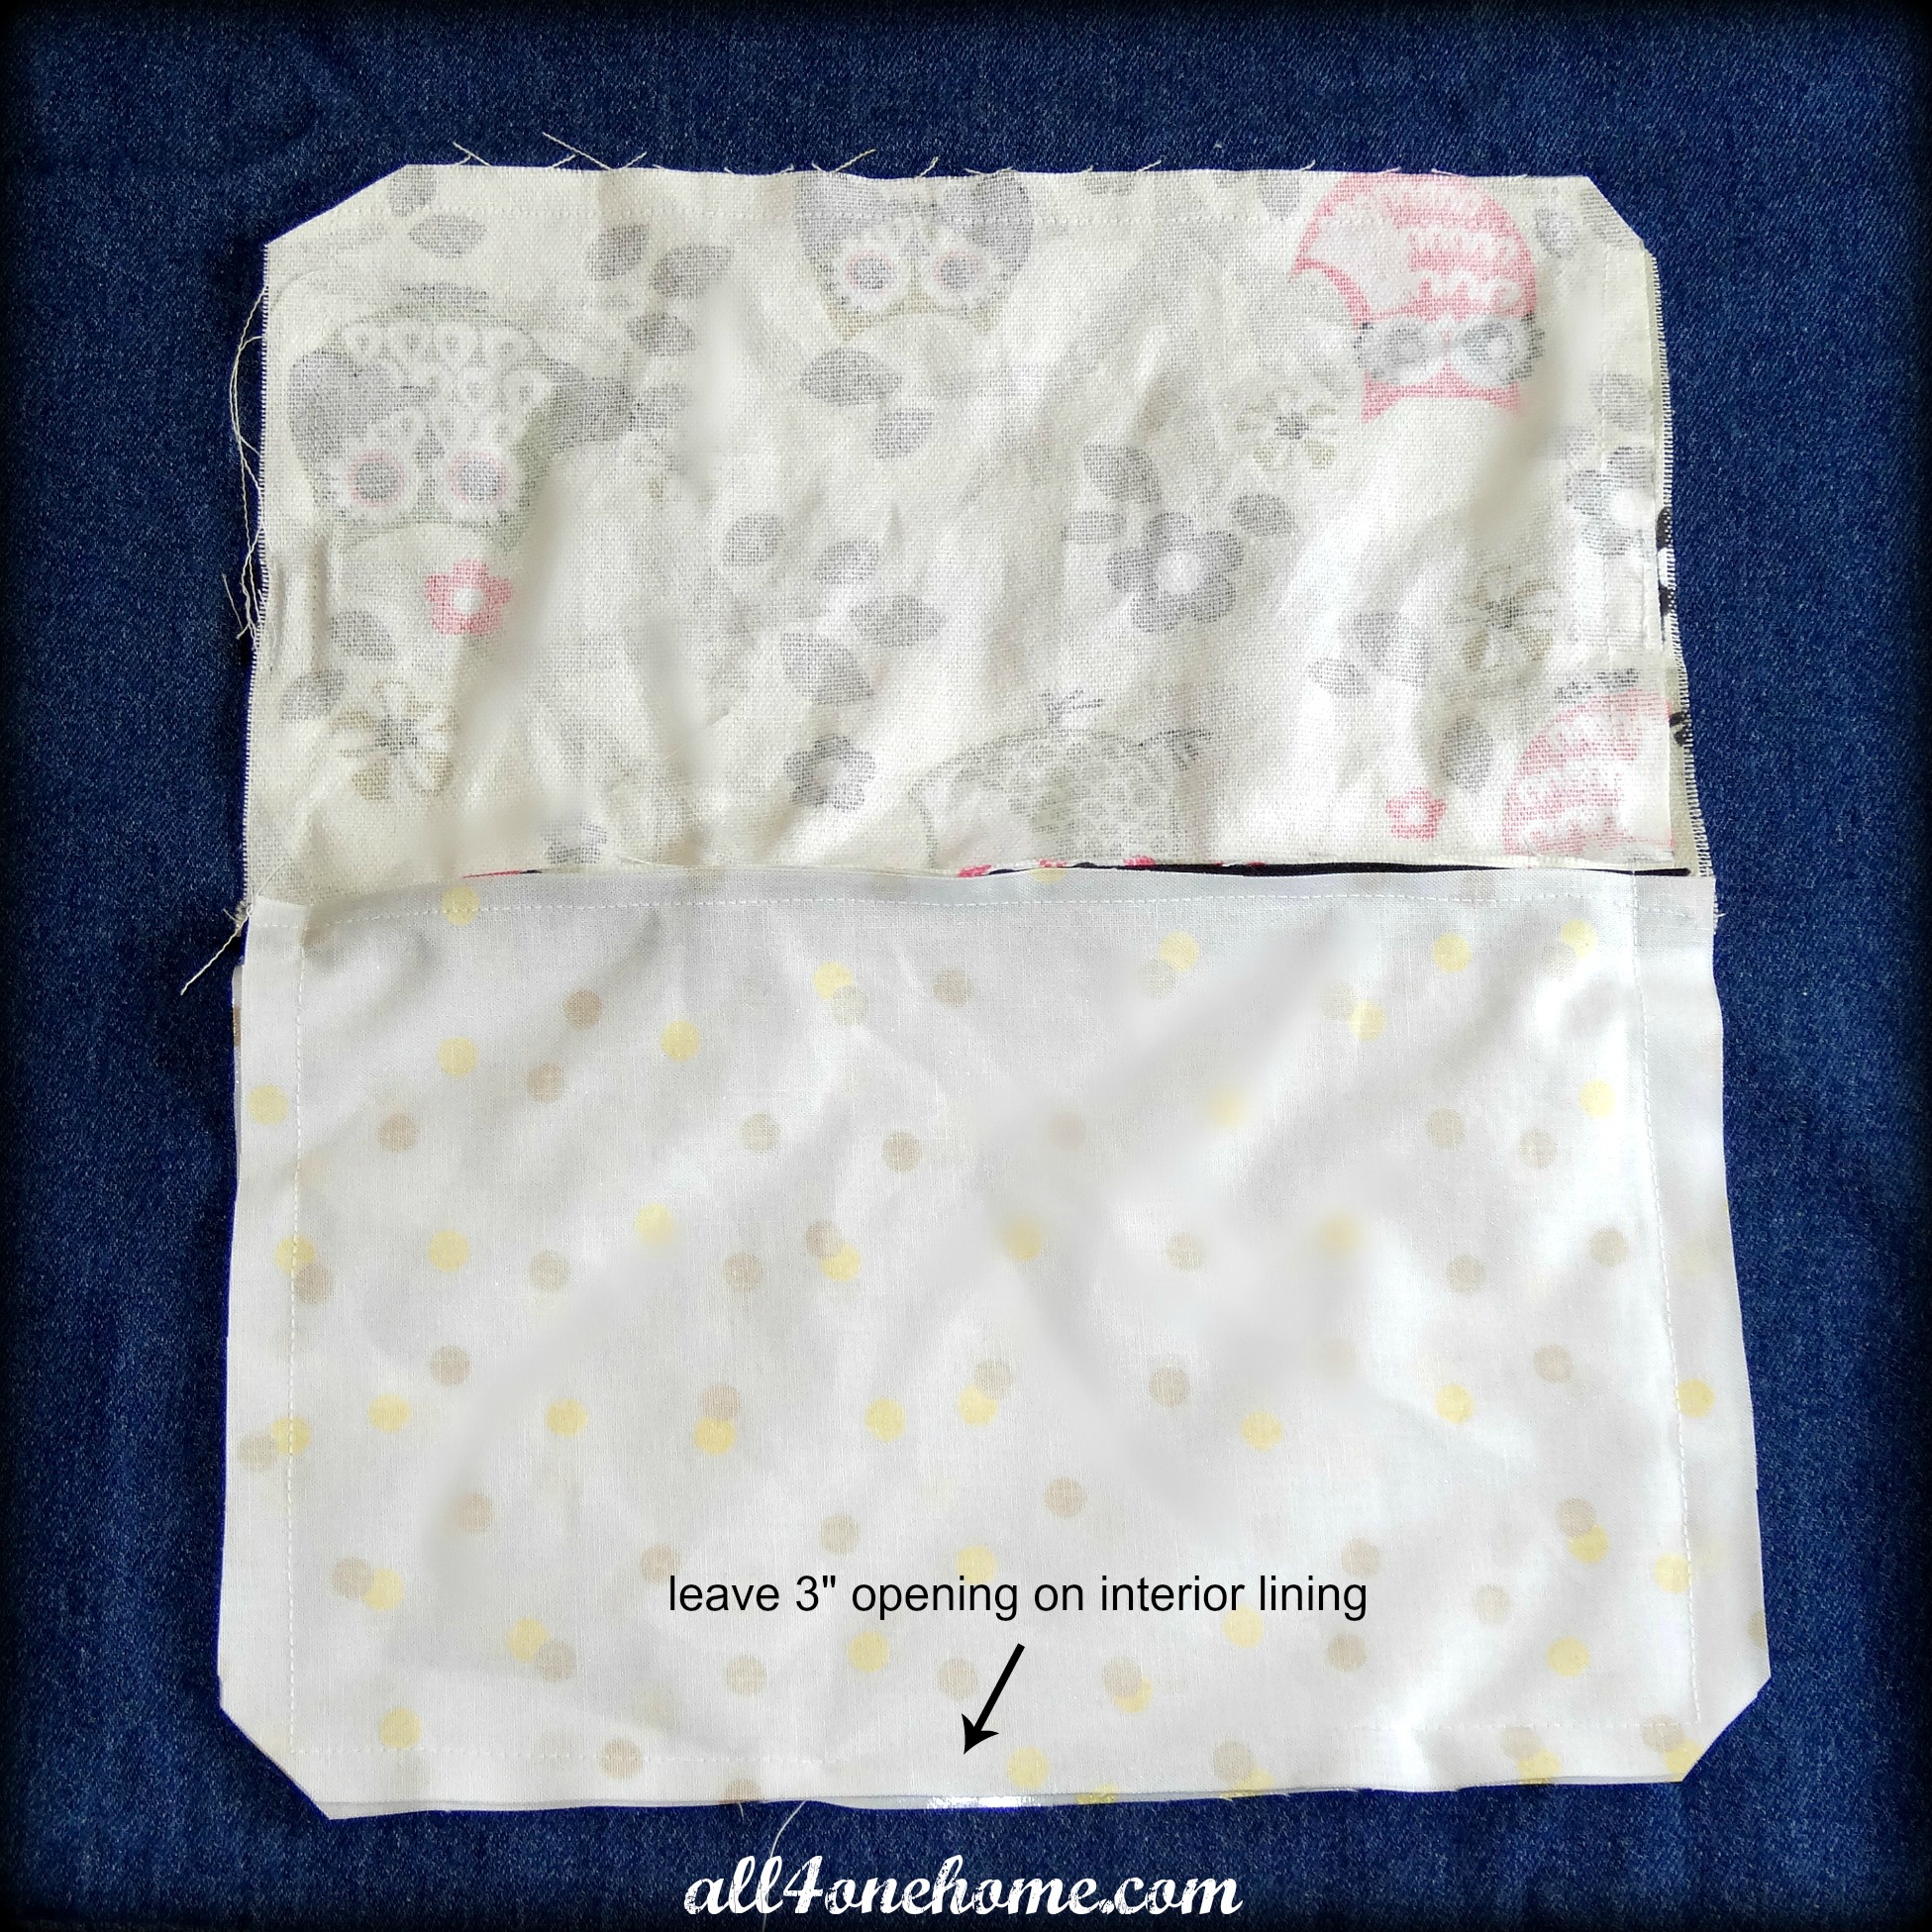
Open the zipper about 3/4 of the way and turn your project so that both inner rights sides are together and outer right sides are together. Before pinning in place, make sure your zipper teeth are folded towards the inner fabric. This will prevent the zipper from having the pinched look. Pin all around the material and leave a 3″ opening at the bottom of the inner material. This is so you can turn the pouch inside out.
Once sewn all around, clip all 4 corners.
Reach your hand through the opening and start to pull the right side of the pouch outwards.

Once turned out you can turn the edge of the fabric in and finish with your sewing machine, like below or if you know how you can finish it with a blind stitch.
Iron smooth and you’re done!
Now you can attach this adorable little pouch to your books and off you go!
I know this project is very detailed and I hope you are willing to give it a try! It’s worth it!
Thank you for stopping by,
All 4 One Home


Recent Comments